Getting Started with the .NET MAUI ComboBox
This guide provides the information you need to start using the Telerik UI for .NET MAUI ComboBox by adding the control to your project.
Prerequisites
Before adding the ComboBox, you need to:
Define the Control
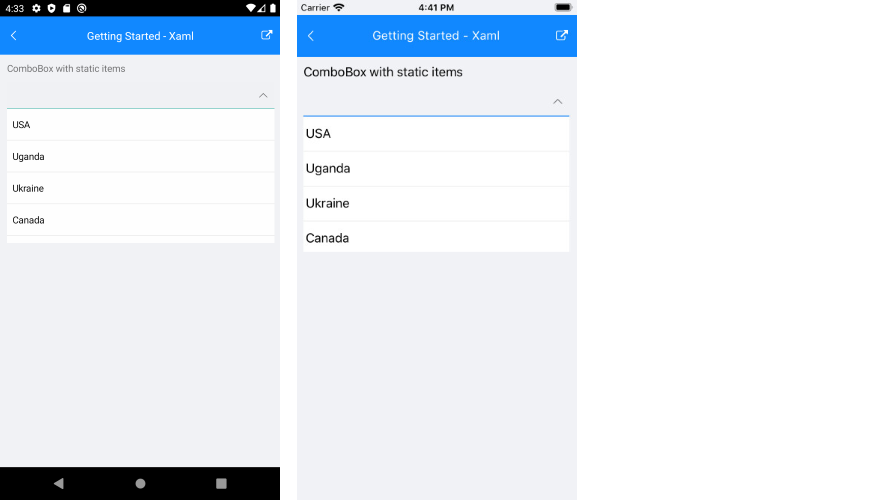
When your .NET MAUI application is setup, you are ready to add a ComboBox control to your page. The following example demonstrates the definition of the RadComboBox with ItemsSource set to a static collection as well as bound to property from a ViewModel class.
Using Static Data
<telerik:RadComboBox AutomationId="staticItemsComboBox">
    <telerik:RadComboBox.ItemsSource>
        <x:Array Type="{x:Type x:String}">
            <x:String>USA</x:String>
            <x:String>Uganda</x:String>
            <x:String>Ukraine</x:String>
            <x:String>Canada</x:String>
            <x:String>France</x:String>
            <x:String>Italy</x:String>
            <x:String>United Kingdom</x:String>
            <x:String>China</x:String>
            <x:String>Japan</x:String>
        </x:Array>
    </telerik:RadComboBox.ItemsSource>
</telerik:RadComboBox>
Here is the result:

Binding to a Complex Object
1. Define the ComboBox in XAML:
<telerik:RadComboBox ItemsSource="{Binding Items}"
                 DisplayMemberPath="Population"
                 AutomationId="boundComboBox"/>
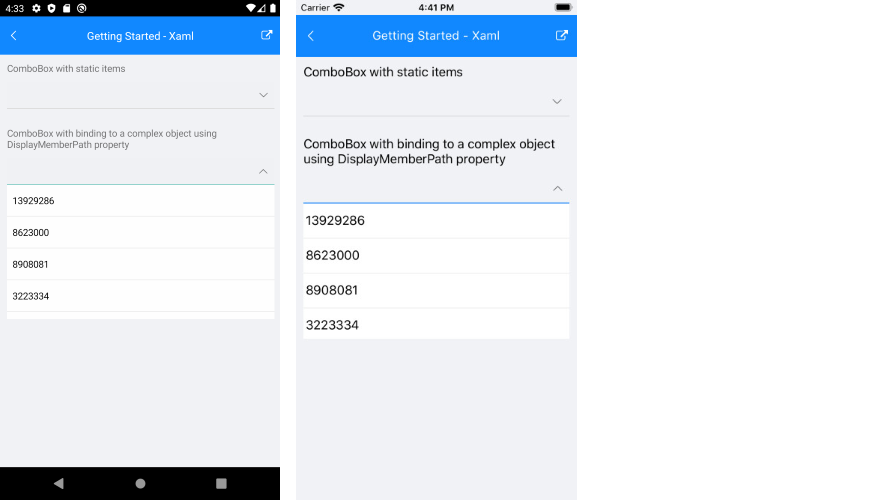
When binding to complex objects, always set the ComboBox
DisplayMemberPathproperty.
2. Add the telerik namespace:
xmlns:telerik="http://schemas.telerik.com/2022/xaml/maui"
public class City
{
    public string Name { get; set; }
    public int Population { get; set; }
}
4. Add the ViewModel:
public class ViewModel
{
    public ViewModel()
    {
        this.Items = new ObservableCollection<City>
        {
            new City { Name = "Tokyo", Population = 13929286 },
            new City { Name = "New York", Population = 8623000 },
            new City { Name = "London", Population = 8908081 },
            new City { Name = "Madrid", Population = 3223334 },
            new City { Name = "Los Angeles", Population = 4000000},
            new City { Name = "Paris", Population = 2141000 },
            new City { Name = "Beijing", Population = 21540000 },
            new City { Name = "Singapore", Population = 5612000 },
            new City { Name = "New Delhi", Population = 18980000 },
            new City { Name = "Bangkok", Population = 8305218 },
            new City { Name = "Berlin", Population = 3748000 },
        };
    }

    public ObservableCollection<City> Items { get; set; }
}
5. Set the binding context after InitializeComponent() in the page's code behind:
this.BindingContext = new ViewModel();
Here is the result:

For the ComboBox Getting Started example, refer to the SDKBrowser Demo Application and navigate to the ComboBox > Getting Started category.
Additional Resources
- .NET MAUI ComboBox Product Page
- .NET MAUI ComboBox Forum Page
- Telerik .NET MAUI Blogs
- Telerik .NET MAUI Roadmap