Getting Started with the .NET MAUI DataGrid
This guide provides the information you need to start using the Telerik UI for .NET MAUI DataGrid by adding the control to your project.
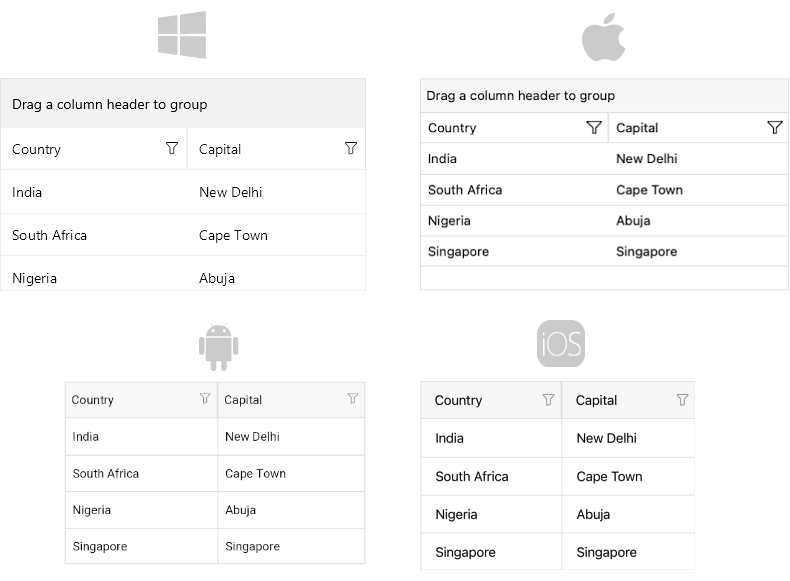
At the end, you will achieve the following result.
Prerequisites
Before adding the DataGrid, you need to:
Define the Control
1. When your .NET MAUI application is set up, you are ready to add a DataGrid control to your page.
2. Add the following namespace:
3. Register the Telerik controls through the Telerik.Maui.Controls.Compatibility.UseTelerik extension method called inside the CreateMauiApp method of the MauiProgram.cs file of your project:
Visualize Sample Data
The DataGrid provides UI virtualization, so it requires its visual parent to provide vertical or horizontal space for the control to fit into. The following scenarios will measure the DataGrid with infinite width and height constraints and the virtualization will not work:
- Positioning the DataGrid inside a
StackLayoutwhich is wrapped in a ScrollView. - Positioning the DataGrid inside a ScrollView.
Now that you have added the control to your view, you need to make sure that is properly loaded with the required data.
By default, the DataGrid will auto-generate rows depending on the number of objects in the collection set as its ItemsSource. For demonstration purposes, you will use the following simple business objects:
After you have created your collection of custom objects, you have to assign it to the ItemsSource property of the DataGrid: