Getting Started with WinUI TimeBar
This tutorial will walk you through the creation of a sample application that contains RadTimeBar.
Prerequisites
Before adding the Badge, you need to:
-
Create your Telerik UI for WinUI application and install the Telerik UI for WinUI components depending on the required installation approach:
Add the Assembly References
To use the RadTimeBar component, add references to Telerik.WinUI.Controls.dll and Telerik.Licensing.Runtime.dll.
Define the Component
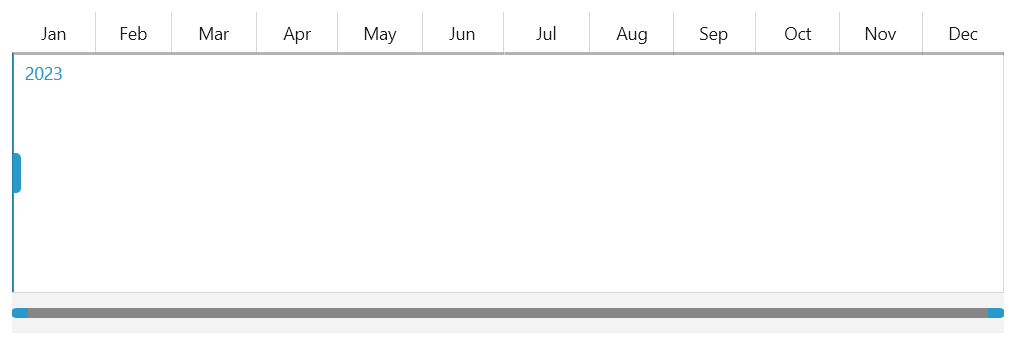
Defining the control requires setting several vital properties. Those are PeriodStart, PeriodEnd and Intervals.
Defining RadTimeBar
<telerik:RadTimeBar x:Name="timeBar">
    <telerik:RadTimeBar.Intervals>
        <telerik:YearInterval />
        <telerik:MonthInterval />
        <telerik:WeekInterval />
        <telerik:DayInterval />
    </telerik:RadTimeBar.Intervals>
</telerik:RadTimeBar>
Settig the PeriodStart and PeriodEnd properties
this.timeBar.PeriodStart = new System.DateTime(2023, 1, 1);
this.timeBar.PeriodEnd = new System.DateTime(2023, 12, 31);
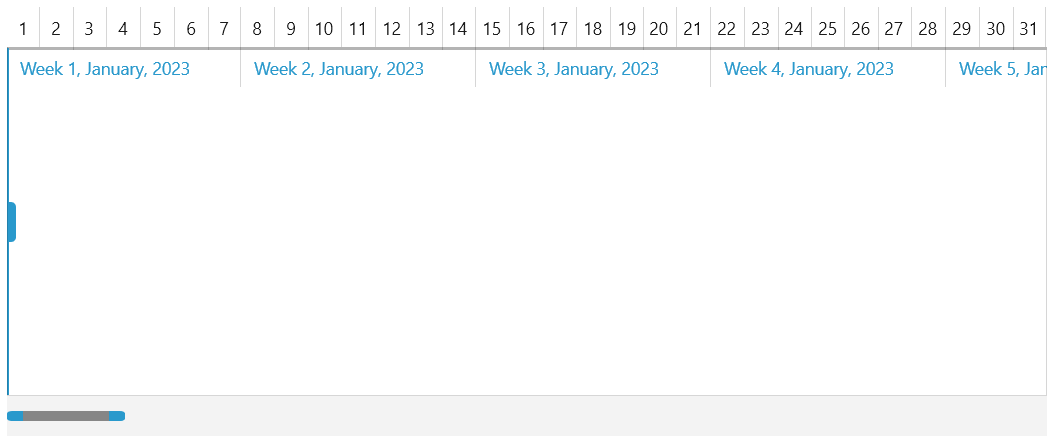
Setting the Visible Period
The visible period defines what portion of the period to be brought into the viewport. This can be also looked as zooming. The visible period is defined via the VisiblePeriodStart and VisiblePeriodEnd properties.
Settig the VisiblePeriodStart and VisiblePeriodEnd properties
this.timeBar.VisiblePeriodStart = new System.DateTime(2023, 1, 1);
this.timeBar.VisiblePeriodEnd = new System.DateTime(2023, 2, 1);
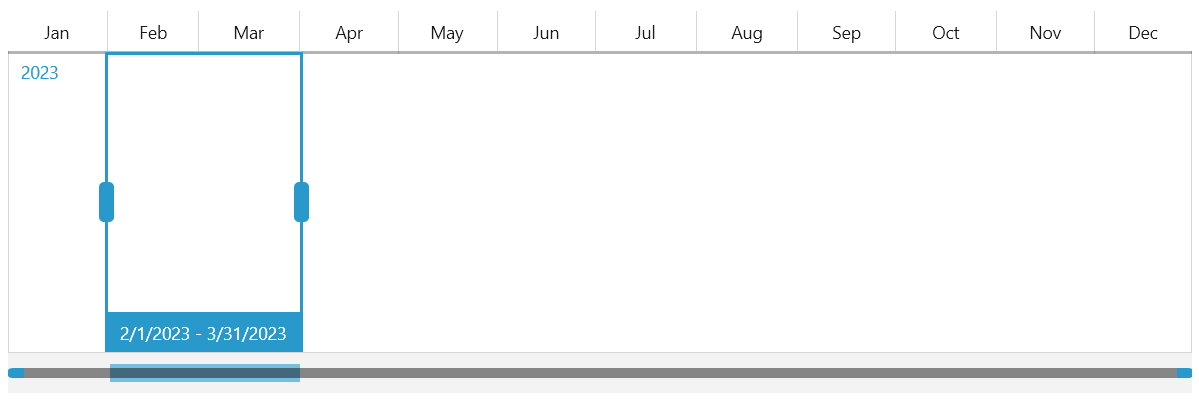
Selecting an Interval
To select an interval you can set the RadTimeBar's SelectionStart and SelectionEnd properties.
Settig the SelectionStart and SelectionEnd properties
this.timeBar.SelectionStart = new System.DateTime(2023, 2, 1);
this.timeBar.SelectionEnd = new System.DateTime(2023, 4, 1);
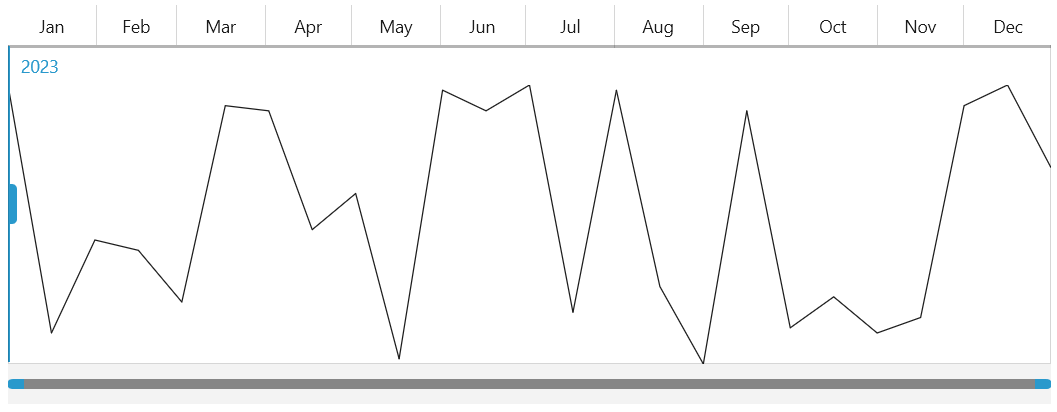
Hosting Another Control
The RadTimeBar component allows you to host another control in it, thus enchancing the visualization. The most common scenario is hosting a RadSparkline control.
The following example demonstrates how to populate a simple RadLinearSparkline with data and host it in RadTimeBar. Read more about the RadSparkline controls in its help documentation.
To use the RadSparkline control, add the following namespace: xmlns:telerikDataVisualization="using:Telerik.UI.Xaml.Controls.DataVisualization"
Hosting a RadSparkline instance in the RadTimeBar control
<telerik:RadTimeBar x:Name="timeBar" Margin="10">
    <telerik:RadTimeBar.Intervals>
        <telerikDataVisualization:YearInterval />
        <telerikDataVisualization:MonthInterval />
        <telerikDataVisualization:WeekInterval />
        <telerikDataVisualization:DayInterval />
    </telerik:RadTimeBar.Intervals>
    <telerik:RadTimeBar.Content>
        <telerikDataVisualization:RadLinearSparkline x:Name="sparkline"/>
    </telerik:RadTimeBar.Content>
</telerik:RadTimeBar>
Setting up the ItemsSource property of the RadLinearSparkline element
private static Random r = new Random();

// You can decide where to use this method.
// For example, you can call it after the InitializeComponent() call of the view where the control is used (ex: MainWindow.xaml.cs).
private void SetupSparkLineSource()
{
    List<int> data = new List<int>();
    DateTime startDate = new DateTime(2023, 1, 1);
    DateTime endDate = new DateTime(2023, 12, 31);
    for (DateTime currentDate = startDate; currentDate <= endDate; currentDate = currentDate.AddDays(15))
    {
        data.Add(r.Next(0, 60));
    }
    this.sparkline.ItemsSource = data;
}
DataBinding the RadSparkLine
In order to learn how you can bind the ItemsSource of a RadSparkLine component in general, you can read the Data Binding article in the RadSparkLine section.
In case the ItemsSource of the sparkline is a collection of business objects, where the property bound to the
XValueof the sparkline is of type DateTime, you need to make sure that the collection is ordered (ascending) by that property. This is needed for the virtualization of the RadSparkLine, which is enabled by the EnableSparklineVirtualization property of the RadTimeBar(True by default).
Telerik UI for WinUI Learning Resources
- Telerik UI for WinUI TimeBar Component
- Getting Started with Telerik UI for WinUI Components
- Telerik UI for WinUI Installation
- Telerik UI for WinUI Examples
- Telerik UI for WinUI Accessibility
- Telerik UI for WinUI License Agreement