Getting Started with WinUI Map
The RadMap control allows you to display rich geographical information from various sources, as well as to overlay the map with your own custom data. This topic will help you to quickly get started using the control. It will focus on the following:
Assembly References
In order to use the RadMap control in your projects, you have to add references to the following assembly:
Telerik.WinUI.Controls.dllTelerik.Licensing.Runtime.dll
Defining a Map
After adding references to the aforementioned dll, you can declare a new RadMap as any normal WinUI control.
You can access the RadMap controls through an alias pointing to the Telerik.UI.Xaml.Controls.DataVisualization namespace: xmlns:dataVisualization="using:Telerik.UI.Xaml.Controls.DataVisualization"
Defining map in XAML
<Grid x:Name="LayoutRoot">
    <dataVisualization:RadMap x:Name="radMap" />
</Grid>
Styling the Component
To display the RadMap control, you will need to apply its theme. To do so, merge the Generic.xaml ResourceDictionary in the App.xaml file.
Styling the RadMap control
<Application.Resources>
    <ResourceDictionary>
        <ResourceDictionary.MergedDictionaries>
            <XamlControlsResources xmlns="using:Microsoft.UI.Xaml.Controls" />
            <ResourceDictionary Source="ms-appx:///Telerik.WinUI.Controls/Themes/Generic.xaml"/>
            <!-- Other merged dictionaries here -->
        </ResourceDictionary.MergedDictionaries>
        <!-- Other app resources here -->
    </ResourceDictionary>
</Application.Resources>
Specifying a Provider
The RadMap control doesn't display a map on itself, it needs a map provider from which to consume the required data. Currently the RadMap control supports a few providers out of the box:
This example will use OpenStreetMap as its provider. In order to do that you have to set the Provider property of the RadMap to the built-in OpenStreetMapProvider class.
You can access the RadMap providers through an alias pointing to the Telerik.UI.Xaml.Controls.DataVisualization.Map namespace: xmlns:telerikMap="using:Telerik.UI.Xaml.Controls.DataVisualization.Map"
Specifying provider to the RadMap control
<Grid x:Name="LayoutRoot">
    <dataVisualization:RadMap x:Name="map">
        <dataVisualization:RadMap.Provider>
            <telerikMap:OpenStreetMapProvider APIKey="Your API Key" StandardModeUserAgent="Your User Agent"/>
        </dataVisualization:RadMap.Provider>
    </dataVisualization:RadMap>
</Grid>
Setting OpenStreetMapProvider
this.radMap.Provider = new OpenStreetMapProvider() { APIKey="Your API Key", StandardModeUserAgent="Your User Agent" };
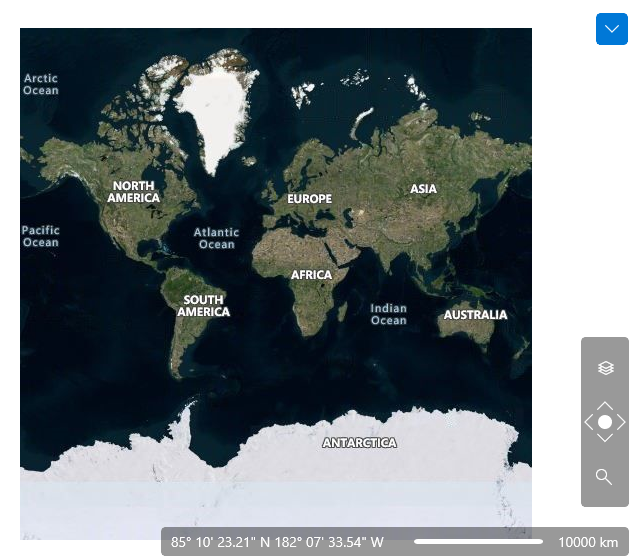
After specifying the provider, you should be able to see the respective map appear in the RadMap control.
Displaying Data
You are able to display data on the top of the visualized map. The data may be represented by any framework element or map shape objects. This can be accomplished via the RadMap's VisualizationLayer. To learn more about this layer and how to display the different types of elements in them, please read the Visualization layer section.
Telerik UI for WinUI Learning Resources
- Telerik UI for WinUI Map Component
- Getting Started with Telerik UI for WinUI Components
- Telerik UI for WinUI Installation
- Telerik UI for WinUI Examples
- Telerik UI for WinUI Accessibility
- Telerik UI for WinUI License Agreement