ChatPicker Overview
The RadChat component offers different pickers allowing you to present the user a selection of choices either as a part of the conversation, or over the messages' view.
Depending on the information that is presented and the choice that have to be made, the pickers can be one of the types listed below.
The Chat Pickers is part of Telerik UI for .NET MAUI, the most comprehensive UI suite for .NET MAUI! To try it out, sign up for a free 30-day trial and kickstart your cross-platform app development today.
-
DatePicker—Displays a Calendar to choose a date. -
TimePicker—Displays a clock view to choose a time. -
ItemPicker—Displays a list of suggestions the end user can choose from. -
CardPicker—Displays a list of cards with structured layout.
Each of these pickers is a part of the RadChatPicker control and is defined through the corresponding PickerContext property, namely DatePickerContext, TimePickerContext, ItemPickerContext, etc.
You can use RadChatPicker in three different ways:
-
Inline as a part of the conversation–Through a
PickerItemadded to the Chat’s Items collection. - Inside the Chat but not as a part of the conversation–The picker is placed between the entry and the conversation–implemented through the Chat’s Picker property.
- As a separate Chat Picker control–Shown outside the
RadChatcontrol.
Inline as Part of the Conversation
In this case, you need to create an item of type PickerItem that derives from the ChatItem. Set its Context, and add it to the Items collection of the Chat.
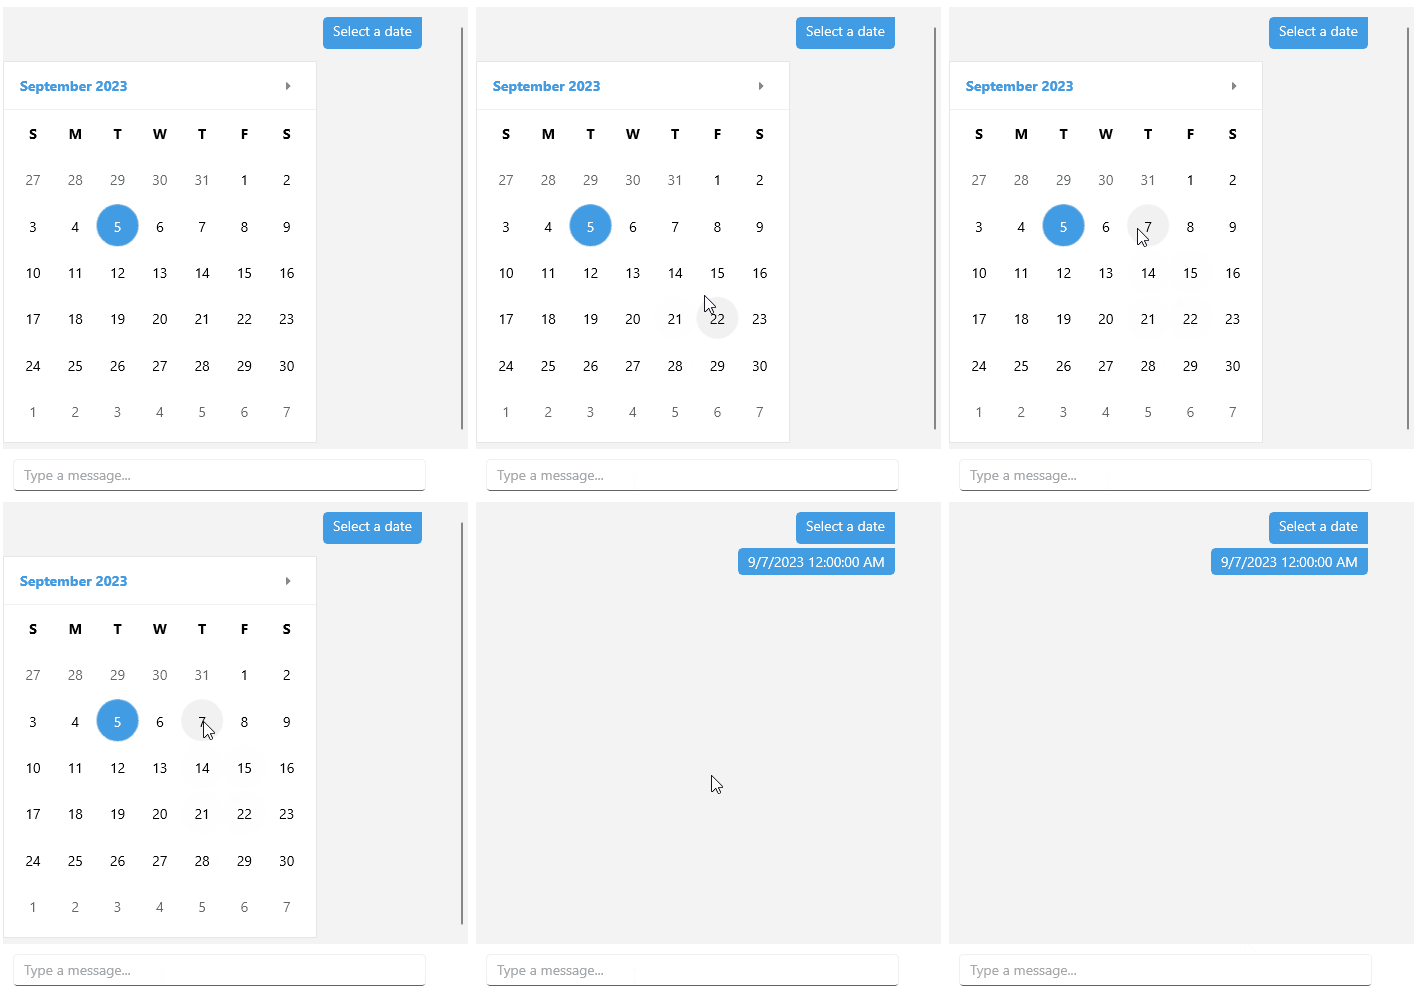
The following example demonstrates how to use the RadChatPicker inline as a part of the conversation:
DatePickerContext context = new DatePickerContext
{
    MinDate = new DateTime(2019, 1, 1),
    MaxDate = new DateTime(2019, 2, 2),
    SelectedDate = new DateTime(2019, 1, 16)
};
PickerItem pickerItem = new PickerItem { Context = context };
chat.Items.Add(new TextMessage { Text = "Select a date", Author = chat.Author });
chat.Items.Add(pickerItem);

context.PropertyChanged += (s, e) =>
{
    if (e.PropertyName == "SelectedDate")
    {
        if (context.SelectedDate != null)
        {
            chat.Items.Remove(pickerItem);
            chat.Items.Add(new TextMessage { Author = chat.Author, Text = "" + context.SelectedDate });
        }
    }
};
When the user makes a selection, you can add a new TextMessage with the SelectedDate and remove the PickerItem from the conversation.

Inside the Chat - Not Part of the Conversation
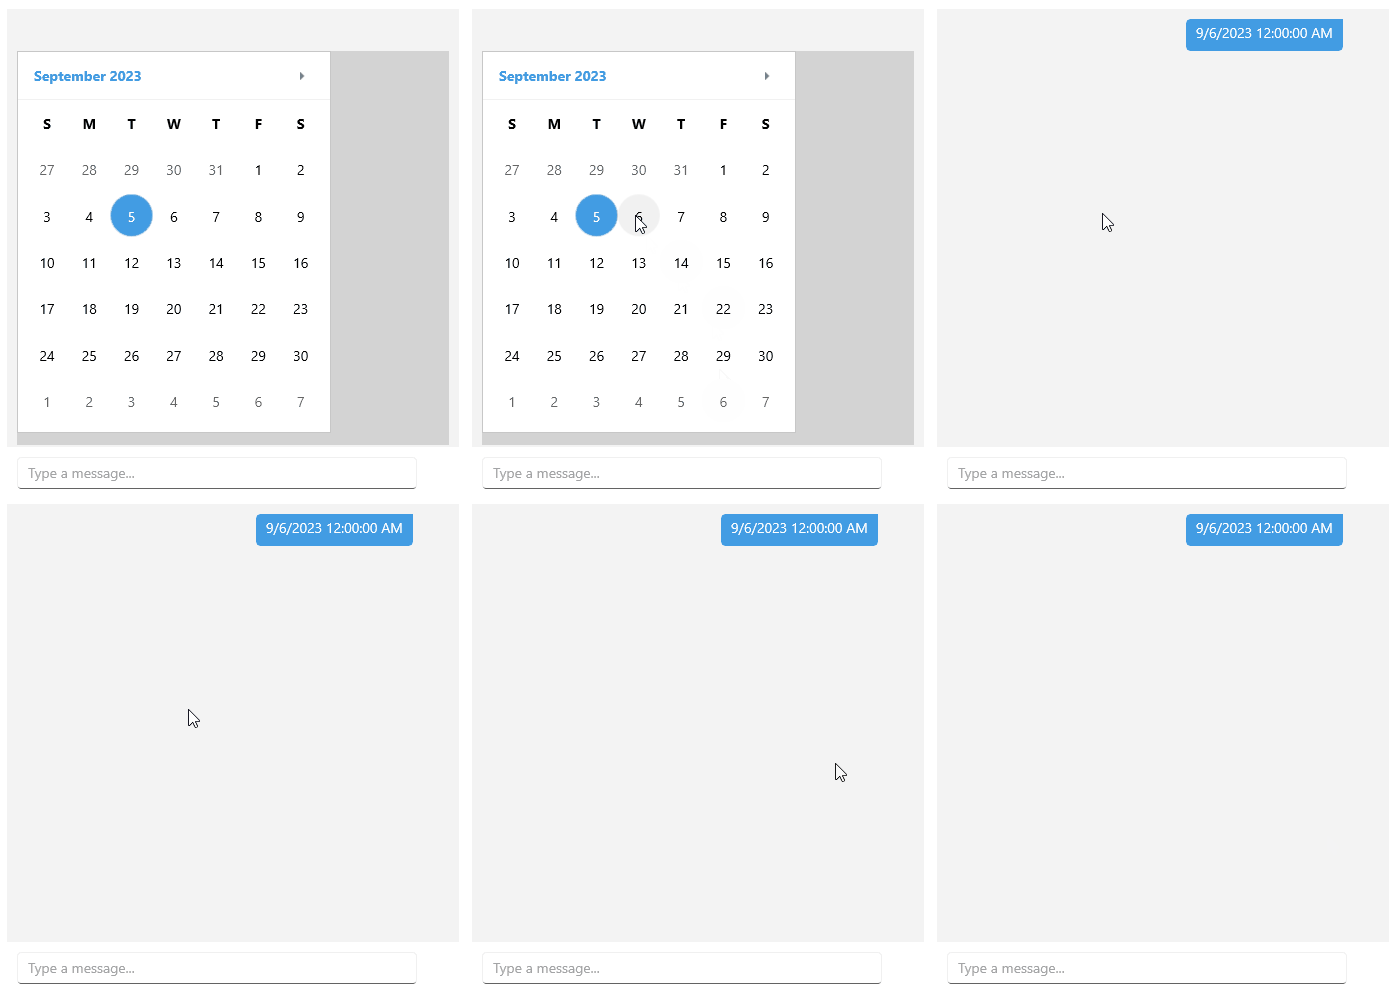
If you choose this approach, you need to create a RadChatPicker instance and set it to the Picker property of the Chat:
<telerik:RadChat x:Name="chat">
    <telerik:RadChat.Picker>
        <telerik:RadChatPicker x:Name="picker"
            IsOkButtonVisible="False"
            IsCancelButtonVisible="False"
            BackgroundColor="LightGray" />
    </telerik:RadChat.Picker>
</telerik:RadChat>
Then, when you need to display any of the available pickers, you set the Context property of the ChatPicker. The next example shows how to achieve this with DatePickerContext:
DatePickerContext context = new DatePickerContext
{
    MinDate = new DateTime(2019, 1, 1),
    MaxDate = new DateTime(2019, 2, 2),
    SelectedDate = new DateTime(2019, 1, 16)
};

context.PropertyChanged += (s, e) =>
{
    if (e.PropertyName == "SelectedDate")
    {
        if (context.SelectedDate != null)
        {
            chat.Items.Add(new TextMessage { Author = this.chat.Author, Text = "" + context.SelectedDate });
            (chat.Picker as RadChatPicker).IsVisible = false;
        }
    }
};
(chat.Picker as RadChatPicker).Context = context;
When the user selects a date, the Context is reset to null and a new TextMessage with the SelectedDate can be added to the conversation. The IsVisible property of the picker can also be set to false.
In the example above, RadChatPicker is used for immediate selection by setting its IsOkButtonVisible and IsCancelButtonVisible to false. You can also show OK and Cancel buttons and use the provided events/commands to handle the selection.
