Use the Annotated Run for Troubleshooting Failures
Quick test execution can be quite handy for debugging purposes, especially when using the feature to toggle on annotations during the run. When enabled, the annotations highlight the target element of each executed step along with a brief message. They are helpful in cases when the sequence of actions cannot be followed and may reveal the reason why a test does not behave as intended.
The below article describes an end to end scenario, when the quick execution with annotations can be helpful.
Record the Scenario
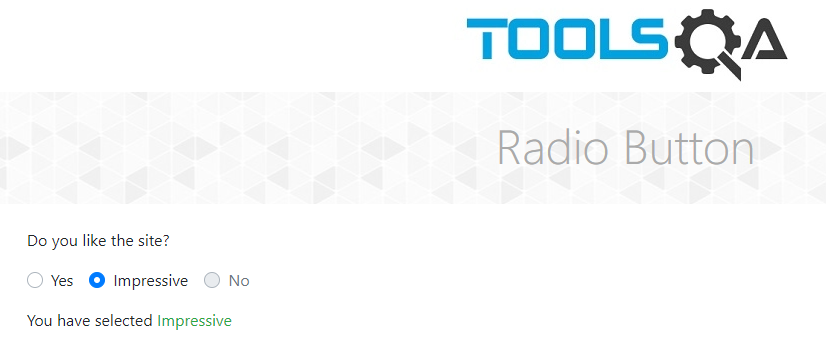
For this tutorial we use a sample application. The task is to click on the Impressive radio button and then verify that the word Impressive is displayed in green in the confirmation.
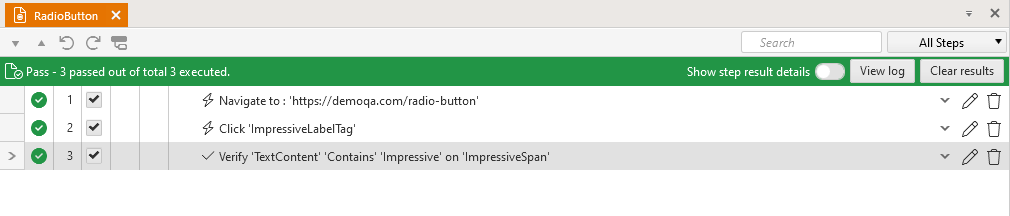
We’ve already launched Test Studio’s recorder and recorded the following test steps:

Execute the Test and Explore the Results
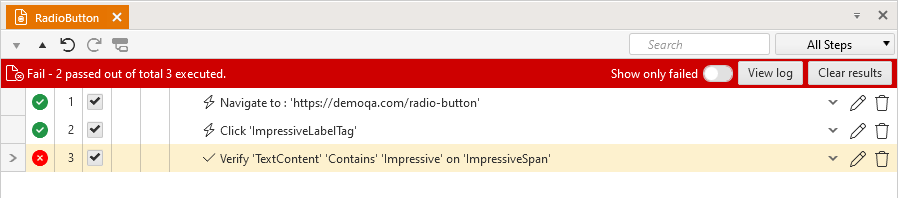
Upon execution of this sample test, we expect it to pass successfully. However, the verification in step 3. fails, even though step 2., which performs the click action on the Impressive radio button, is reported as successfully executed.
The standard troubleshooting implies to refer the step failure details for more information and you can see the following failure message:
Unable to locate element by Find Expression!
Attempting to find [Html] element using
Find logic
 (Html): [tagname 'Exact' span] AND [TextContent 'Exact' Impressive]
Unable to locate element. Search failed!
Based on this message, you find out that Test Studio is looking for a span element with Text Content, which is exactly Impressive. As the find expression seems to be pointing to a specific element, Test Studio should not have a troubles to locate the element and this doesn't look as the reason for the failure.
The next suggestion is that the page, loaded during the test run, may not be the right one. In this case the images from the failure details, which Test Studio records for expected state of the page and the state at the time of failure, should help in the investigation of this error. When we check the images, though, these show the correct page is loaded, but the confirmation message that an option is selected is not present on the page.

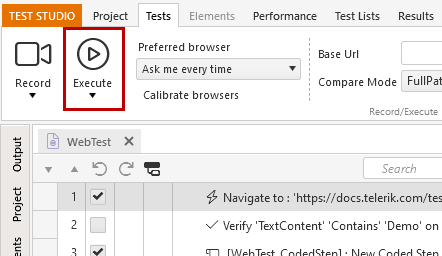
Based on the finding from the failure images, it seems that the step, before the failing one, was not executed as expected - step 2., which should click the Impressive radio button. In such case, next recommended step in the troubleshooting process is to turn on the annotations and observe the quick execution. The annotations can be enabled from the Quick Execute section in the Test Studio ribbon.
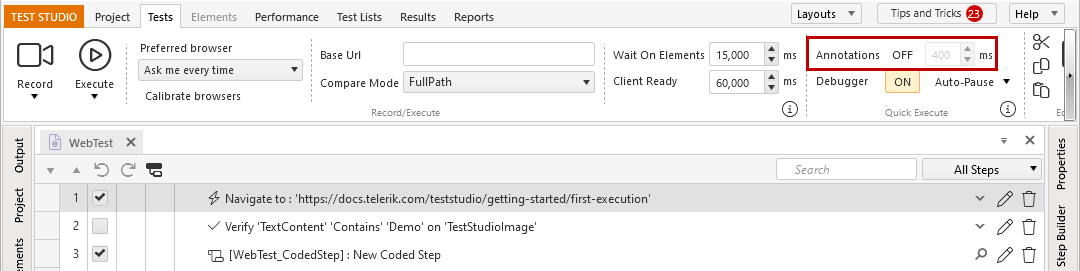
Next to the Annotations toggle button, you can see the value of 400 (in miliseconds) - this is the delay between the actions performed from each step and is used to display the short annotation messages for each step. The default set value is usually enough for a good visibility of the step actions during the test execution. The 400 miliseconds delay can be adjusted, if necessary.
Hit the Execute button to start the annotated test execution.
The annotated run reveals quite useful information. Step 2. is marked as successfully passing because a mouse click is actually performed. But, with the help of the annotated highlighted elements, you can see the action is sent slightly below the Impressive radio button. This misclick doesn't trigger the confirmation, that an option was selected, and the verification in step 3. cannot locate the element, which represents the confirmation message.
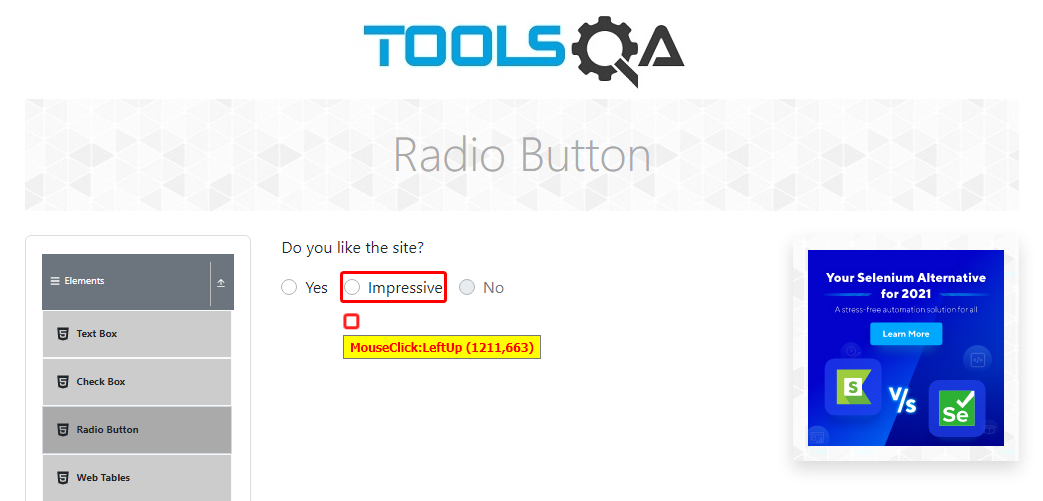
An easy solution for this problem will be to record the click step again. Once re-recorded the test executes successfully.