Layers
The RadSyntaxEditor control renders its elements on different layers based on the types of tags that are used. It does so with the help of a UILayersBuilder class. The default builder renders the following stack of layers:
- TextHighlightUILayer
- TextBorderUILayer
- TextUnderlineUILayer
- TextUILayer
- TextToolTipUILayer
- SelectionUILayer
- FoldingUILayer
These layers are responsible for drawing different elements on the canvas of the RadSyntaxEditor control. For example, the FoldingUILayer generates a FoldedRegionButton with a tooltip, containing the folded text.
Custom Layer and UILayersBuilder
We will now create a custom layer which will be responsible for highlighting any keywords when they are hovered with the mouse. For the purpose, we need to override the GetLinePartUIElement method and return a FrameworkElement to be drawn on the layer - a semi-transparent rectangle in this case.
Example 1: Creating a custom layer
public class HighlightOnMouseOverUILayer : LineBasedUILayer<ClassificationTag>
{
    public override string Name
    {
        get
        {
            return "UnderlineOnMouseOver";
        }
    }

    public HighlightOnMouseOverUILayer()
    {
    }

    protected override FrameworkElement GetLinePartUIElement(ClassificationTag tag, Telerik.Windows.SyntaxEditor.Core.Text.Span span, UIUpdateContext updateContext)
    {
        if (tag.ClassificationType != ClassificationTypes.Keyword)
        {
            return null;
        }

        Rect rect = updateContext.Editor.GetLinePartBoundingRectangle(span);
        Rectangle rectangle = this.GetElementFromPool<Rectangle>();

        rectangle.Width = rect.Width;
        rectangle.Height = rect.Height;
        rectangle.Fill = new SolidColorBrush(Colors.Transparent);

        rectangle.MouseMove += this.Rectangle_MouseMove;
        return rectangle;
    }

    private void Rectangle_MouseMove(object sender, System.Windows.Input.MouseEventArgs e)
    {
        Rectangle rectangle = (Rectangle)sender;
        rectangle.Fill = new SolidColorBrush(Color.FromArgb(100, 255, 0 , 0));
    }

    protected override void ResetPooledElementProperties(object element)
    {
        Rectangle rectangle = (Rectangle)element;
        rectangle.ClearValue(Rectangle.FillProperty);
        rectangle.MouseMove -= this.Rectangle_MouseMove;
    }
}
Example 2: Using the custom layer in a custom layers builder
public class CustomUILayersBuilder : UILayersBuilder
{
    private HighlightOnMouseOverUILayer customLayer;
    public override void BuildUILayers(UILayerStack uiLayers)
    {
        base.BuildUILayers(uiLayers);

        customLayer = new HighlightOnMouseOverUILayer();
        uiLayers.AddLast(customLayer);
    }

    public void ClearCustomLayer()
    {
        foreach (Rectangle item in this.customLayer.Container.Children.OfType<Rectangle>())
        {
            item.Fill = Brushes.Transparent;
       }
    }
}
Example 3: Using the custom layers builder
this.syntaxEditor.UILayersBuilder = new CustomUILayersBuilder();
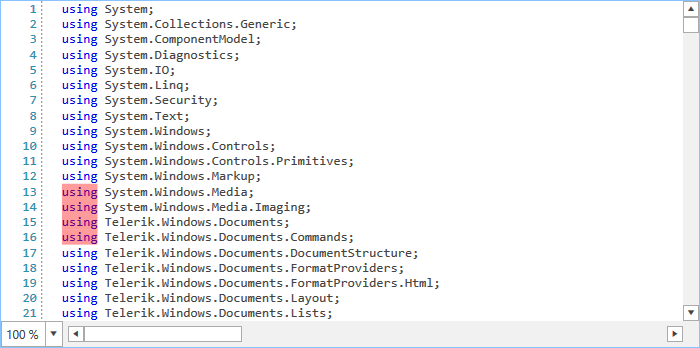
Figure 1: The result from using the custom layer