First Steps With Telerik UI for WPF (Using Nuget Packages)
This article describes the lifecycle of a Telerik application when using NuGet packages. This includes creating, deploying, redistributing, and upgrading an application with referenced Telerik dlls.
Creating a Project
To use the NuGet packages, create a new WPF project using the Visual Studio project template from the File --> New --> Project menu.

Set a Project name and Location for the project. For this example, we will use TelerikWPFApplication for the project's name.

This will create an empty WPF project where you can install the NuGet packages.

Installing Nugets
This article shows how to connect to the Telerik NuGet server but you can also download the packages locally and use them offline. Read more in the Installing UI for WPF from a NuGet package article.
To setup, the Telerik NuGet server, open the Package Manager Settings menu in Visual Studio and create a new package source. Use https://nuget.telerik.com/v3/index.json as the Source. This step is described in details in the Using the Telerik NuGet Server section of the NuGet article. Once you choose the Telerik package source in the Nuget manager, you will get prompted to login with your telerik.com account.
To install a Telerik dll, search for the name of the corresponding assembly in the search bar and then install it in the project.

There are two types of Telerik packages - Xaml and NoXaml. If the package name ends with .Xaml then the dlls are of the Xaml type. If doesn't contain this the dlls are NoXaml.
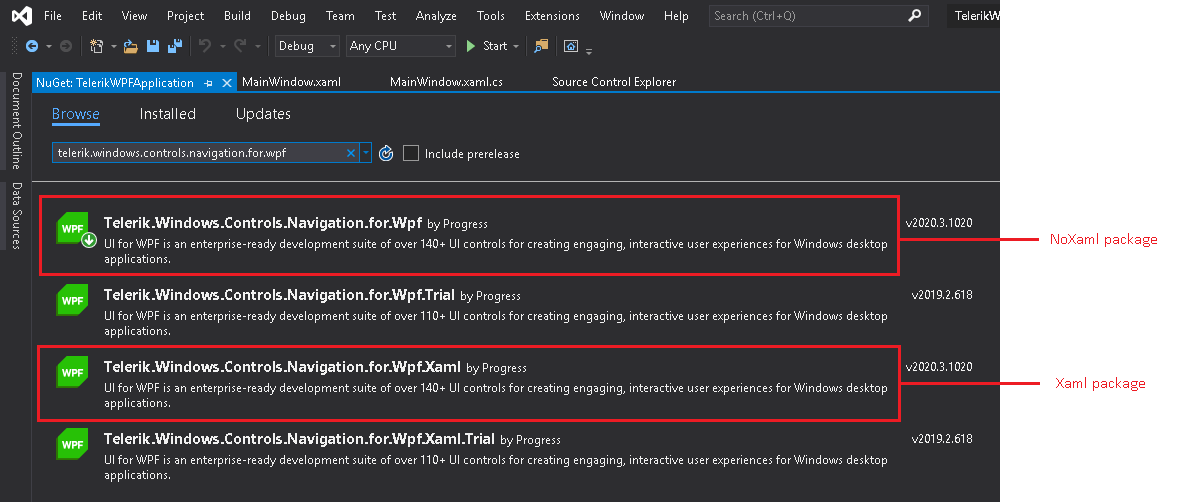
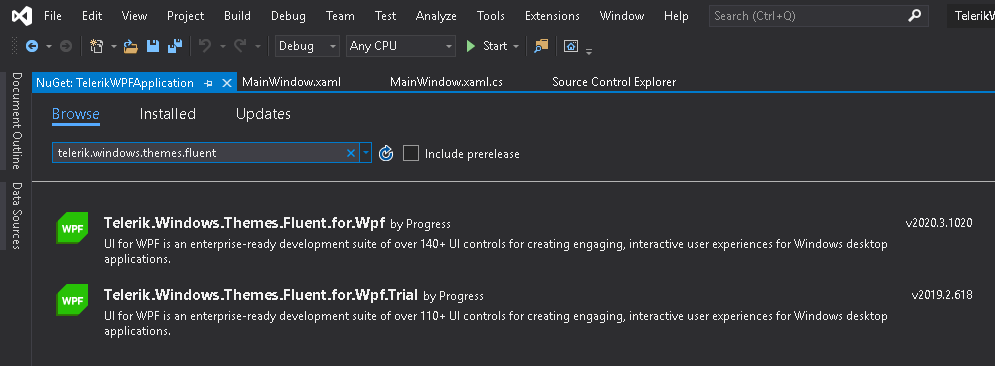
If you use NoXaml dlls and the implicit styles theming mechanism then you will need to install the package of the corresponding theme too. For example: Telerik.Windows.Themes.Fluent.
Adding Telerik Controls
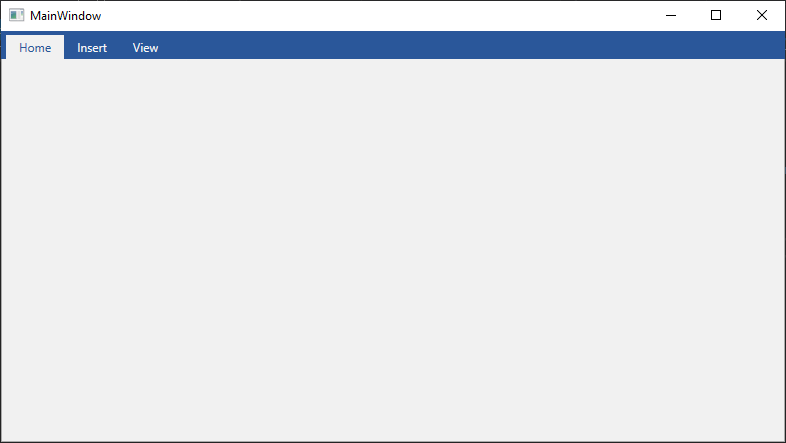
After you create the WPF project and install the NuGets, add any UI and related code-behind, models, and styles. This example will show a very basic setup which includes a RadTabControl with few tabs defined in XAML.
Example 1: Adding Telerik control in the UI
<Window x:Class="TelerikWpfApplication.MainWindow"
    xmlns="http://schemas.microsoft.com/winfx/2006/xaml/presentation"
    xmlns:x="http://schemas.microsoft.com/winfx/2006/xaml"
    xmlns:d="http://schemas.microsoft.com/expression/blend/2008"
    xmlns:mc="http://schemas.openxmlformats.org/markup-compatibility/2006"
    xmlns:local="clr-namespace:TelerikWpfApplication" xmlns:telerik="http://schemas.telerik.com/2008/xaml/presentation"
    mc:Ignorable="d"
    Title="MainWindow" Height="450" Width="800">
    <Grid>
        <telerik:RadTabControl>
            <telerik:RadTabItem Header="Home" />
            <telerik:RadTabItem Header="Insert" />
            <telerik:RadTabItem Header="View" />
        </telerik:RadTabControl>
    </Grid>
</Window>
Deploying the Application
To deploy a WPF application, you can use several different approaches, like XCopy, ClickOnce, or Windows Installer deployment. Read more about this in the Deploy a WPF Application MSDN article.
Redistributing Telerik Application
Several rules should be kept in mind when redistributing an application with Telerik dlls. Read more about this in the Redistributing Telerik Assemblies article.
Upgrading the Project
To upgrade the project, open the Nuget package manager in Visual Studio and repeat the approach described in the Installing Nugets section. When you have the NuGets already installed, you can select a newer (or older) version from the drop-down menu and use the Update button.

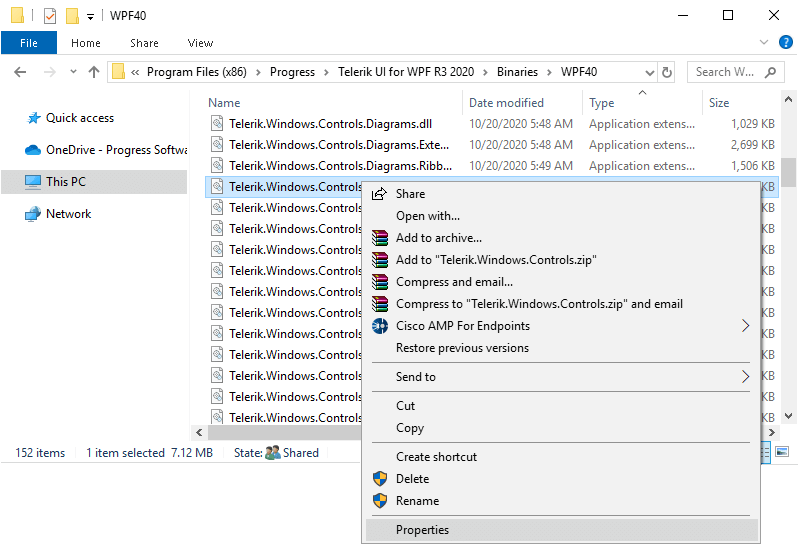
At this point, double-check if all the Telerik assemblies have the same version (for example, 2020.3.102) and if all or of the same type (Xaml or NoXaml). To check this, right-click the .dll file (for example, Telerik.Windows.Controls.dll) and choose the Properties option.

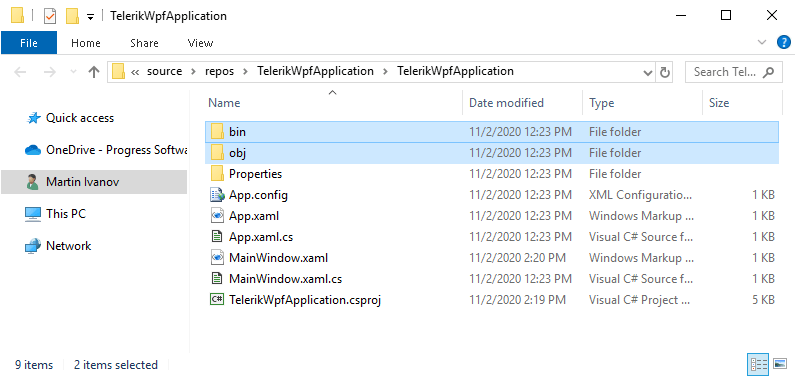
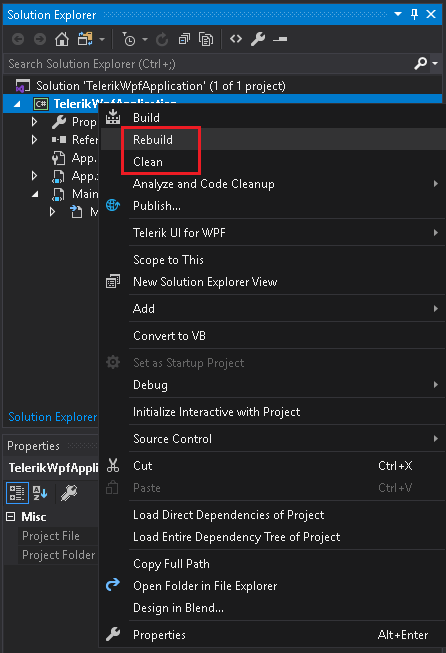
Delete the bin and obj folders of the projects that reference Telerik dlls in the solution and then Clean, and Rebuild them. This will ensure that no older Telerik dlls are cached and used during the compilation.