Getting Started with the .NET MAUI RichTextEditor
This article will guide you through the steps needed to add a basic RichTextEditor control in your application.
This guide provides the information you need to start using the Telerik UI for .NET MAUI RichTextEditor by adding the control to your project.
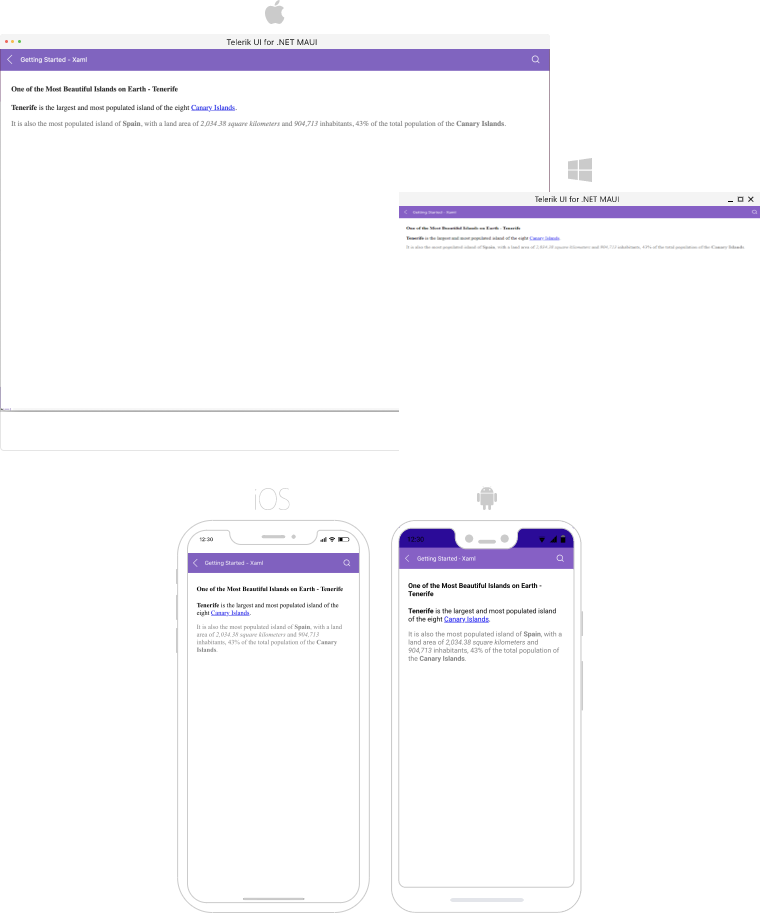
At the end, you will achieve the following result.
Prerequisites
Before adding the RichTextEditor, you need to:
Define the Control
When your .NET MAUI application is set up, you are ready to add a RichTextEditor control to your page. The following example shows a sample RichTextEditor definition.
RadRichTextEditorrelies on WebView for the rendering of HTML content. Some of the limitations for placing WebView on the page which are also valid for RichTextEditor:
Nesting
RadRichTextEditorinside a ScrollView control is not supported.RadRichTextEditorprovides its own scrolling mechanism.When the
RadRichTextEditoris placed inside aStackLayout, you need to set explicitly itsWidthRequestandHeightRequestproperties, otherwise the control will not render. This is becauseStackLayoutusually wants to size itself according to its children, but a WebView (since it does scrolling) wants to size itself to its parent. You can learn more about this in the .NET MAUI WebView documentation.You have to either use a Grid as a parent container or explicitly define the size of the RichTextEditor control.
1. Set up the RichTextEditor instance:
In addition to this, you need to add the following namespace:
2. Add the telerik namespaces:
Loading HTML Content
With RichTextEditor, users can create and edit HTML content. In some cases, you may need to load formatted text in advance—you can achieve this through the Source property of the control:
Register the Telerik controls through the Telerik.Maui.Controls.Compatibility.UseTelerik extension method called inside the CreateMauiApp method of the MauiProgram.cs file of your project:
For a runnable example with the RichTextEditor Getting Started scenario, see the SDKBrowser Demo Application and go to RichTextEditor > Getting Started category.