Getting Started with the .NET MAUI Map
This guide provides the information you need to start using the Telerik UI for .NET MAUI Map by adding the control to your project.
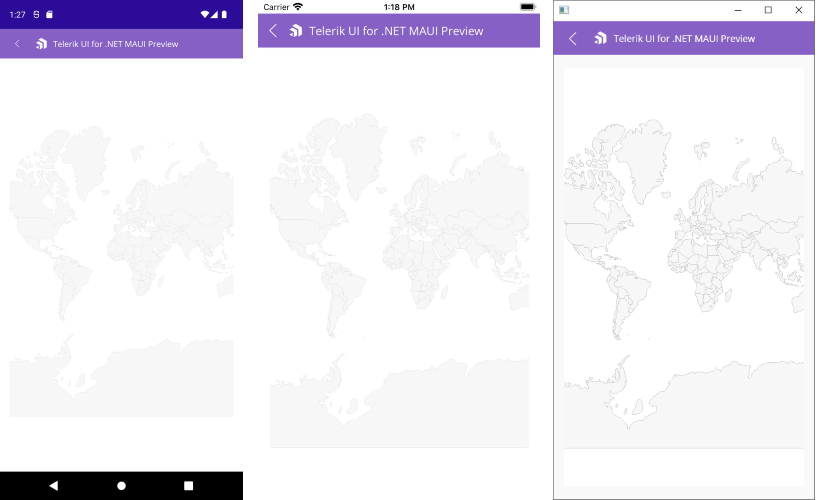
At the end, you will achieve the following result.
Prerequisites
Before adding the Map, you need to:
The Map is rendered through the SkiaSharp graphics library.
Define the Control
-
When your .NET MAUI application is set up, you are ready to add a Map control to your page.
<telerik:RadMap x:Name="map" AutomationId="map"> <telerik:RadMap.Layers> <telerik:MapShapefileLayer> <telerik:MapShapefileLayer.Reader> <telerik:MapShapeReader x:Name="reader"/> </telerik:MapShapefileLayer.Reader> </telerik:MapShapefileLayer> </telerik:RadMap.Layers> </telerik:RadMap> -
Add the following namespace:
xmlns:telerik="http://schemas.telerik.com/2022/xaml/maui" -
RadMapuses.shpfiles that contain the coordinates of the shapes that will be drawn by the map and an optional.dbffile for each.shpfile with additional attributes of the shapes.You need to assign the
.shpfile containing the data through theSourceproperty of theMapShapeReaderlike this:var assembly = this.GetType().Assembly; var source = MapSource.FromResource("SDKBrowserMaui.Examples.MapControl.world.shp", assembly); this.reader.Source = source;In the example the
.shpfile is loaded as anEmbeddedResource, other options can be used as well, please check them in the ShapefileLayer topic.
Additional Resources
- .NET MAUI Map Product Page
- .NET MAUI Map Forum Page
- Telerik .NET MAUI Blogs
- Telerik .NET MAUI Roadmap