Creating Font Icons
You can draw and add your own icons to the Telerik and Kendo UI Kits for Figma. The Unite UX plugin for Figma allows you to export these icons as font icons and use them in Unite UX.
Font icons are fonts files that contain symbols and glyphs instead of letters and numbers. You can style them by using CSS, and you can scale them.
The Telerik and Kendo UI kits for Figma deliver various vector icons in the form of convenient components. When you export these icons, the Unite UX plugin for Figma converts them to font icons with specific Unicodes that you can use to reference the individual font icons in the application.
To create new font icons, add them as vector paths to the Icons page in the Telerik and Kendo UI kits for Figma. Depending on your requirements, you can add your newly created icons to the existing frames with icons in the UI kit or to new frames dedicated to your collection of icons.
This article assumes that you are using the Telerik and Kendo UI kits for Figma as a starting point for your design.
Adding Icons to a UI Kit
To add several new icons, you can use the free space in the existing frames on the Icons page in your Telerik or Kendo UI kit for Figma—this is the approach demonstrated in this article. If you create a complete, new collection of icons, you will need to create new frames in the Icons page.
To add a new icon:
Select the desired frame in the UI kit, for example,
navigation-layout.-
Create the shape for your icon:
- Draw two rectangles with size
8 x 8. - Move the rectangles so that they partially overlap.
- Use the Union selection Boolean operation to combine the shapes.
- Select the newly created union, and then from the Boolean operations dropdown select Flatten selection.
All paths that constitute the icon must be merged into a single path. To achieve this, always use the Flatten selection option.
- Draw two rectangles with size
Select the union and set the Fill color. To match the color of the existing icons, select the
$button-textstyle.Right-click the newly created union shape and select Create component from the context menu.
![]()
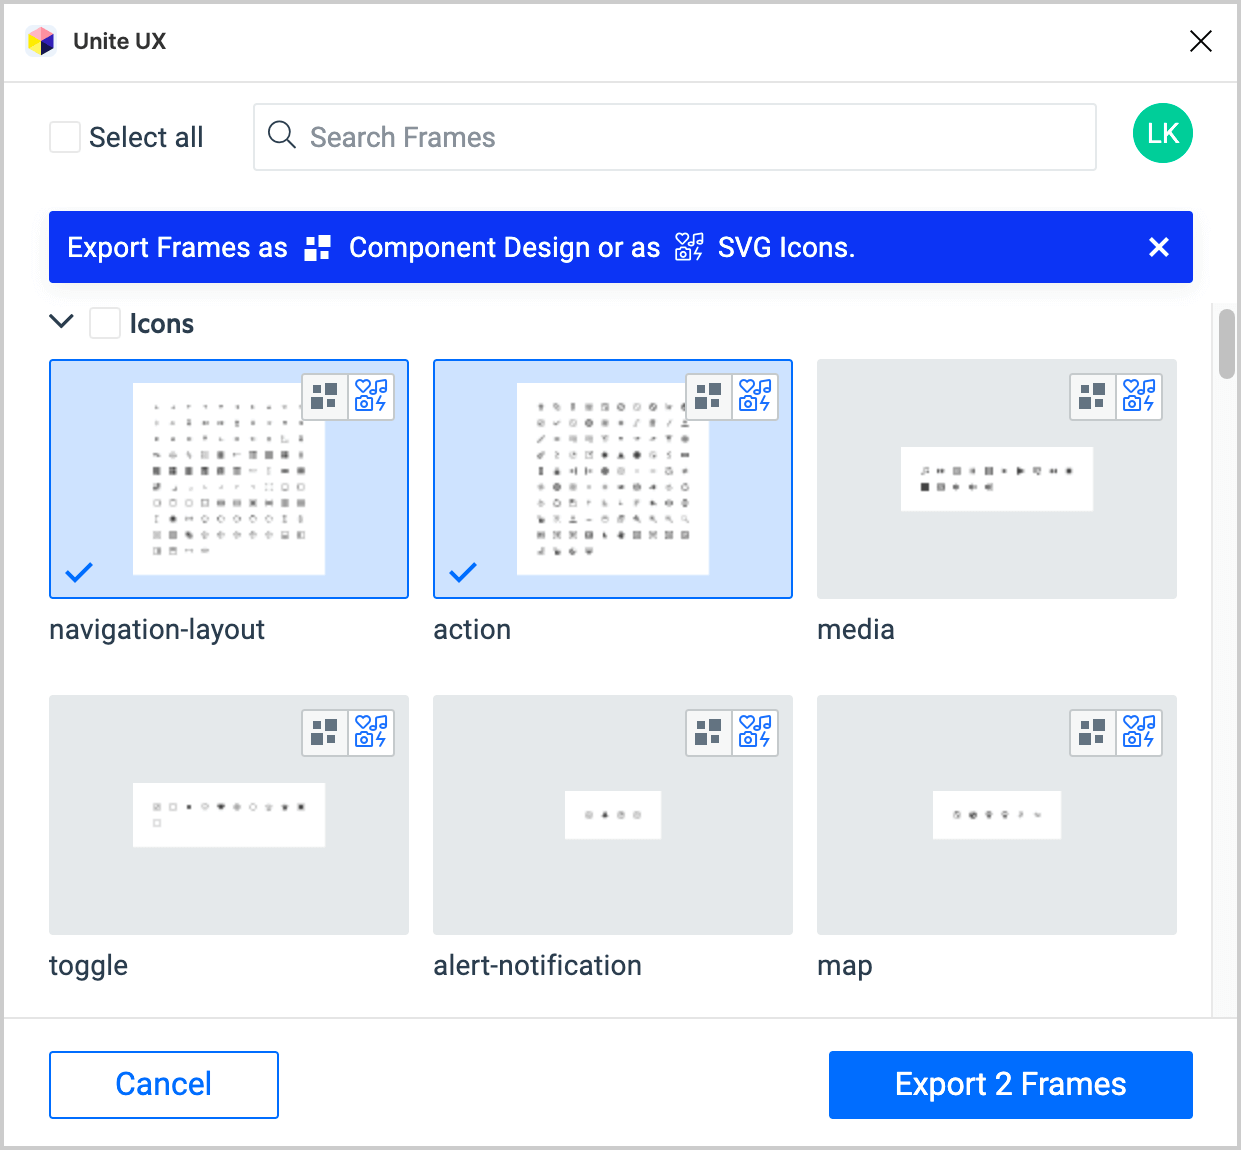
Exporting as Icons
Once you create your new icons and add them to the desired frames in the UI kit, proceed by exporting the icons to Unite UX. This procedure will convert them to font icons that will be ready to use in Unite UX.
By default, the Unite UX plugin automatically selects the type of frame that you export. When exporting icons, always verify that export as SVG Icons is selected.
Discrepancies between Icon Design and Generated Font
When you design icons in Figma and then convert them to font icons, the glyphs in the generated font may differ from the design. As a result, the generated font icon may represent a different shape. This common issue isn't specific to Unite UX and has been reported by many svgs-to-font services like IconMoon, Fontello, and others. For the solution, see the article Eliminating Discrepancies between Icon Design and Icon Fonts.