How to Remove the Header of the RadPane
The purpose of this tutorial is to show how to remove the Header of the RadPane.
For more information about the RadPane and its visual elements, read here.
Removing the RadPane’s Header
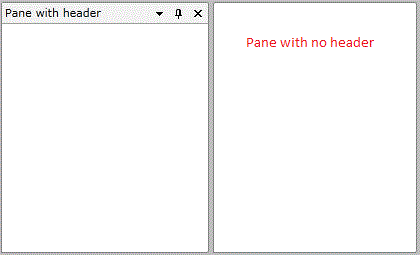
In order to remove the Header of the RadPane you have to set the PaneHeaderVisibility property to Collapsed.
<telerik:RadDocking Grid.Row="1">
    <telerik:RadSplitContainer InitialPosition="DockedBottom">
        <telerik:RadPaneGroup>
            <telerik:RadPane Header="Pane with header"/>
            <telerik:RadPane PaneHeaderVisibility="Collapsed"/>
        </telerik:RadPaneGroup>
    </telerik:RadSplitContainer>
</telerik:RadDocking>
After that the Panes will look like this:

Removing the RadDocumentPane’s Tab
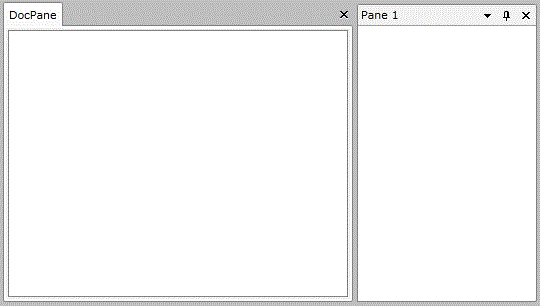
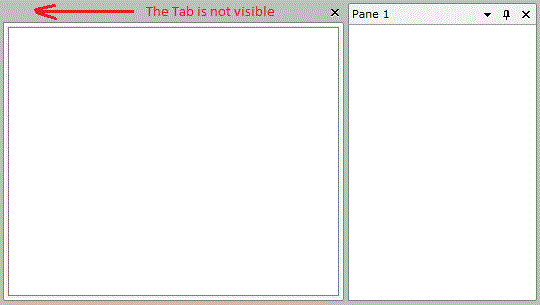
This is commonly misinterpreted as the RadPane’s Header, but here the PaneHeaderVisibility is not the property we need. The Tab of the RadDocumentPane is actually the Pane itself.

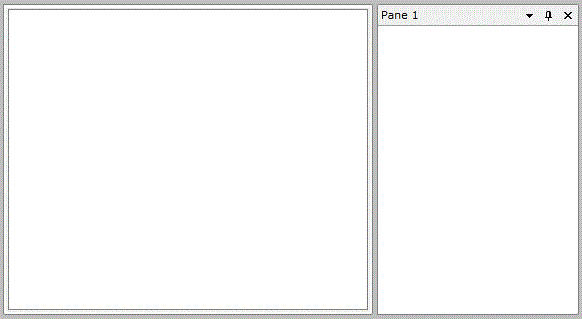
So to remove it and to leave only the border of the DocumentPane in the DocumentHost you will have to set its its Visibility property to Collapsed.
<telerik:RadDocking>
    <telerik:RadDocking.DocumentHost>
        <telerik:RadSplitContainer>
            <telerik:RadPaneGroup x:Name="docHostSplitContainer">
                <telerik:RadDocumentPane Header="DocPane" Visibility="Collapsed"/>
            </telerik:RadPaneGroup>
        </telerik:RadSplitContainer>
    </telerik:RadDocking.DocumentHost>
    <telerik:RadSplitContainer InitialPosition="DockedRight">
        <telerik:RadPaneGroup>
            <telerik:RadPane Header="Pane 1"/>
        </telerik:RadPaneGroup>
    </telerik:RadSplitContainer>
</telerik:RadDocking>

If you set the CanUserClose property of the RadDocumentPane the 'X' button will disappear as long with the grey area.
