Getting Started with the .NET MAUI Expander
This article will guide you through the steps needed to add a basic RadExpander control in your application.
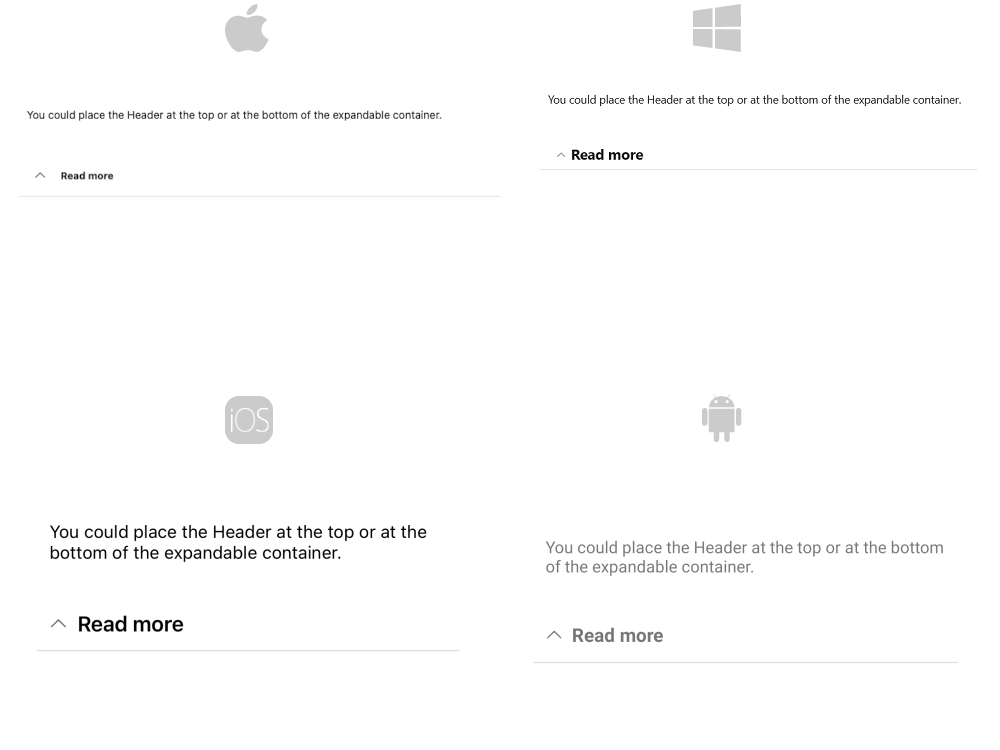
At the end, you will achieve the following result.
Prerequisites
Before adding the BadgeView, you need to:
Define the Control
The snippet below shows a simple RadExpander definition in XAML:
<telerik:RadExpander x:Name="expander" HeaderText="More Options" AutomationId="expander">
    <telerik:RadExpander.Content>
        <VerticalStackLayout Margin="5">
            <HorizontalStackLayout Spacing="10">
                <telerik:RadCheckBox VerticalOptions="Center"/>
                <Label Text="Make my profile private"
                       HeightRequest="60"
                       VerticalTextAlignment="Center"/>
            </HorizontalStackLayout>
            <HorizontalStackLayout Spacing="10" >
                <telerik:RadCheckBox VerticalOptions="Center" />
                <Label Text="Only show my posts to people who follow me"
                       HeightRequest="60"
                       VerticalTextAlignment="Center"/>
            </HorizontalStackLayout>
        </VerticalStackLayout>
    </telerik:RadExpander.Content>
</telerik:RadExpander>
To use the control in XAML, you need to add the following namespace:
xmlns:telerik="http://schemas.telerik.com/2022/xaml/maui"
The snippet below shows a simple RadExpander definition in C#:
var mainStack = new VerticalStackLayout { Margin = new Thickness(10) };
var expander = new RadExpander { HeaderText = "More Options" };

var stackContainer = new VerticalStackLayout { Margin = new Thickness(5) };
var firstCheckboxStack = new HorizontalStackLayout { Spacing = 10 };
firstCheckboxStack.Children.Add(new RadCheckBox() { VerticalOptions = LayoutOptions.Center });
firstCheckboxStack.Children.Add(new Label { Text = "Make my profile private", HeightRequest = 60, VerticalTextAlignment = TextAlignment.Center });
stackContainer.Children.Add(firstCheckboxStack);

var secondCheckboxStack = new HorizontalStackLayout { Spacing = 10 };
secondCheckboxStack.Children.Add(new RadCheckBox() { VerticalOptions = LayoutOptions.Center });
secondCheckboxStack.Children.Add(new Label { Text = "Only show my posts to people who follow me", HeightRequest = 60, VerticalTextAlignment = TextAlignment.Center });
stackContainer.Children.Add(secondCheckboxStack);

expander.Content = stackContainer;
mainStack.Children.Add(expander);
To use the control in C#, you need to add the following namespace:
using Telerik.Maui.Controls;
Register the Telerik controls through the Telerik.Maui.Controls.Compatibility.UseTelerik extension method called inside the CreateMauiApp method of the MauiProgram.cs file of your project:
 using Telerik.Maui.Controls.Compatibility;

 public static class MauiProgram
 {
    public static MauiApp CreateMauiApp()
    {
        var builder = MauiApp.CreateBuilder();
        builder
            .UseTelerik()
            .UseMauiApp<App>()
            .ConfigureFonts(fonts =>
            {
                fonts.AddFont("OpenSans-Regular.ttf", "OpenSansRegular");
            });

        return builder.Build();
    }
 }
For a runnable example with the Expander Getting Started scenario, see the SDKBrowser Demo Application and go to Expander > Getting Started category.
Additional Resources
- .NET MAUI Expander Product Page
- .NET MAUI Expander Forum Page
- Telerik .NET MAUI Blogs
- Telerik .NET MAUI Roadmap