Getting Started with the .NET MAUI Button
This guide provides the information you need to start using the Telerik UI for .NET MAUI Button by adding the control to your project.
The is part of Telerik UI for .NET MAUI, the most comprehensive UI suite for .NET MAUI! To try it out, sign up for a free 30-day trial and kickstart your cross-platform app development today.
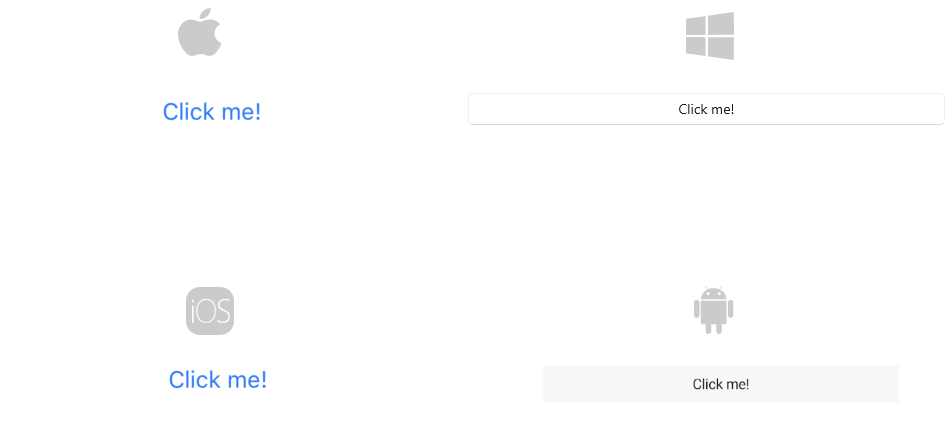
This is the default look of the RadButton control:
Prerequisites
Before adding the Button, you need to:
Define the Control
1. When your .NET MAUI application is set up, you are ready to add a Button control to your page:
2. Add the telerik namespace:
3. Register the Telerik controls through the Telerik.Maui.Controls.Compatibility.UseTelerik extension method called inside the CreateMauiApp method of the MauiProgram.cs file of your project:
For a runnable example with the Button Getting Started scenario, see the SDKBrowser Demo Application and go to Button > Getting Started.