Manage Built-In Data Source
Test Studio provides internal data table, which can be used to data drive a test. A built-in data table is available in each web test and can only be used from this particular test.
This article describes what options there are in Test Studio to maintain the content of the built-in table in order to drive test steps as desired. Follow this link for a complete end-to-end scenario how to data drive a test using the built-in table.
Open the Local Data in Web Test
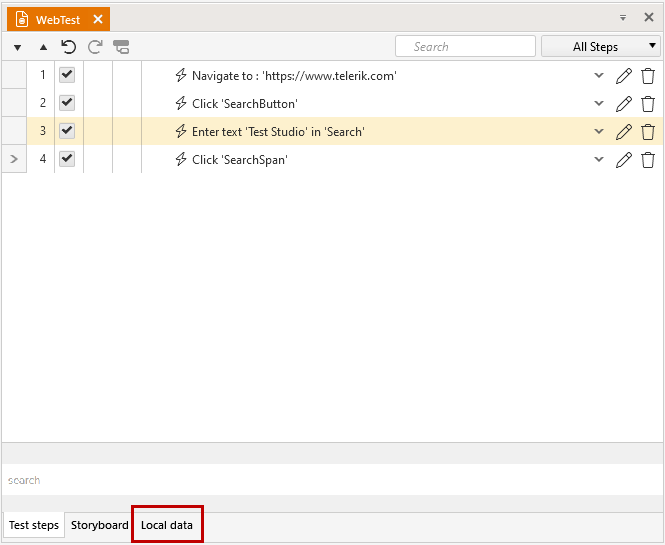
At the bottom of the test steps pane in the project you will see an additional tab named 'Local Data'. Click this one to switch to the built-in data table.
Create a New Data Table
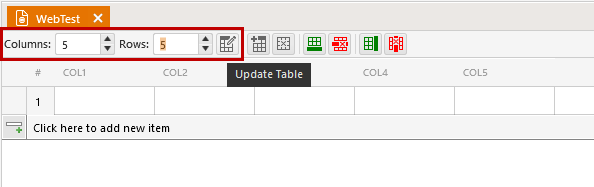
At the top of this pane there are few buttons and currently only Create a new data table is enabled. To add a new data grid, click this one. The default created grid has five columns and a single row.

Along with this, the rest of the buttons get active and allows you to modify the grid.
Modify the Data Table
Test Studio provides few options to easily modify a data table.
- Set number of rows and columns (columns are limited to 50) and update the grid
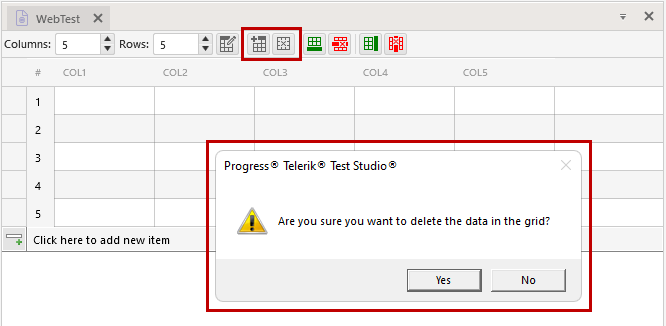
- Create new data table or remove current data table (both will prompt you the current data will be lost if you proceed)
- Add a row/Delete the last row or Add a column/Delete the last column
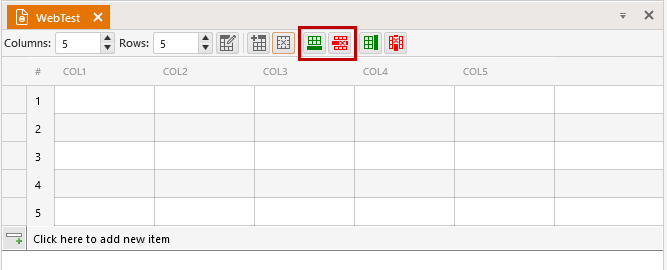 Add/Delete Row |
 Add/Delete Column |