Compact Recording Toolbar
The Compact Recording Toolbar minimizes the space used from Test Studio on your screen and keeps the application under test on focus. Along with that you can access the most used recording functionalities directly from the toolbar. The recorder can be easily re-positioned anywhere in the tested application, so it doesn't cover any of its elements.
The following article describes the functionalities of the Compact Recording Toolbar
- Moving the Compact Toolbar
- Enable/Disable Hover Over Highlighting
- Pause/Resume Recording
- Open the Advanced Recording Tools Window
- Switch the Toolbar Orientation
Move the Compact Recording Toolbar
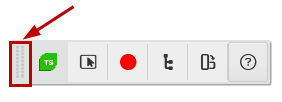
Place the mouse cursor over the dots in the left or top of the Recording Toolbar. Press and hold the left mouse button to drag and drop the toolbar anywhere over the tested application. This helps you get the testing area visible.
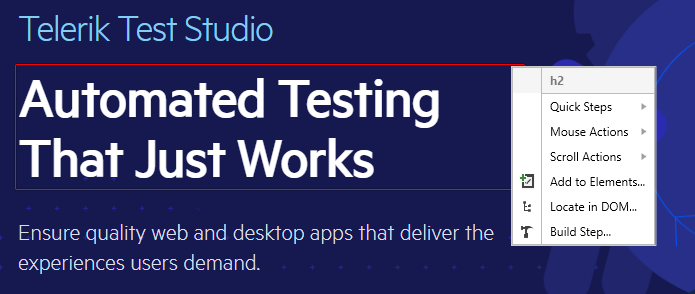
Enable Hover Over Highlighting
Hover Over Highlighting is one of the powerful features in the Test Studio recording flow. Once the highlighting is enabled, pause the mouse over an element in the recording application surface and wait for the elements menu to appear. This rich menu provides quick access to a set of relevant for the selected element functions right in the page or application you are testing - the quick wait and verify steps, the mouse actions and scroll actions.
Tip
The keyboard shortcut to toggle the highlighting on or off is the Pause/Break key. It can be helpful in situation when you need to keep the focus on the hovered element.
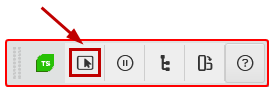
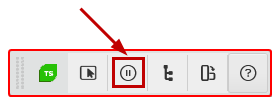
Pause/Resume Recording Mode
Once the Compact Recording Toolbar is attached to the tested application, it is in active recording mode and has a red border all around. You can pause the recording, by pressing the Pause button.
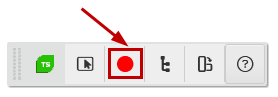
When in paused mode, you see the Record button which allows you to return to recording mode again.
Tip
The keyboard shortcut to pause or resume the recording is the Print Screen key.
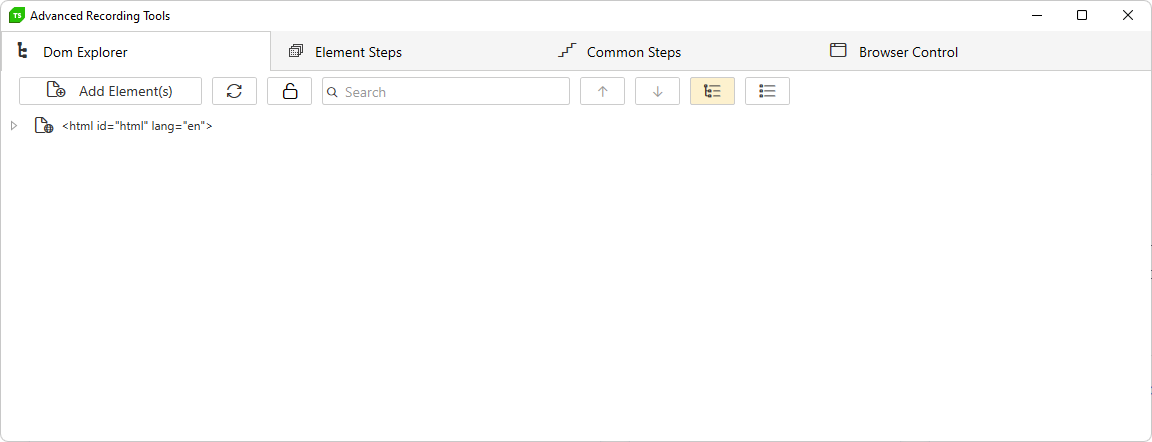
Advanced Recording Tools
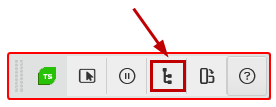
From the Compact Recording Toolbar you can also access the Advanced Recording Tools window where you have access to the complete set of recording options.
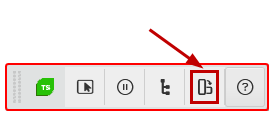
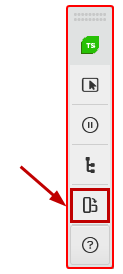
Toolbar Orientation
Choose between vertical and horizontal Compact Recording Toolbar and move it around inside or outside the tested application.
 |
 |