Getting Started with WinUI Scheduler
This tutorial will walk you through the creation of a sample application that contains RadScheduler.
Assembly References
In order to use the RadScheduler control in your projects, you have to add references to the following assemblies:
Telerik.WinUI.Controls.dllTelerik.Licensing.Runtime.dll
Adding RadScheduler to the Project
You can add RadScheduler manually by writing the XAML code in Example 1.
You can access the RadScheduler control through an alias pointing to the Telerik.UI.Xaml.Controls.Primitives namespace:
xmlns:telerik="using:Telerik.UI.Xaml.Controls"
Example 1: Adding RadScheduler in XAML
<telerik:RadScheduler />
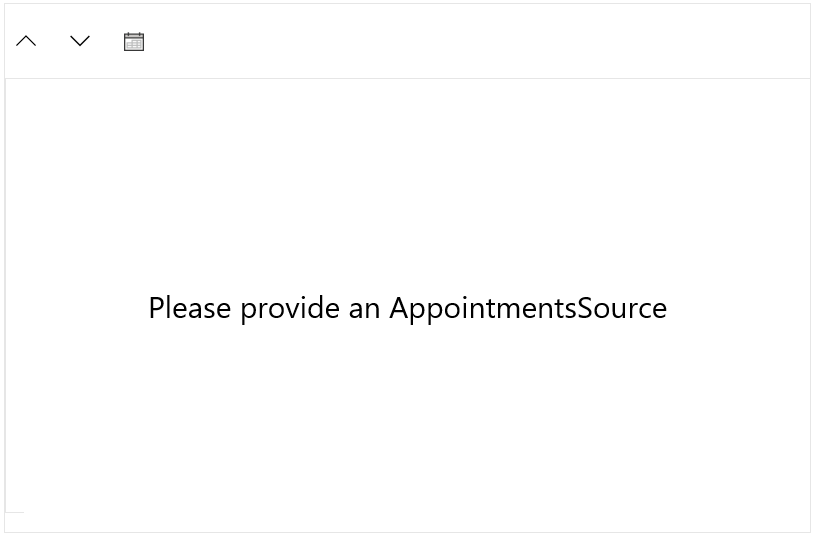
Figure1: The empty Scheduler generated by the code in Example 1
Populating with Data
In order to populate RadScheduler with data, you should bind its AppointmentsSource property to a collection of Appointment objects. First, create a ViewModel class containing an BindableCollection of Appointments as shown in Example 3.
Example 3: View Model containing an BindableCollection of Appointments
public class MyViewModel
{
    private BindableCollection<Appointment> appointments;

    public BindableCollection<Appointment> Appointments
    {
        get
        {
            if (this.appointments == null)
            {
                this.appointments = this.CreateAppointments();
            }
            return this.appointments;
        }
    }

    private BindableCollection<Appointment> CreateAppointments()
    {
        BindableCollection<Appointment> apps = new BindableCollection<Appointment>();

        var app1 = new Appointment()
        {
            Subject = "Front-End Meeting",
            Start = DateTime.Today.AddHours(9),
            End = DateTime.Today.AddHours(10)
        };
        apps.Add(app1);

        var app2 = new Appointment()
        {
            Subject = "Planning Meeting",
            Start = DateTime.Today.AddHours(11),
            End = DateTime.Today.AddHours(12)
        };
        apps.Add(app2);

    return apps;
    }
}
Example 4 demonstrates how you can bind the AppointmentsSource collection in XAML. The local namespace in the example corresponds to the namespace where MyViewModel resides.
Example 3: Set DataContext
public Example()
{
    this.InitializeComponent();
    this.DataContext = new MyViewModel();
}
Example 4: Bind RadScheduler
<telerik:RadScheduler AppointmentsSource="{Binding Appointments}" />
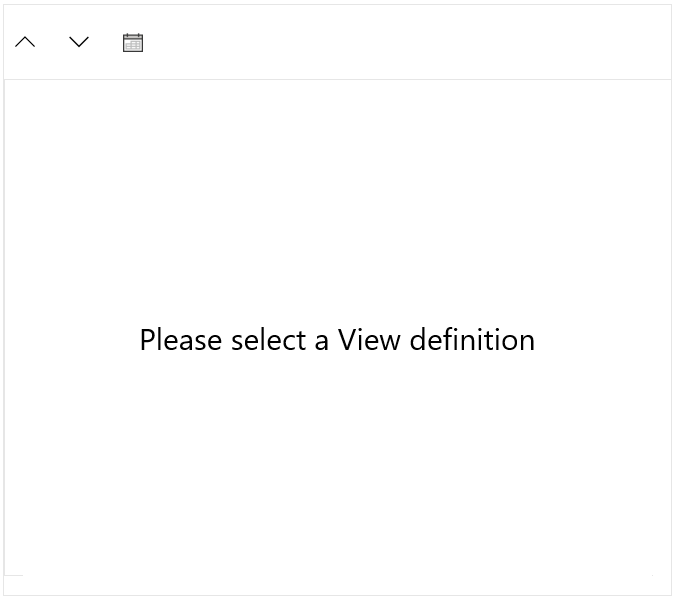
Figure2: The empty ScheduleView generated by the code in Example 4
Adding ViewDefinitions
Example 5 demonstrates how you can add a DayViewDefinition to the RadScheduler control:
Example 5: Add DayViewDefinition
<telerik:RadScheduler AppointmentsSource="{Binding Appointments}">
    <telerik:RadScheduler.ViewDefinitions>
        <telerik:DayViewDefinition />
    </telerik:RadScheduler.ViewDefinitions>
</telerik:RadScheduler>
You can add more than one ViewDefinition. There are four view definitions available:
- DayViewDefinition
- WeekViewDefinition
- TimelineViewDefinition
- MonthViewDefinition
- AgendaViewDefinition
For additional details, see the ViewDefinitions Overview topic.
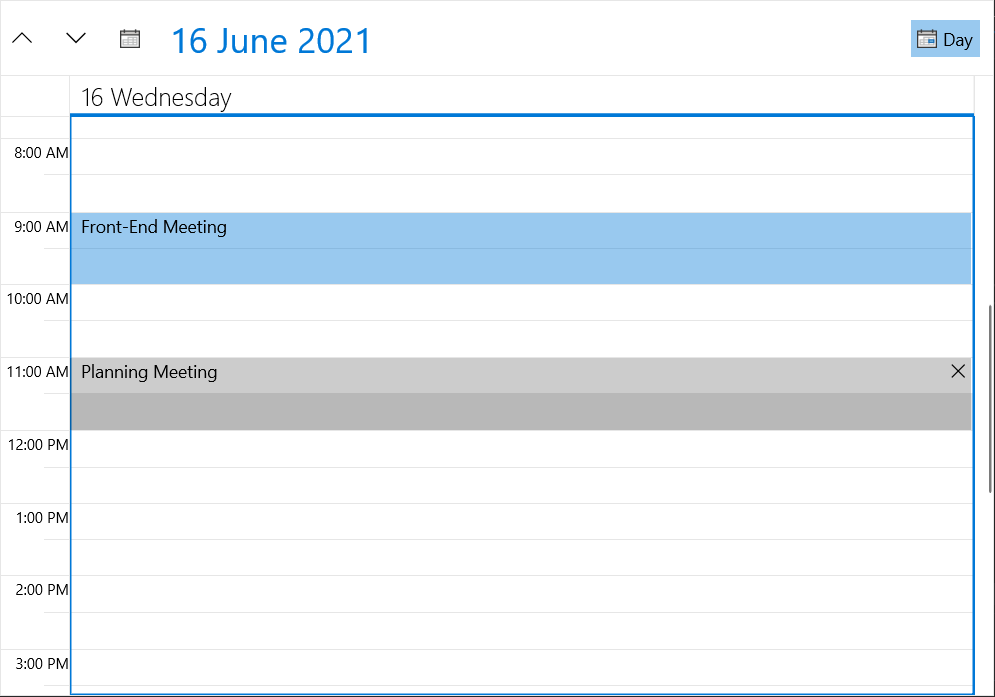
Running the application containing the code from Examples 1 - 5 will result in a populated RadScheduler, similar to Figure 3.
Figure 3: RadScheduler bound to a collection of Appointments
Resources, Grouping
Using Resources you can associate additional information with the Appointments. Moreover, you can group the Appointments in RadScheduler according to the Resources assigned to them. For detailed information on this functionality, see the Resources topic.
Telerik UI for WinUI Learning Resources
- Telerik UI for WinUI Scheduler Component
- Getting Started with Telerik UI for WinUI Components
- Telerik UI for WinUI Installation
- Telerik UI for WinUI Examples
- Telerik UI for WinUI Accessibility
- Telerik UI for WinUI License Agreement