Getting Started with WinUI CollectionNavigator
This guide provides the information you need to start using the Telerik UI for WinUI CollectionNavigator by adding the component to your project.
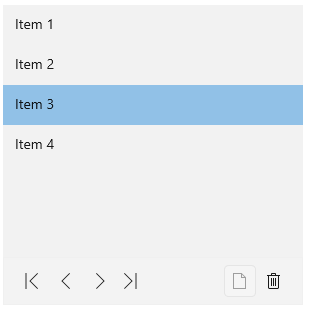
At the end, you will be able to achieve the following result.
Prerequisites
Before adding the CollectionNavigator, you need to:
-
Create your Telerik UI for WinUI application and install the Telerik UI for WinUI components depending on the required installation approach:
Add the Assembly References
To use the CollectionNavigator component, add references to Telerik.WinUI.Controls.dll and Telerik.Licensing.Runtime.dll.
Define the Component
To start using the CollectionNavigator, you need to initialize it and assign its Source property.
Setting up the data
this.LayoutRoot.DataContext = new List<string>()
{
    "Item 1",
    "Item 2",
    "Item 3",
    "Item 4",
};
Define the CollectionNavigator in XAML
<Grid x:Name="LayoutRoot" >
    <Grid.RowDefinitions>
        <RowDefinition Height="*"/>
        <RowDefinition Height="Auto" />
    </Grid.RowDefinitions>
    <ListBox ItemsSource="{Binding ElementName=collectionNavigator, Path=CollectionView}" />
    <telerikControls:RadCollectionNavigator x:Name="collectionNavigator" Source="{Binding}" Grid.Row="1" />
</Grid>