Getting Started with WinForms TimePicker
This article shows how you can start using RadTimePicker.
| RELATED VIDEOS | |
|---|---|
|
Getting Started with RadTimePicker for WinForms This video demonstrates the new RadTimePicker control as well as several properties you should be aware of. |
 |
Adding Telerik Assemblies Using NuGet
To use RadTimePicker when working with NuGet packages, install the Telerik.UI.for.WinForms.AllControls package. The package target framework version may vary.
Read more about NuGet installation in the Install using NuGet Packages article.
With the 2025 Q1 release, the Telerik UI for WinForms has a new licensing mechanism. You can learn more about it here.
Adding Assembly References Manually
When dragging and dropping a control from the Visual Studio (VS) Toolbox onto the Form Designer, VS automatically adds the necessary assemblies. However, if you're adding the control programmatically, you'll need to manually reference the following assemblies:
- Telerik.Licensing.Runtime
- Telerik.WinControls
- Telerik.WinControls.UI
- TelerikCommon
The Telerik UI for WinForms assemblies can be install by using one of the available installation approaches.
Defining the RadTimePicker
This tutorial will demonstrate how to get started with RadTimePicker control, its functionalities and customization abilities:
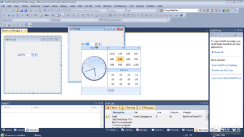
Drag RadTimePicker from the toolbox to the form.
Modify the desired minute’s interval by setting the Step property.
Set hour format by modifying the Culture property. For example "en-US" uses 12 hour format while “en-GB” uses 24 hour format.
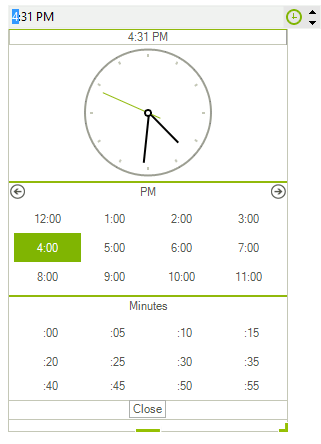
Set the ClockPosition property to ClockAboveTables to display the clock on the top of the popup.
If needed you can set the NullText property this is the text which will be displayed in the control value is null
Here is how the control will look like, after the modifications:

See Also
Telerik UI for WinForms Learning Resources
- Telerik UI for WinForms Timepicker Component
- Getting Started with Telerik UI for WinForms Components
- Telerik UI for WinForms Setup
- Telerik UI for WinForms Application Modernization
- Telerik UI for WinForms Visual Studio Templates
- Deploy Telerik UI for WinForms Applications
- Telerik UI for WinForms Virtual Classroom(Training Courses for Registered Users)
- Telerik UI for WinForms License Agreement)