Getting Started
This article will guide you through the steps needed to add a basic RadMap control in your application.
1. Setting up the app
Take a look at these articles and follow the instructions to setup your app:
2. Adding the required Telerik references
You have two options:
- Add the Telerik UI for Xamarin Nuget package following the instructions in Telerik NuGet package server topic.
If you don't want to add the all Telerik.UI.for.Xamarin nuget package, you have the option to add a separate nuget package. For RadMap control you have to install the Telerik.UI.for.Xamarin.Map nuget package. This nuget will automatically refer the Telerik.UI.for.Xamarin.Common, Telerik.UI.for.Xamarin.Primitives, Telerik.UI.for.Xamarin.DataControls, SkiaSharp and ShiaSharp.Views.Forms nuget packages.
- Add the references to Telerik assemblies manually, check the list below with the required assemblies for RadMap component:
| Platform | Assemblies |
|---|---|
| Portable | Telerik.XamarinForms.Common.dll Telerik.XamarinForms.Map.dll |
| Android | Telerik.Xamarin.Android.Common.dll Telerik.XamarinForms.Common.dll Telerik.XamarinForms.Map.dll |
| iOS | Telerik.Xamarin.iOS.dll Telerik.XamarinForms.Common.dll Telerik.XamarinForms.Map.dll |
| UWP | Telerik.Core.dll Telerik.UI.Xaml.Primitives.UWP.dll Telerik.XamarinForms.Common.dll Telerik.XamarinForms.Map.dll |
RadMap is rendered via the SkiaSharp graphics library so you need to install also SkiaSharp and SkiaSharp.Views.Forms in all projects of the Xamarin solution (portable, android, ios, etc).
3. Adding RadMap control
You could use one of the following approaches:
Drag the control from the Toolbox.
Take a look at the following topics on how to use the toolbox:
Create the control definition in XAML or C#.
The snippet below shows a simple RadMap definition:
<telerikMap:RadMap x:Name="map">
    <telerikMap:RadMap.Layers>
        <telerikMap:ShapefileLayer>
            <telerikMap:ShapefileLayer.Reader>
                <telerikMap:MapShapeReader x:Name="reader"/>
            </telerikMap:ShapefileLayer.Reader>
        </telerikMap:ShapefileLayer>
    </telerikMap:RadMap.Layers>
</telerikMap:RadMap>
var map = new RadMap();

var assembly = this.GetType().Assembly;
var shapeFileLayer = new ShapefileLayer()
{
    Reader = new MapShapeReader() { Source = MapSource.FromResource("SDKBrowser.Examples.MapControl.world.shp", assembly) }
};
map.Layers.Add(shapeFileLayer);
In addition to this, you need to add the following namespace:
xmlns:telerikMap="clr-namespace:Telerik.XamarinForms.Map;assembly=Telerik.XamarinForms.Map"
using Telerik.XamarinForms.Map;
RadMap uses *.shp files that contain the coordinates of the shapes that will be drawn by the map and an optional *.dbf file for each *.shp file with additional attributes of the shapes.
You would need to assign the .shp file containing the data through the Source property of the MapShapeReader like this:
var assembly = this.GetType().Assembly;
var source = MapSource.FromResource("SDKBrowser.Examples.MapControl.world.shp", assembly);
this.reader.Source = source;
In the example the .shp file is loaded as an EmbeddedResource, there are other options as well, please check them in the ShapefileLayer topic.
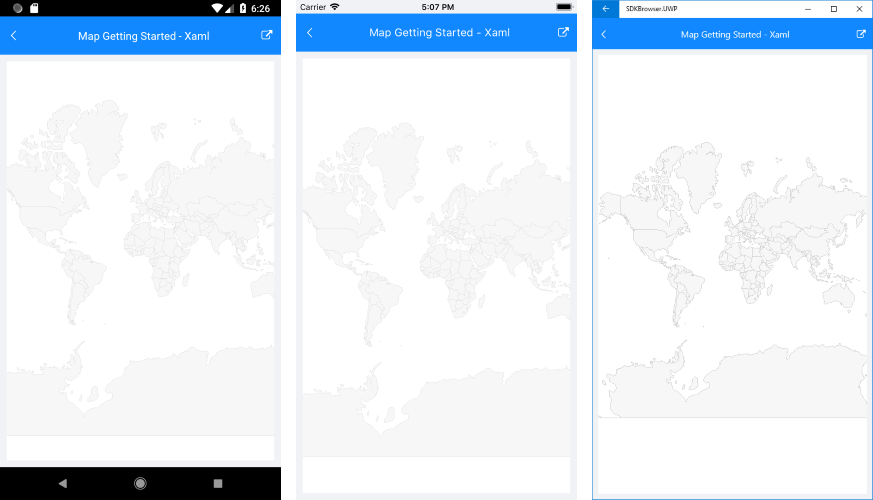
This is the result:
SDK Browser and QSF applications contain different examples that show RadMap's main features. You can find the applications in the Examples and QSF folders of your local Telerik UI for Xamarin installation.