Recording Video
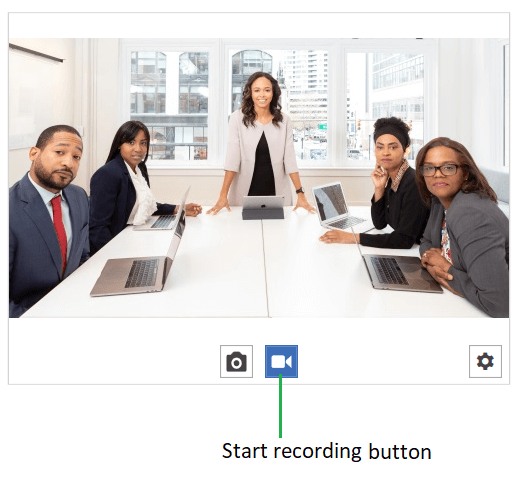
To start recording a video you can press the "Start recording" button or call the StartRecording method of the RadWebCam control.
To enable video recording set the RecordingFilePath property of the control. This is the path to the video where the recording will be stored.
Set the recording file path in XAML
<telerik:RadWebCam RecordingFilePath="C:\temp\video.mp4"/>
Set the recording file path in code
string videoFileName = Path.Combine(Environment.GetFolderPath(Environment.SpecialFolder.Desktop), "video.mp4");

// If there is no "video.mp4" file, such file will get created. If the file exists, it will get overridden.
radWebCam.RecordingFilePath = videoFileName

radWebCam.StartRecording();
StopRecording method of RadWebCam. This will stop the recording and close the file stream.
Stop capturing a video
radWebCam.StopRecording();
IsRecording property.
Setting the
IsRecordingproperty of RadWebCam will also start or stop the recording.
Elapsed Time Format
The control allows you to replace the default elapsed date-time format. To do this, set the VideoRecordingElapsedTimeFormat property of the RadWebCam control.
Elapsed time default format

Set VideoRecordingElapsedTimeFormat in XAML
<telerik:RadWebCam VideoRecordingElapsedTimeFormat="ss" />
Set VideoRecordingElapsedTimeFormat in code
this.radWebCam.VideoRecordingElapsedTimeFormat = "ss";