Migrating to .NET
This article shows how to migrate from an existing WinForms .NET Framework project to a .NET project (.NET 8 or later).
Before proceeding with this article please make sure that the following requirements are met:
- Visual Studio 2022 v17.0 and newer
- Telerik UI for WinForms NuGet package installed
Example
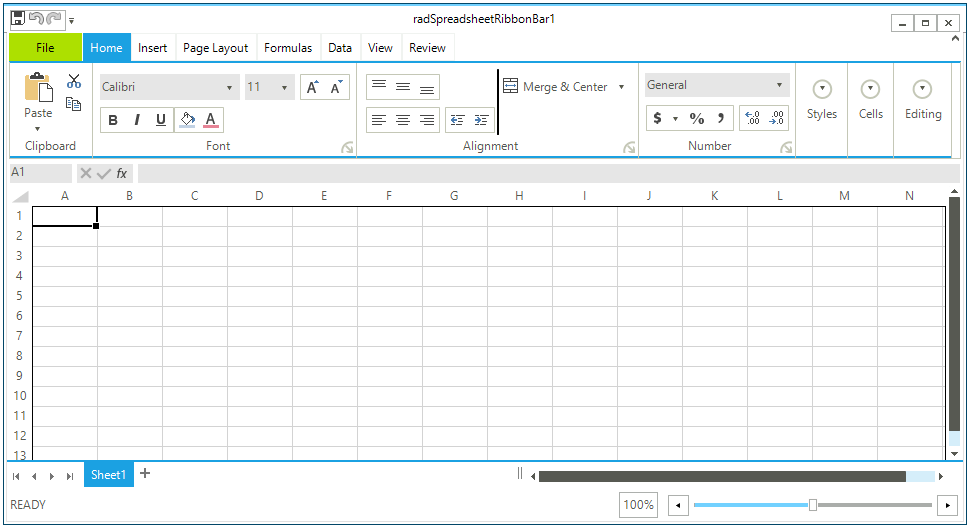
1. Create a new WinForms application using one of our templates. This way you will have a fully functional application that you will migrate to .NET. You can use any application that uses the Telerik UI for Winforms controls as well.
In this case I am using the excel inspired template.
Figure 1: New Application

You can check your application compatibility with the following tool: The Portability Analyzer
2. You need to create a WinForms .NET project. Currently this can be done from the Conosle. Open a new Development Command Prompt for VS2017 and type the following command (you can use any preferred directory).
Creating WinForms project from the Command Prompt
C:\core_projects>dotnet new WinForms -o MyWinformsApp1
Once this is done you will see the following message.

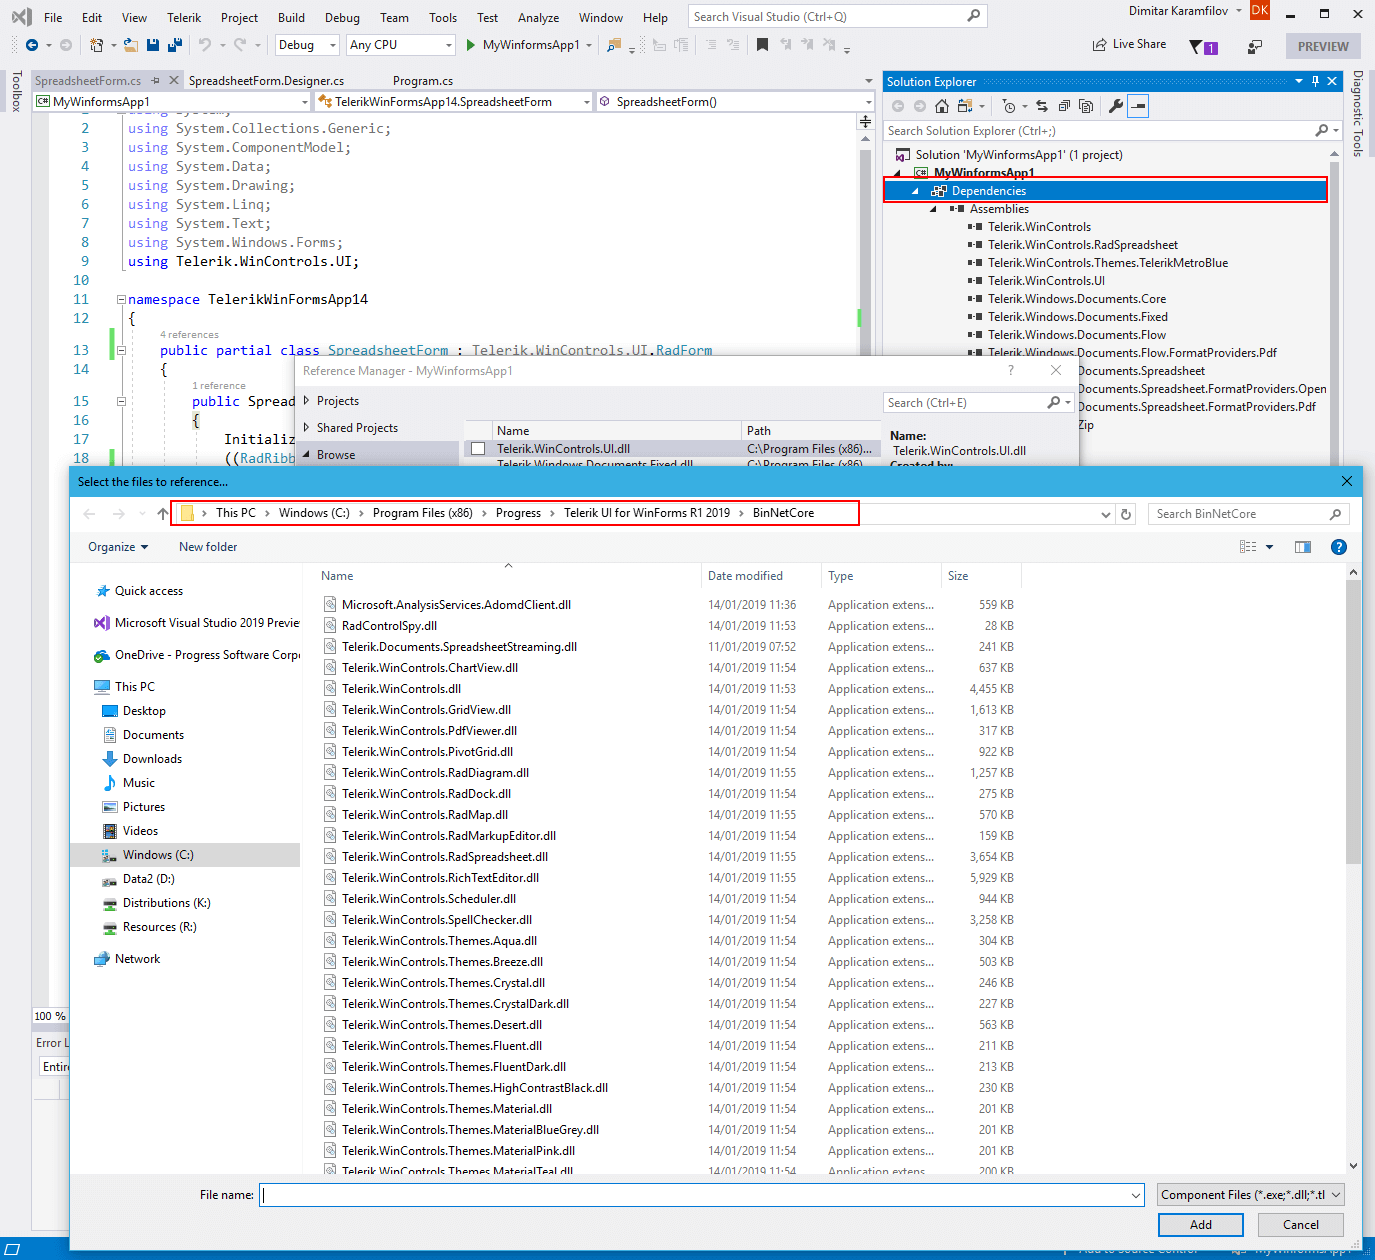
3. Now open the project in Visual Studio 2022. Go to the Solution Explorer and right click dependencies and then click Add Reference. Navigate to the install folder of the winforms suite and choose the NetCore folder. Select all required assemblies (you can see them in the standard project).

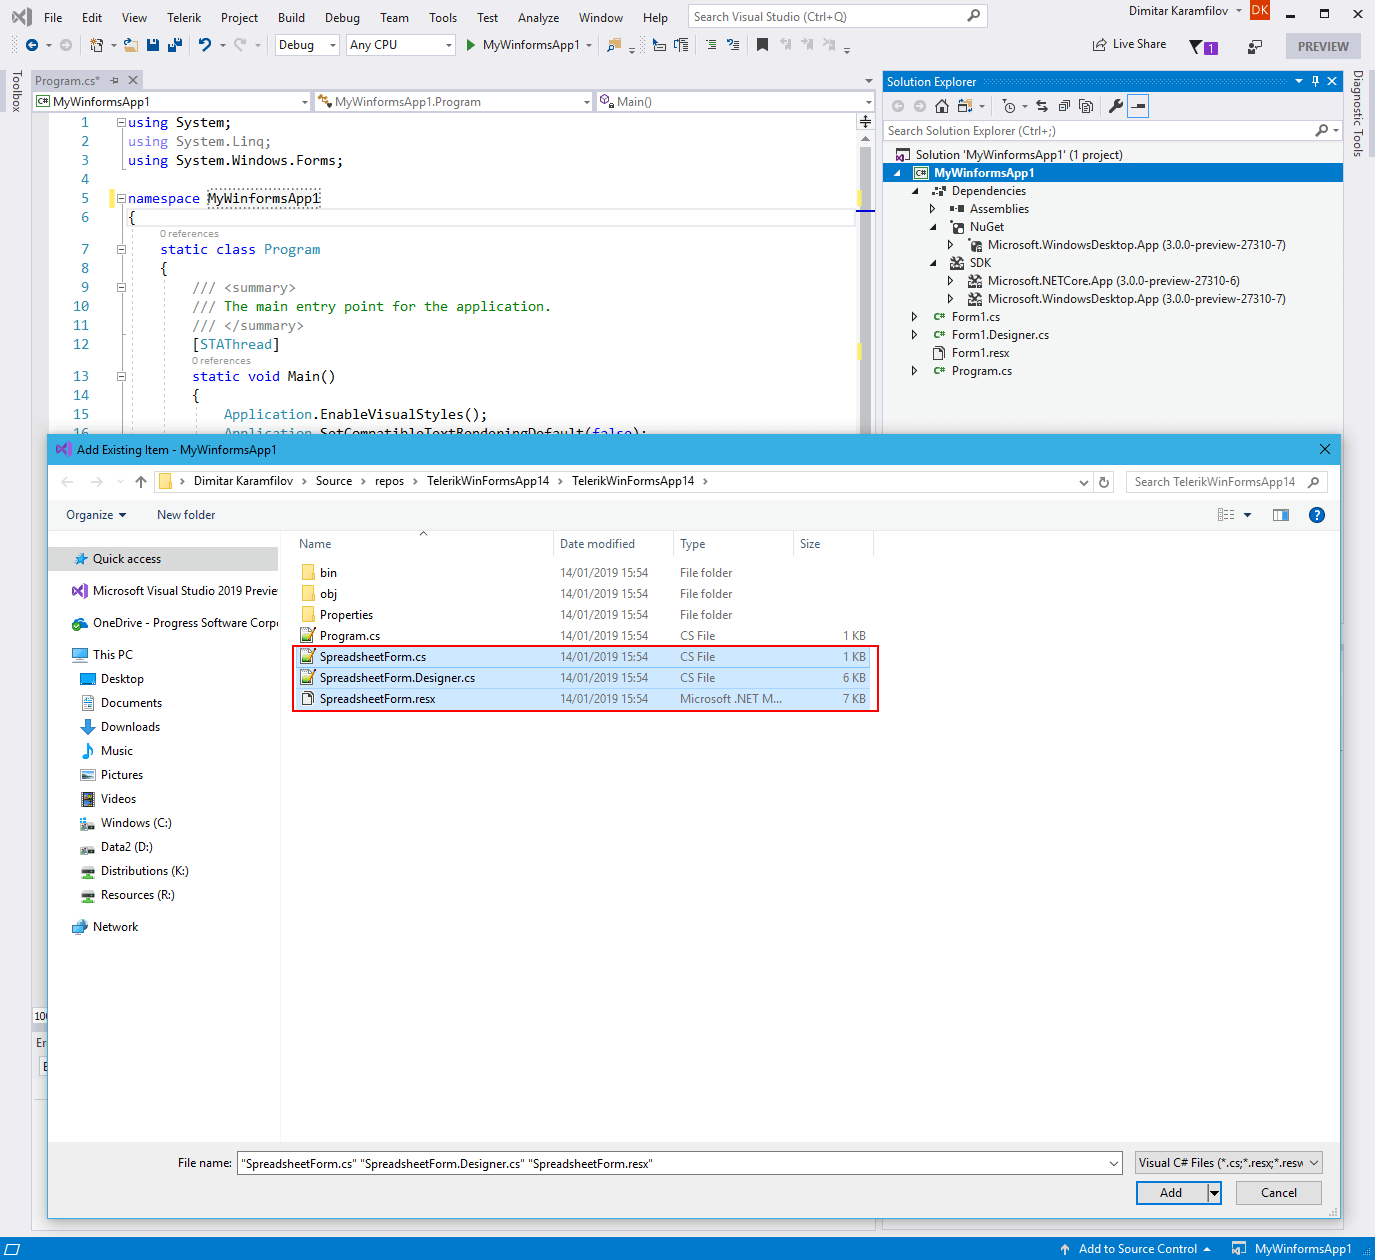
4. In Visual Studio 2022 go to Project -> Add Existing Item. Navigate to the standard application and select the form files.

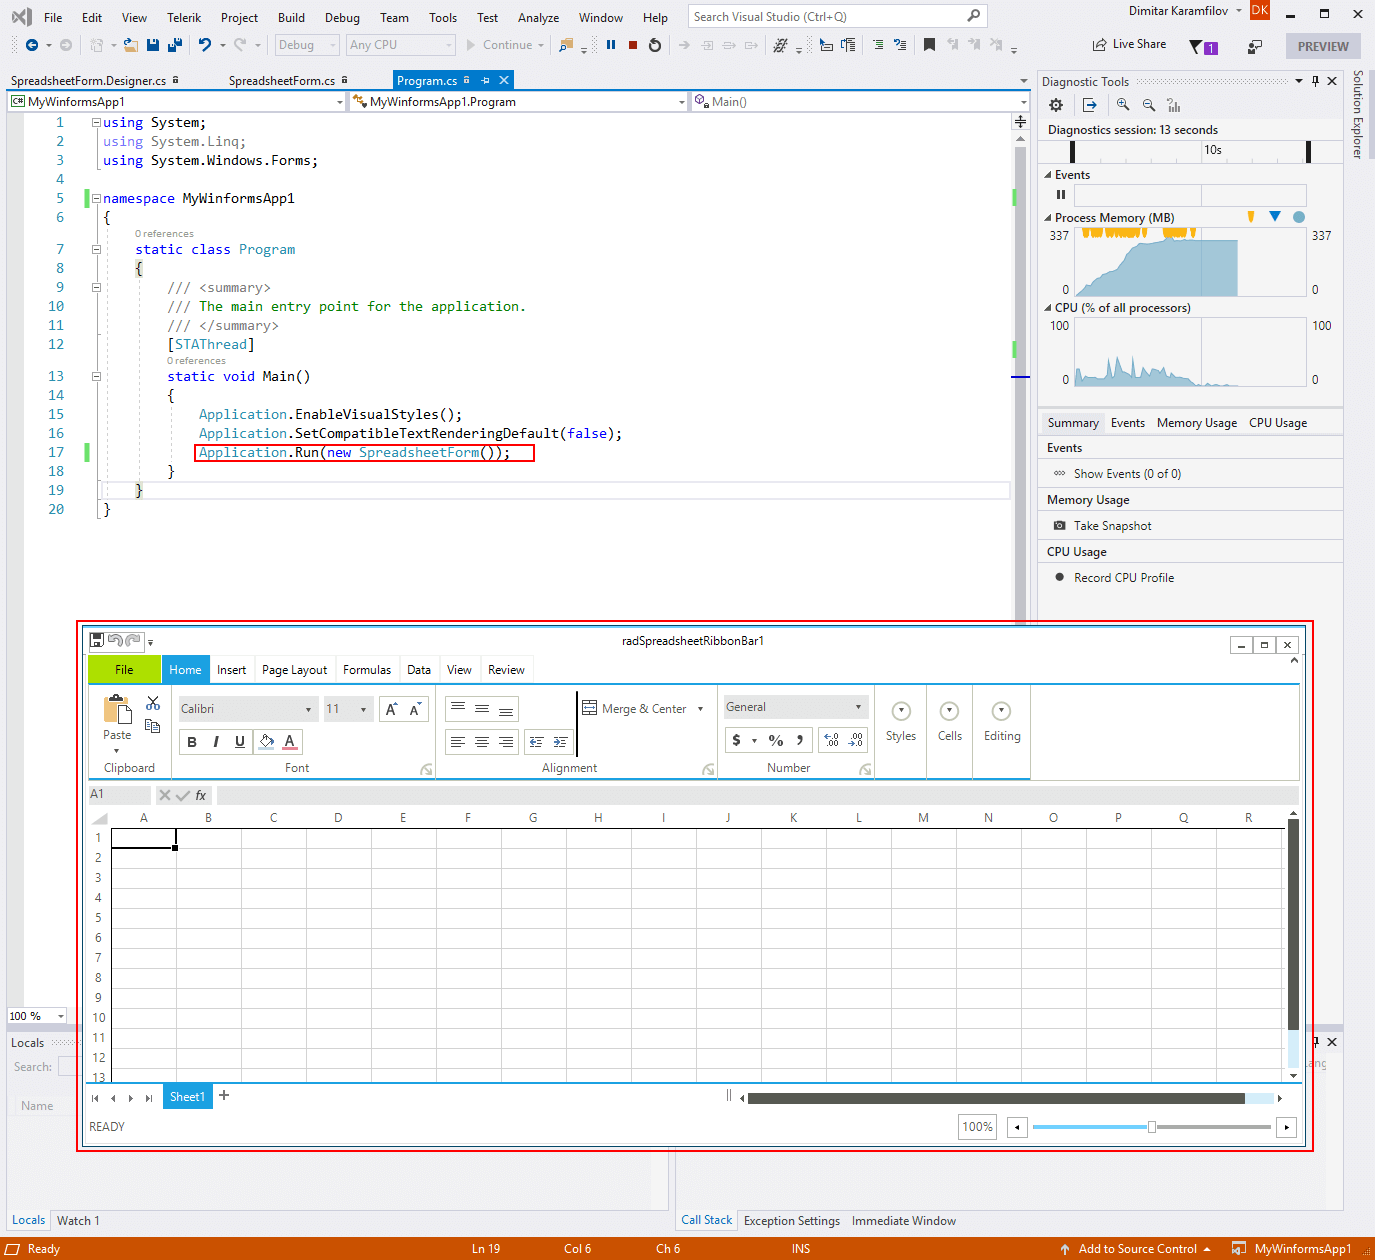
5.Change the namespace in the newly added files to MyWinformsApp1 and then change the startup form in the Program.cs file. That is all, now you can start the new application.
