Getting Started with WinForms ValidationProvider
This tutorial will help you to quickly get started using the control.
Adding Telerik Assemblies Using NuGet
To use RadValidationProvider when working with NuGet packages, install the Telerik.UI.for.WinForms.AllControls package. The package target framework version may vary.
Read more about NuGet installation in the Install using NuGet Packages article.
With the 2025 Q1 release, the Telerik UI for WinForms has a new licensing mechanism. You can learn more about it here.
Adding Assembly References Manually
When dragging and dropping a control from the Visual Studio (VS) Toolbox onto the Form Designer, VS automatically adds the necessary assemblies. However, if you're adding the control programmatically, you'll need to manually reference the following assemblies:
- Telerik.Licensing.Runtime
- Telerik.WinControls
- Telerik.WinControls.UI
- TelerikCommon
The Telerik UI for WinForms assemblies can be install by using one of the available installation approaches.
Defining the RadValidationProvider
This article will give you getting started experience with RadValidationProvider without using any code.
The TelerikMetro theme is used for the screenshots in this article.
-
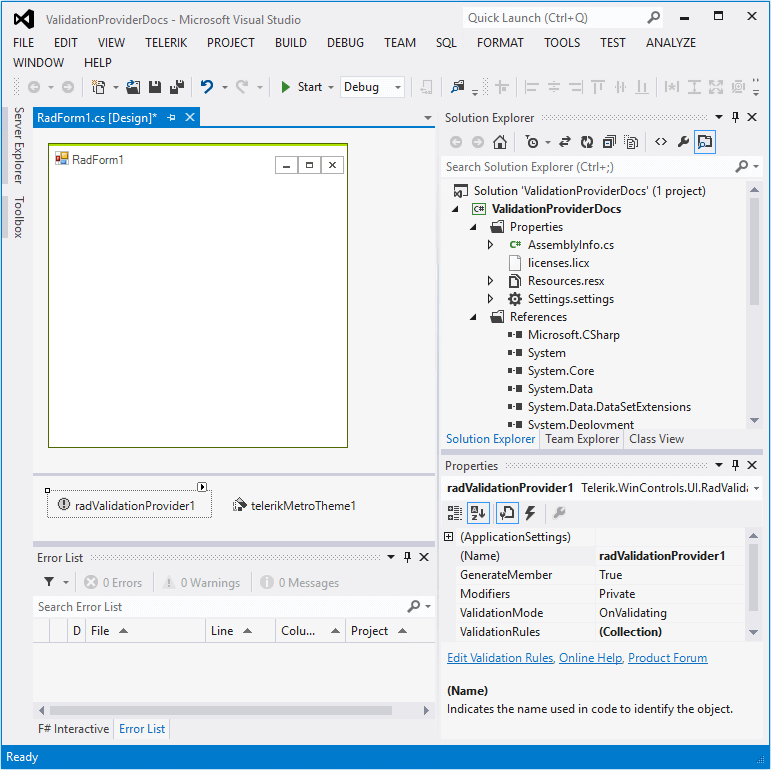
To start using RadValidationProvider just drag it from the toolbox and drop it onto the form:
-
Drag one RadTextBox and two RadDateTimePicker controls from the toolbox.

-
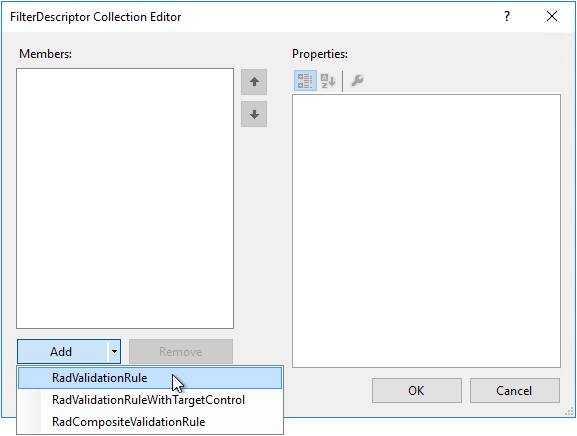
Open the FilterDescriptor Collection Editor by clicking the Edit Validation Rules option in the Smart tag.

-
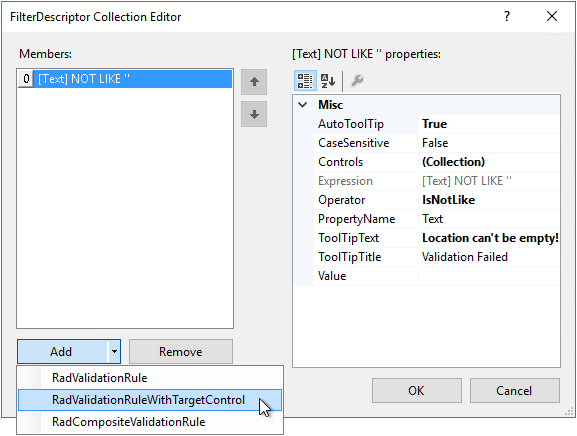
Add a RadValidationRule:
-
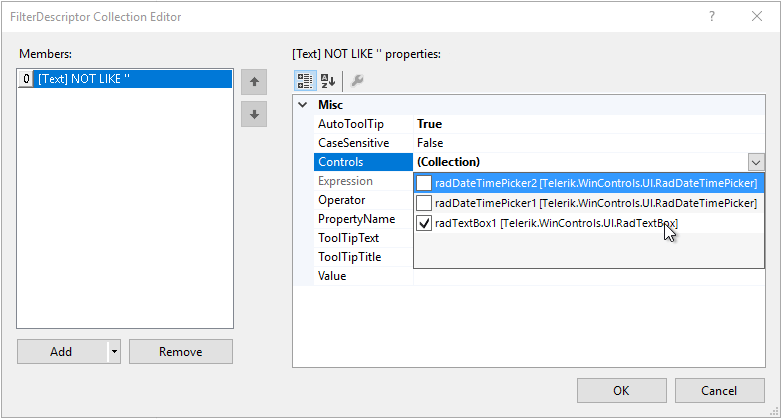
Select RadTextBox from the Controls drop down list:
-
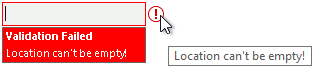
Select the Operator to be IsNotLike, leave the PropertyName to be Text and specify the ToolTipText:
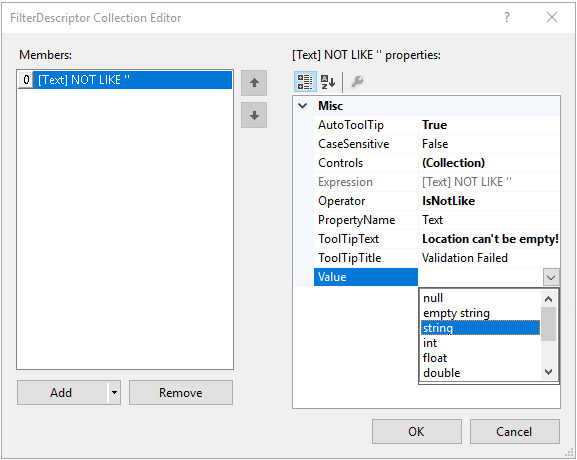
The data type of the Value can be specified after entering a value first and then selecting the type from the drop down.
As of R3 2020 RadValidationProvider supports nested PropertyNames to validate, e.g. Text.Length.
-
If you start the application now, focus the RadTextBox control, leave it empty and try to navigate to another control, the validation will fail. It would be necessary to enter some text before proceeding further:
-
Add a second validation rule. But this time add a RadValidationRuleWithTargetControl:
-
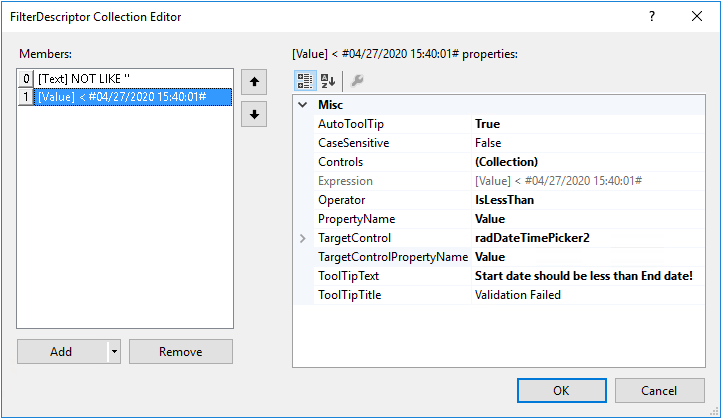
In the Controls drop down list, select radDateTimePicker1. In the TargetControl drop down list, select radDateTimePicker2. Set the Operator to IsLessThan. Specify the PropertyName and TargetControlPropertyName to Value and what ToolTipText to be displayed when the validation failed.
-
This rule will ensure that the first RadDateTimePicker's value is less than the value of the second one:
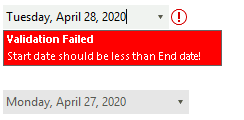
In a similar way you can add a rule to validate that the second RadDateTimePicker's value is greater than the value of the first one.
See Also
Telerik UI for WinForms Learning Resources
- Telerik UI for WinForms ValidationProvider Component
- Getting Started with Telerik UI for WinForms Components
- Telerik UI for WinForms Setup
- Telerik UI for WinForms Application Modernization
- Telerik UI for WinForms Visual Studio Templates
- Deploy Telerik UI for WinForms Applications
- Telerik UI for WinForms Virtual Classroom(Training Courses for Registered Users)
- Telerik UI for WinForms License Agreement)