Execute Your First Test
When you have recorded your first test, you need to execute it and check if this needs additional adjustments. In this article you can find useful hints on the below topics.
Quick Test Execution
It is time to execute the recorded test and observe the execution process.
Note!
While a test is being executed do not start another instance of the same browser or any other application until the run is finished!
-
Once a test scenario is already recorded, click the Execute button in the Test ribbon.

-
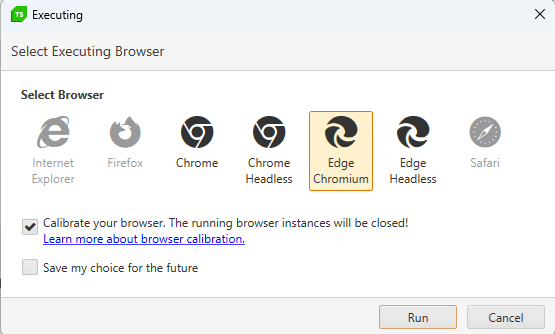
In the Executing dialog select Internet Explorer (or any of the other browsers supported for execution) to run the test against and press Enter or click the Run button.
Note!
This step will be skipped if you have already set a preferred browser from the Test ribbon. -
Test Studio launches the selected browser and executes the steps recorded in the test. The Execute button in the Test ribbon is changed to Abort and allows you to stop the test run before it is finished.

Note!
If you abort the test execution before it is finished, there will be no results stored.
Results from Quick Execution
When the test execution is complete, there will be a summary how many steps were executed and what is the overall result of the run. Each step is indicated as Passed or Failed with a green or red circle in front of it. Test results are automatically generated and details can be reviewed by clicking on View Log.

Test List Execution
Now that you recorded your first test and ensured it is executed successfully, you can create your first Test List and add the existing test in it.
-
Go to the Test List ribbon in Test Studio and click on the List button in the Add section.

-
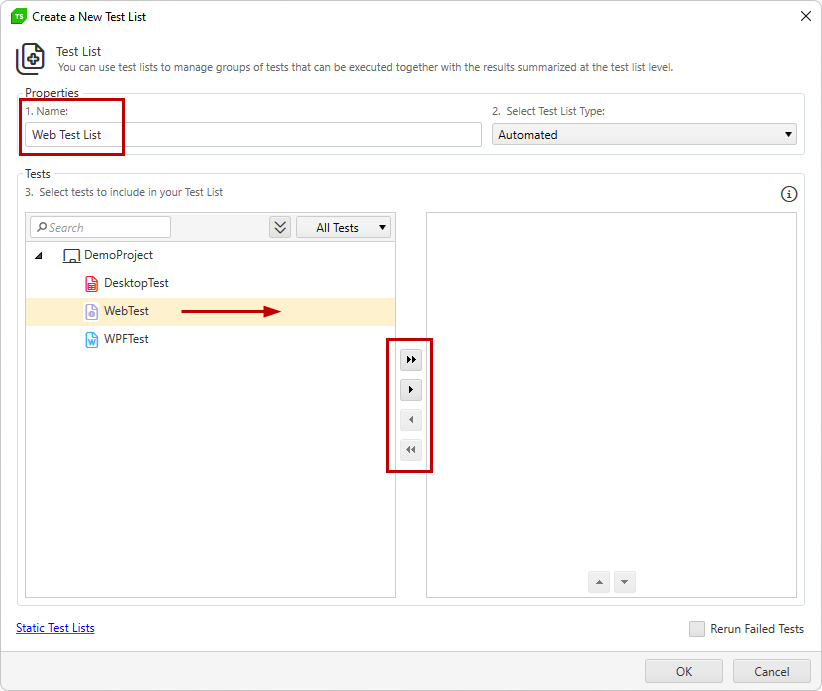
In the Create a New Test List dialog enter a name for the list and add the test in the box on the right side of the window. You can either double click the test to include, or select it and use the Arrow buttons. Confirm the selection with a click on the Ok button.
-
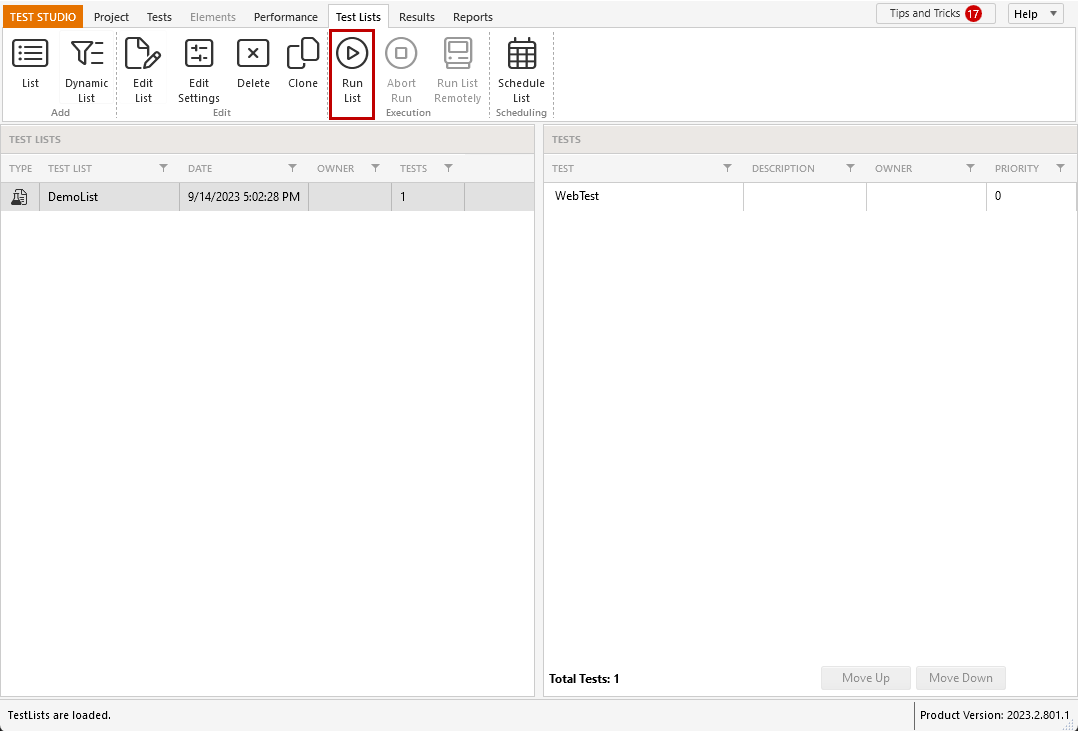
The newly created test list appears in the Test List view and you can trigger its execution from the Run List button.
Test List Results
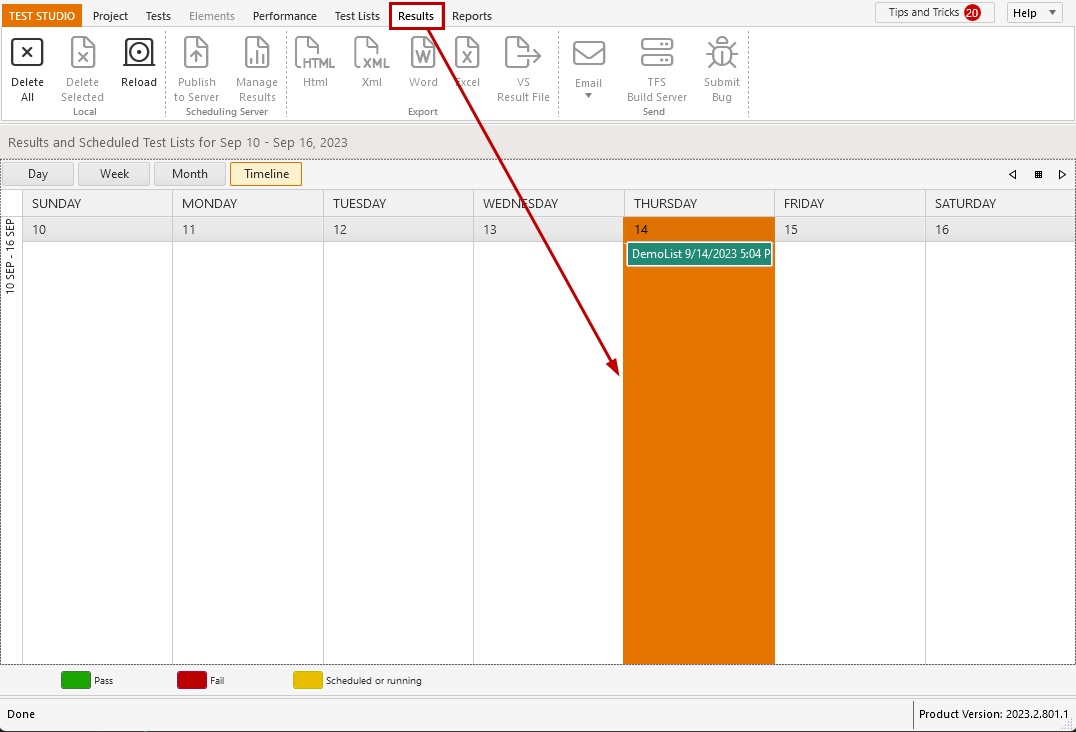
The results from the test list runs are available in the Results tab.
Find out more about test lists and the execution of test lists.