Text from Image Verification
You can verify specific text from an image in your application. Test Studio will read the full or part of the text from the image and allow you to verify the content. You can also extract this text and use it as a variable in other test steps in your test. This feature unlocks new possibilities to automate the images in your applications.
Best practices
There are few things that could ensure more stable and reliable test execution:
 Use Text from Image Verification when you need to verify the text in an exact and static image.
Specify only the part of the image which has the text, because logos and other symbols might be misinterpreted as characters.
 Do not use Text from Image Verification to verify a dynamic slide show or GIFs.
How to record a text from image step
1. Create a Web Test and click Record.
2. Navigate to the application under test, for example "www.telerik.com".
3. Enable highlighting from the Recorder.

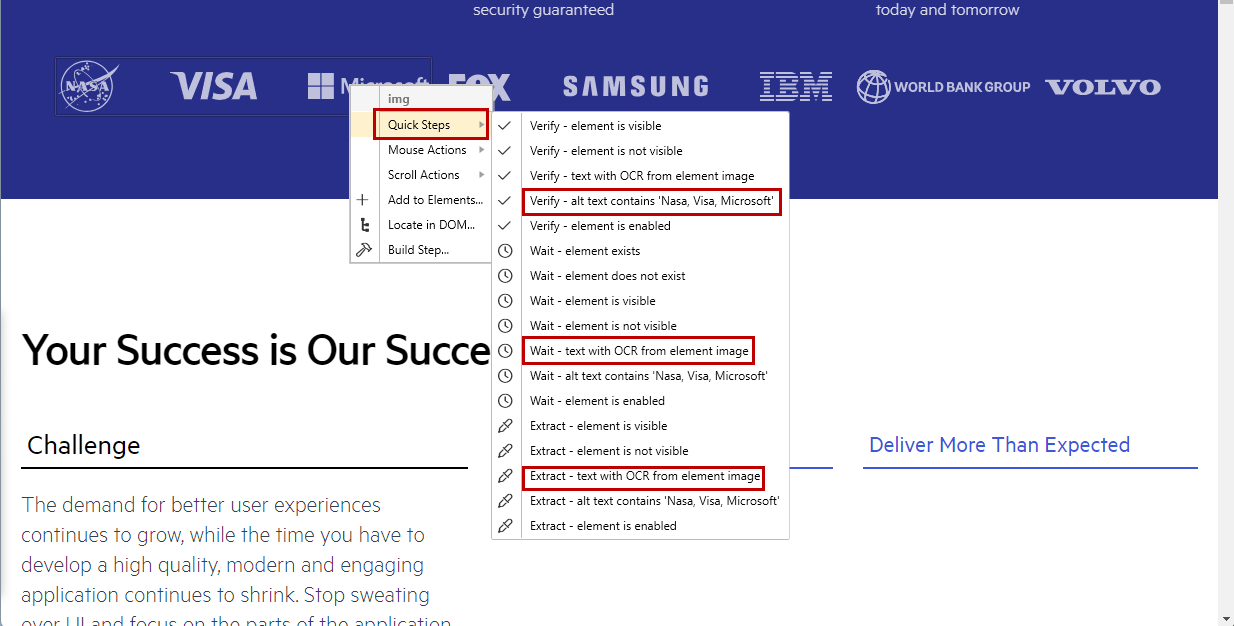
4. Hover over the image, for example the Forbes logo, and add a verification, wait or extract step from the context menu.
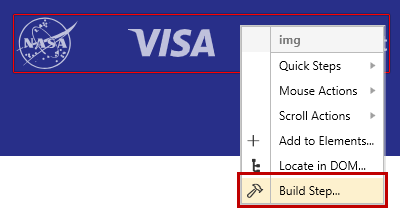
5. Another way to add a Text from Image step is to select Build Step... from the context menu.
6. In the Advanced Recording Tools click Verifications > TextFromImage.
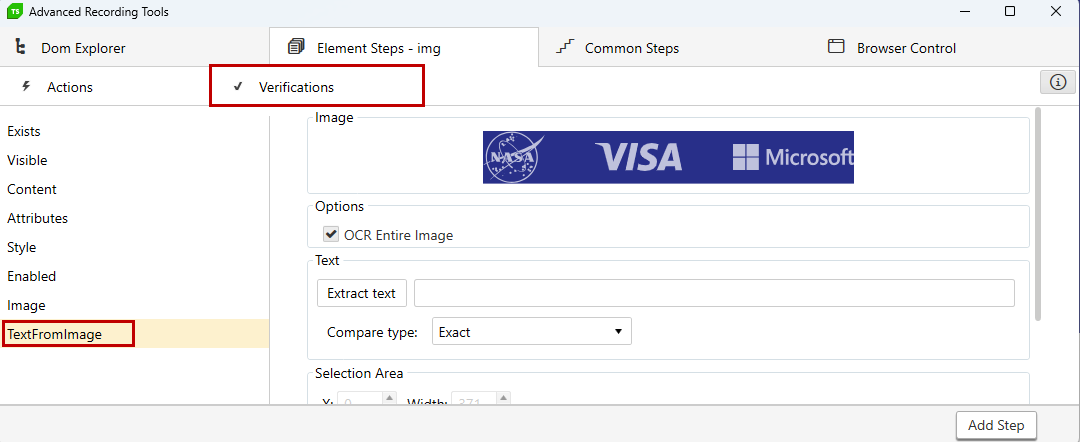
7. By default, OCR Entire Image is checked. Uncheck this option to refine the comparison area and the image text.
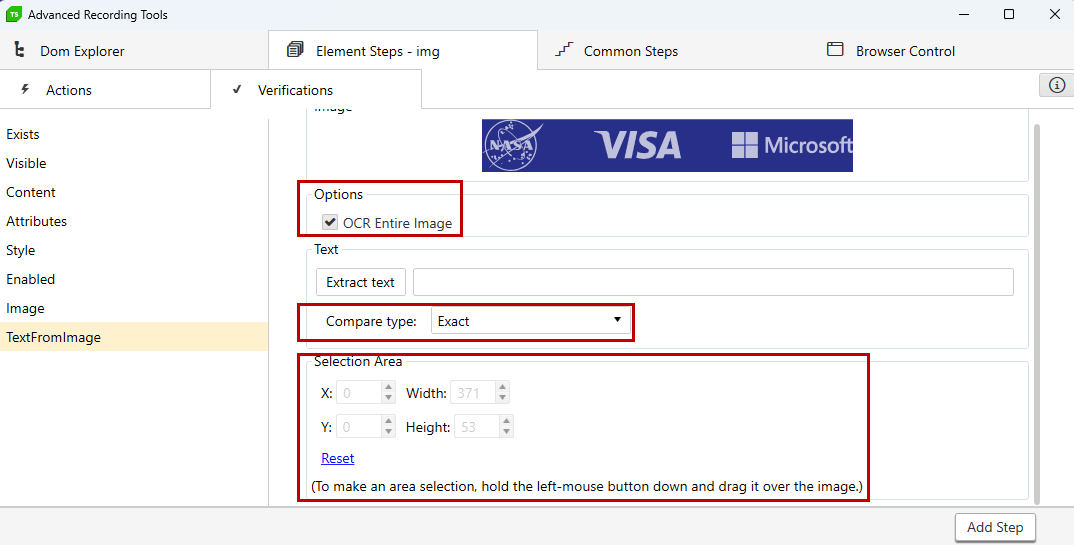
8. Click Add Step and notice the Verify text steps are added to the test.

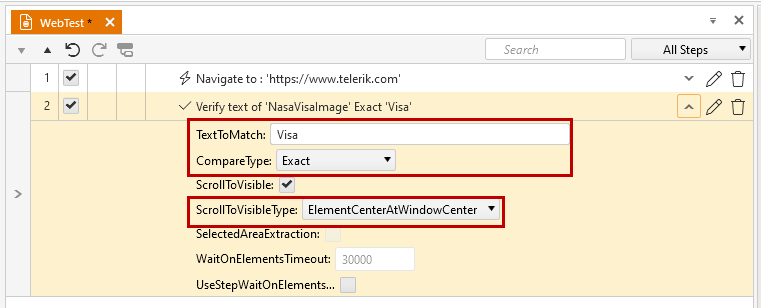
Configure the recorded text from image step
You can configure the TextToMatch and CompareType that will be used during test execution. That said, if you need to change the image, you need to record the verification step again.
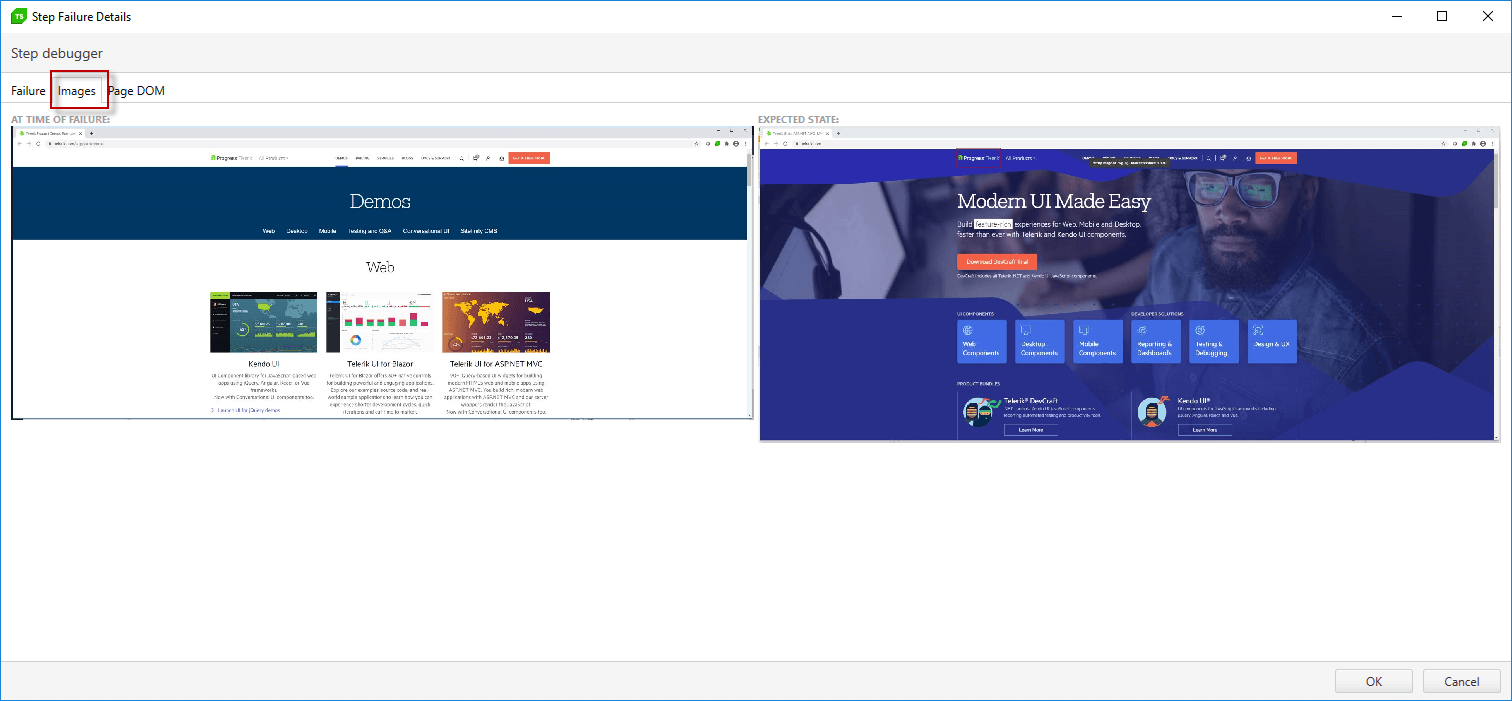
Troubleshooting
If you receive a failure on the verification step, you can explore the step failure details for more details. In addition to the failure details, you can analyze the expected and actual image under the Images tab.