Create and Record a WPF Test (VS plugin)
The feature of Test Studio to record tests by capturing your actions against the tested application is also available in the context of the Visual Studio project.
In this article you can find how to add and record a new WPF test in the Visual Studio plugin project for Test Studio.
Create a WPF Test
Click with the right mouse button on the project name in Solution Explorer, select the Add... option and choose the Test Studio WPF Test... option.

The chosen item is selected in the list of items and you can enter name for the test. Then click the Add button to insert it in the project.

To open the test, double click on its name in the Solution Explorer. The WPF test requires the path to the tested application to be configured before you can start recording. Click the Configure WPF Application button in the toolbar to open the window with the WPF test settings.

The Configure WPF Application Path window appears and you can insert the necessary information:
- Choose the WPF application to automate
- Set default WPF Application path
- Record application Window State
Confirm the applied changes with OK button.

Record Steps in a WPF Test
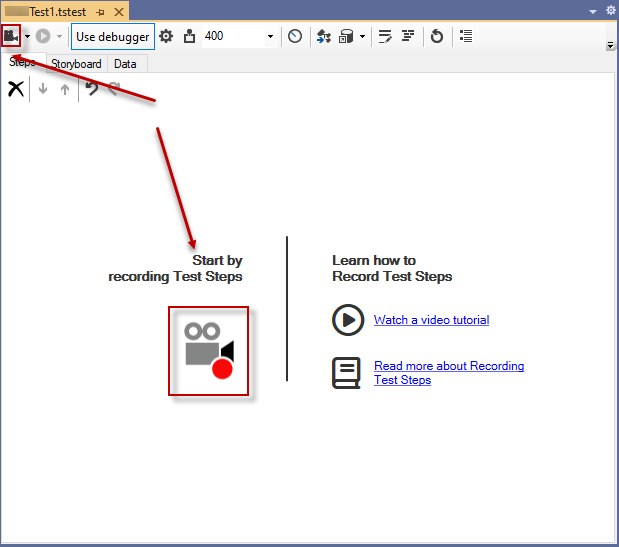
The Record button is in the test toolbar when a test is opened in the project. Click the button to initiate a recording session.

Click the Record button to launch the application in recording mode. Once the app is completely loaded, the Test Studio Recorder Toolbar gets attached to this instance and you can add the steps for the automation scenario.
To stop the recording session close the application
Execute the Recorded Steps
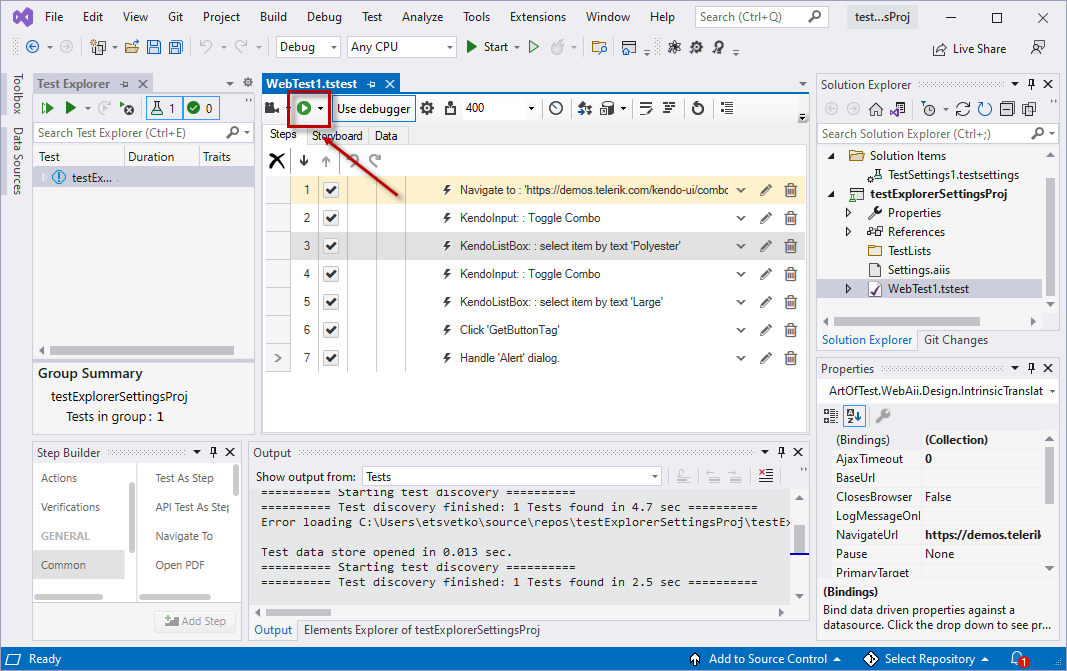
The Quick Execution options from Test Studio project are also available in the context of the Visual Studio project. The Execute button is in the test toolbar when a test is opened in the project and is enabled when the test has at least one step to execute.

If you want to use the Visual Studio Test Explorer to execute the Test Studio tests, check this topic.