Customize Test Studio's Layout
Test Studio layout can be customized to fit your needs and personal preferences.
In this article you can find info on how to:
- Switch between the predefined layouts
- Manually adjust the layout
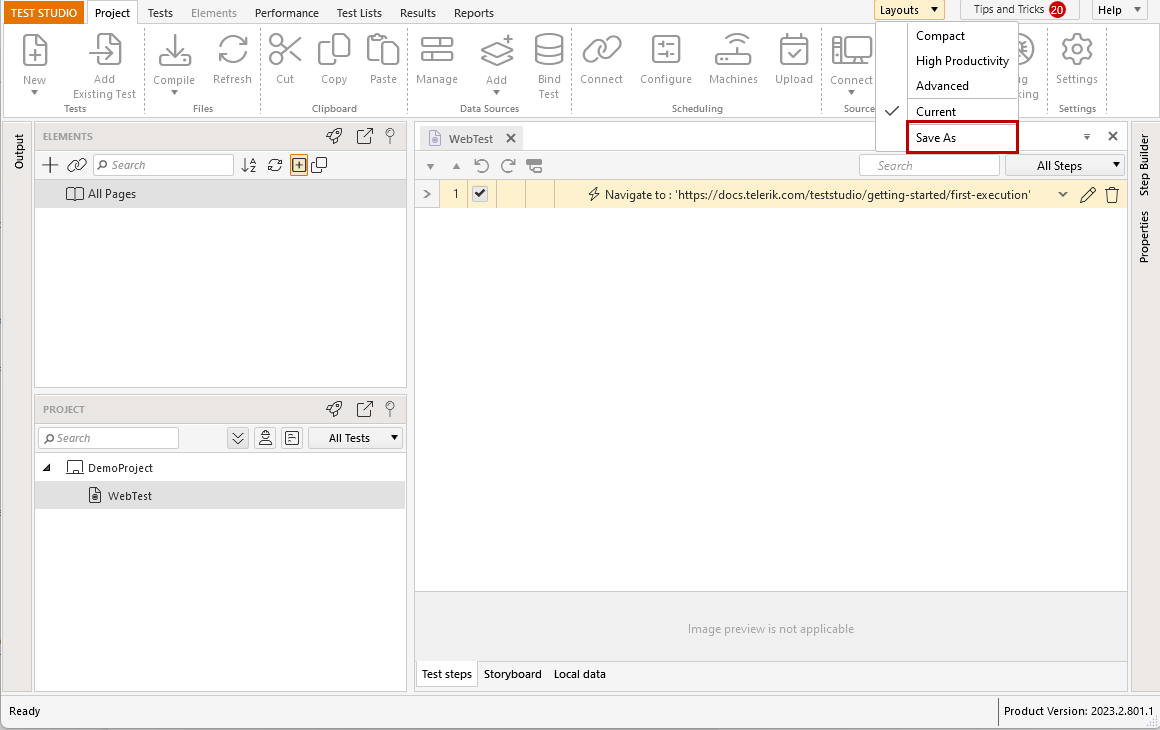
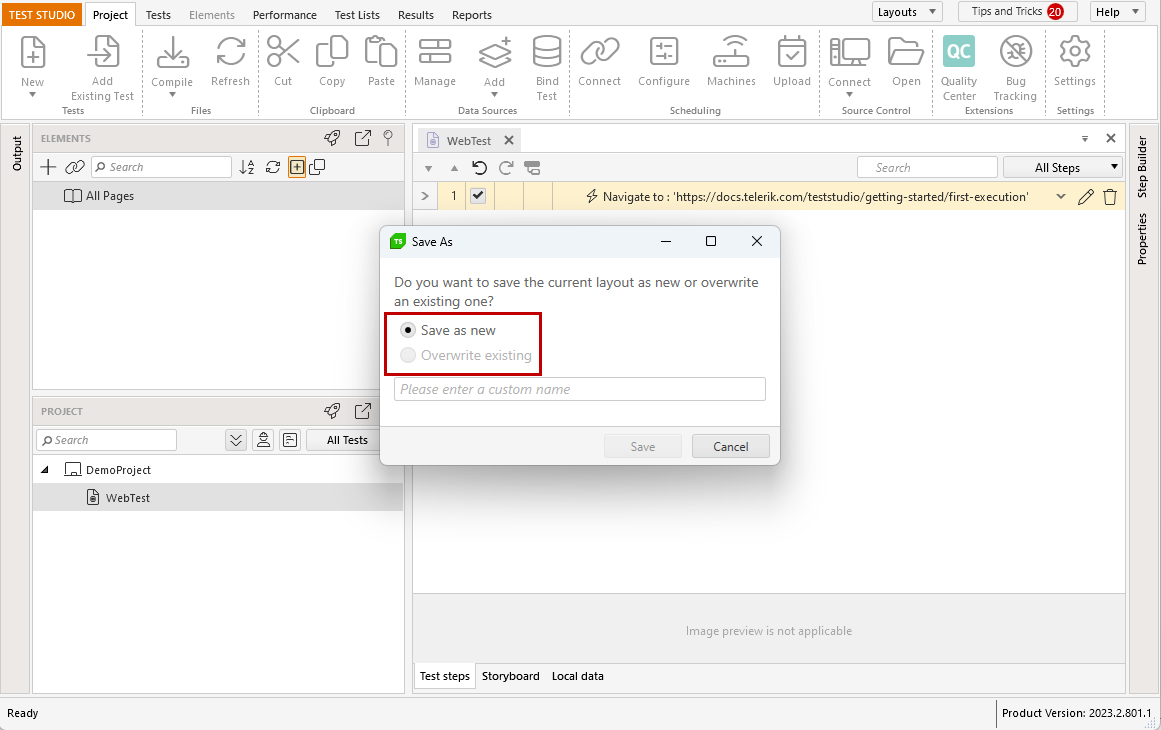
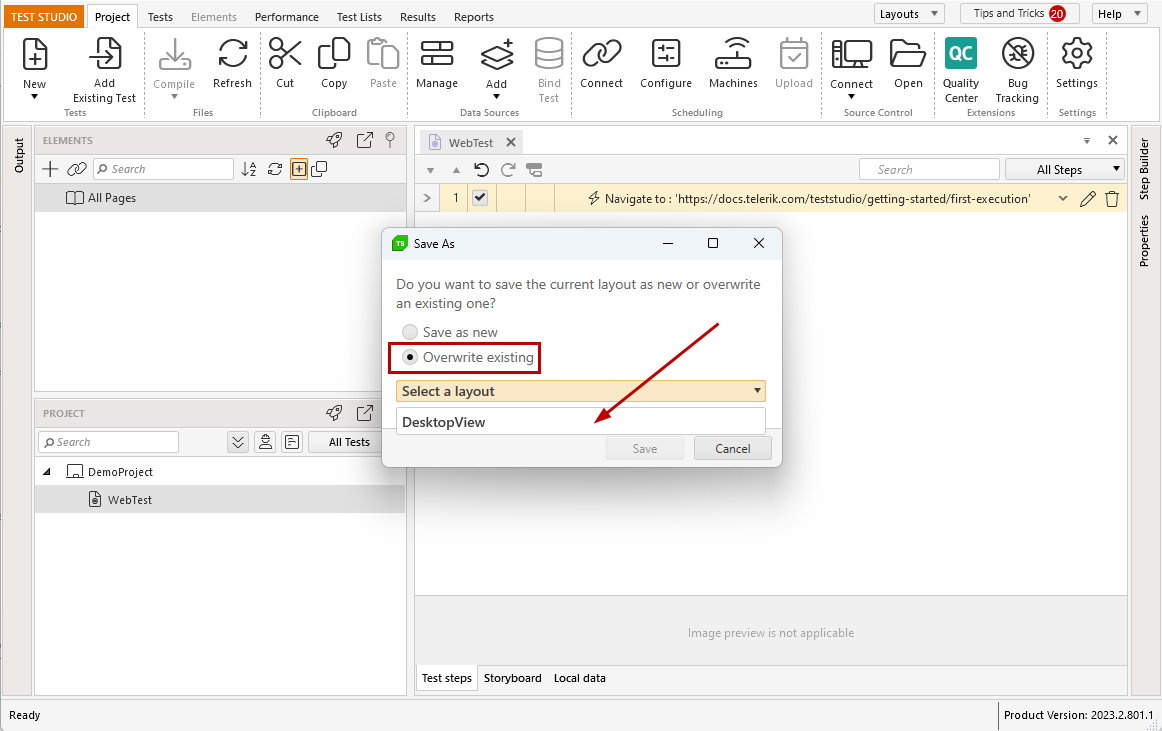
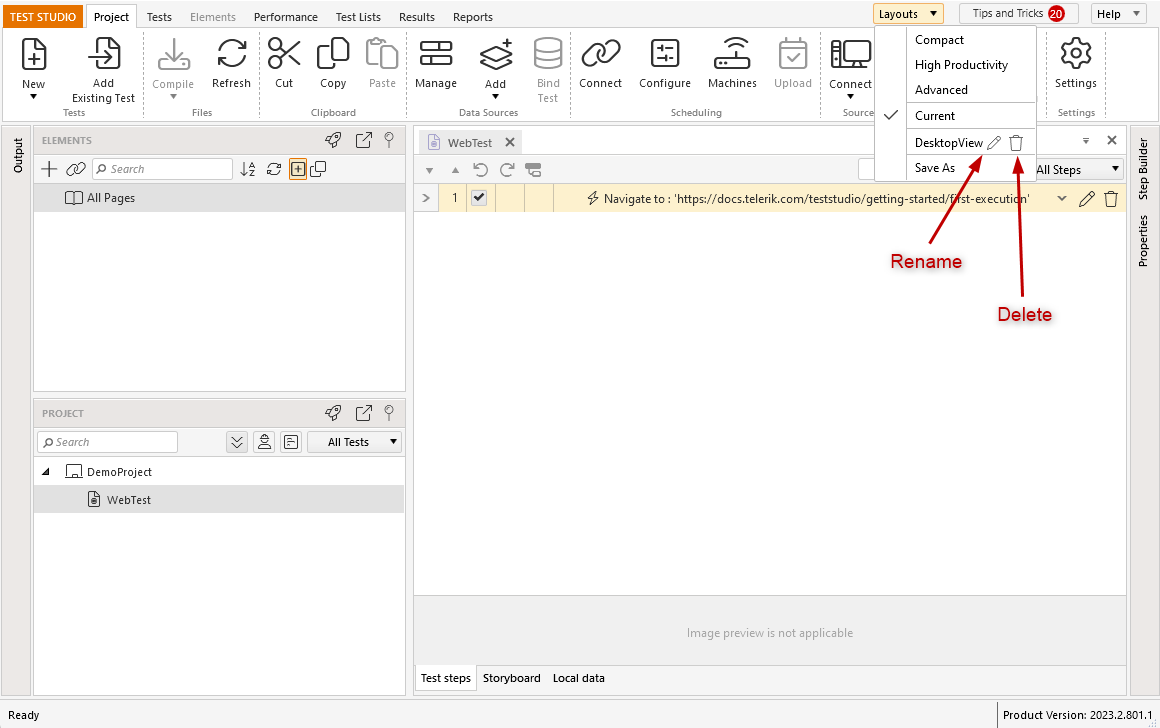
- Save custom layout
- Switch between Light and Dark theme
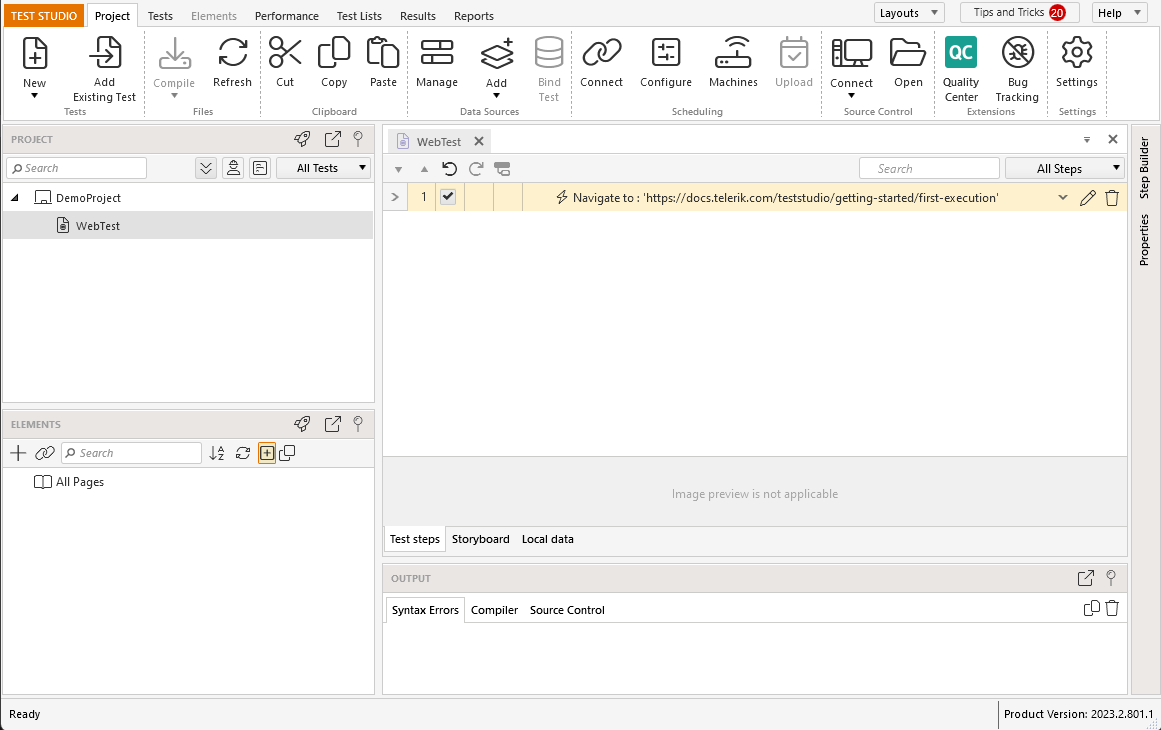
When you first start Test Studio its default layout is the Compact one using the Light theme.
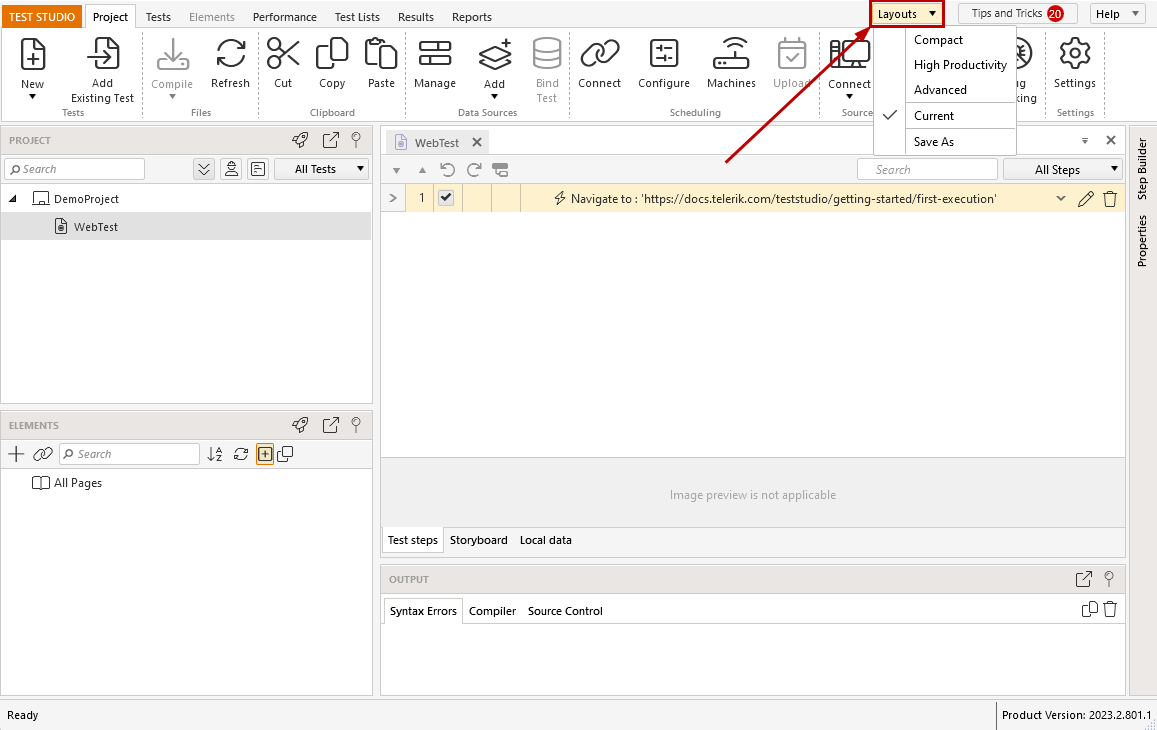
Predefined Layouts
The preset layouts rearrange the panes in the Test Studio project to focus your attention on certain tools. The three predefined layouts are listed below and you can find additional notes on each of them:
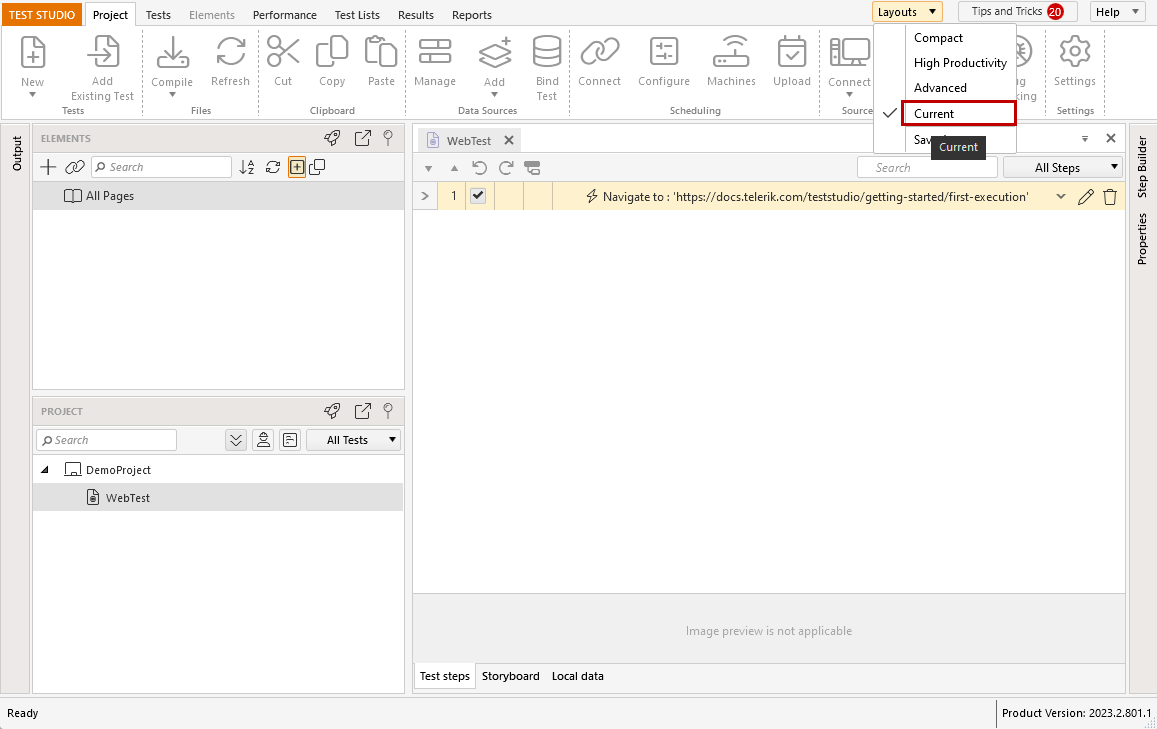
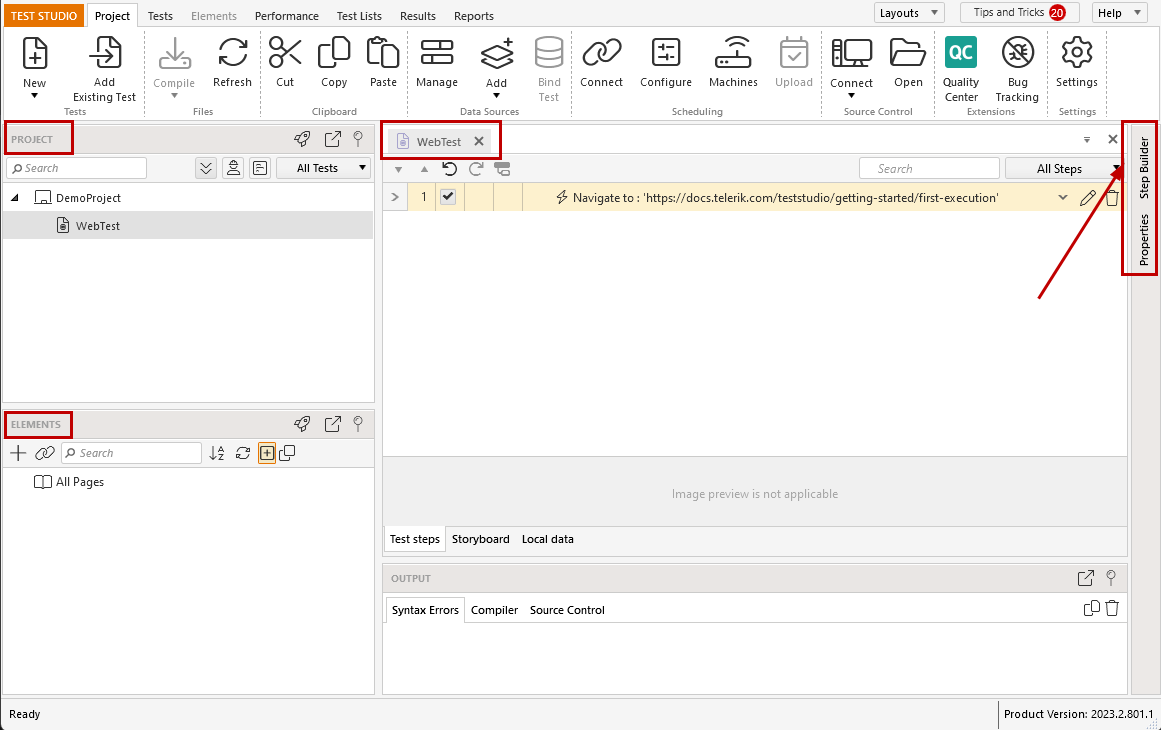
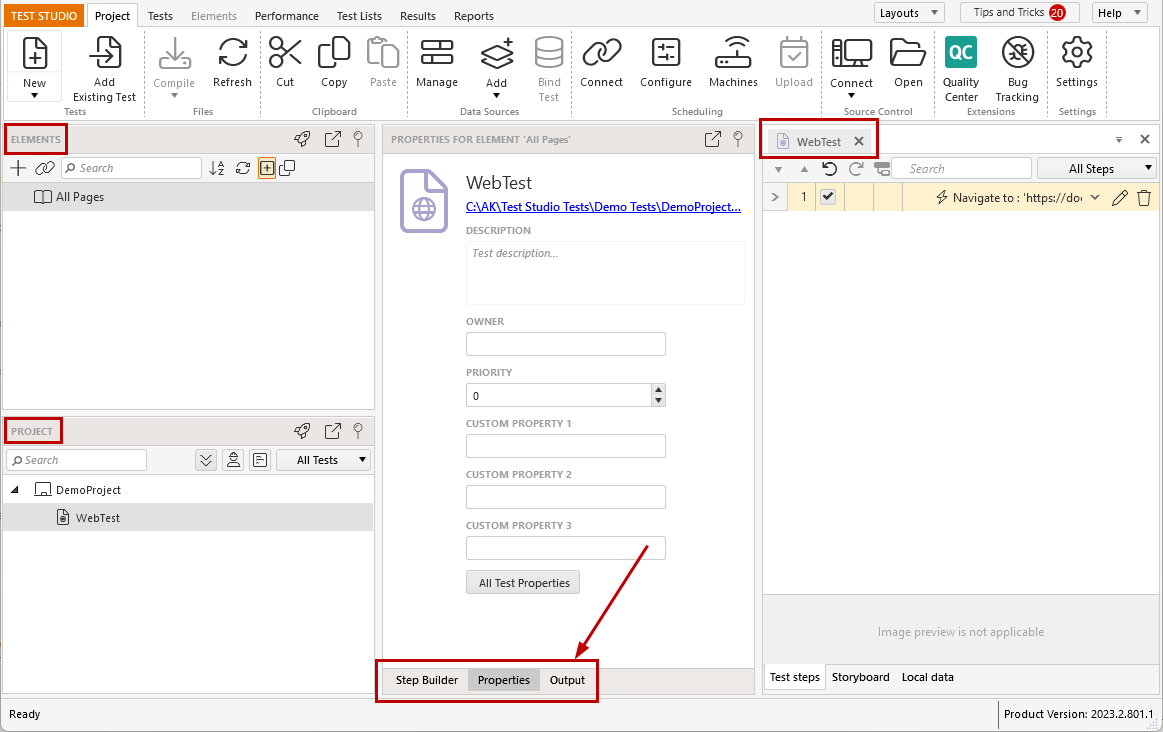
Compact Layout
In the Compact layout you have the Project Explorer, the Elements Explorer and the Edit Project Items Pane docked and visible. The Step Builder, the Properties pane and Output Panel are hidden and pinned on the right side of the project area.
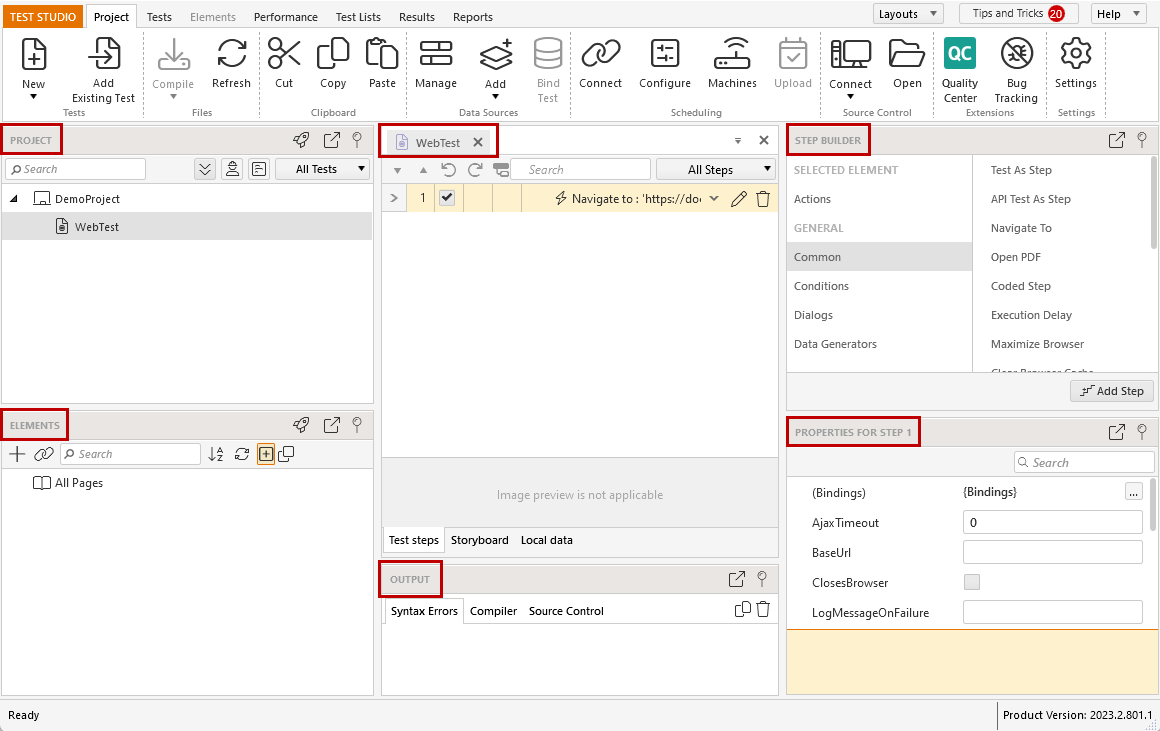
High Productivity Layout
In the High Productivity layout you have all panels docked and visible in the project area - the Project Explorer, the Elements Explorer, the Edit Project Items Pane, the Step Builder, the Properties pane and Output Panel.
Advanced Layout
In the Advanced layout you get the Elements Explorer, the Project Explorer and the Edit Project Items Pane docked and visible. The Step Builder, the Properties pane and Output Panel are also docked and visible in the project area, but tabbed to switch between these.
Arrange Test Studio Layout Manually
Test Studio allows you to move all its panels in the project to another place in the working area, or pin these on the side to hide them. Below are the possible actions described:
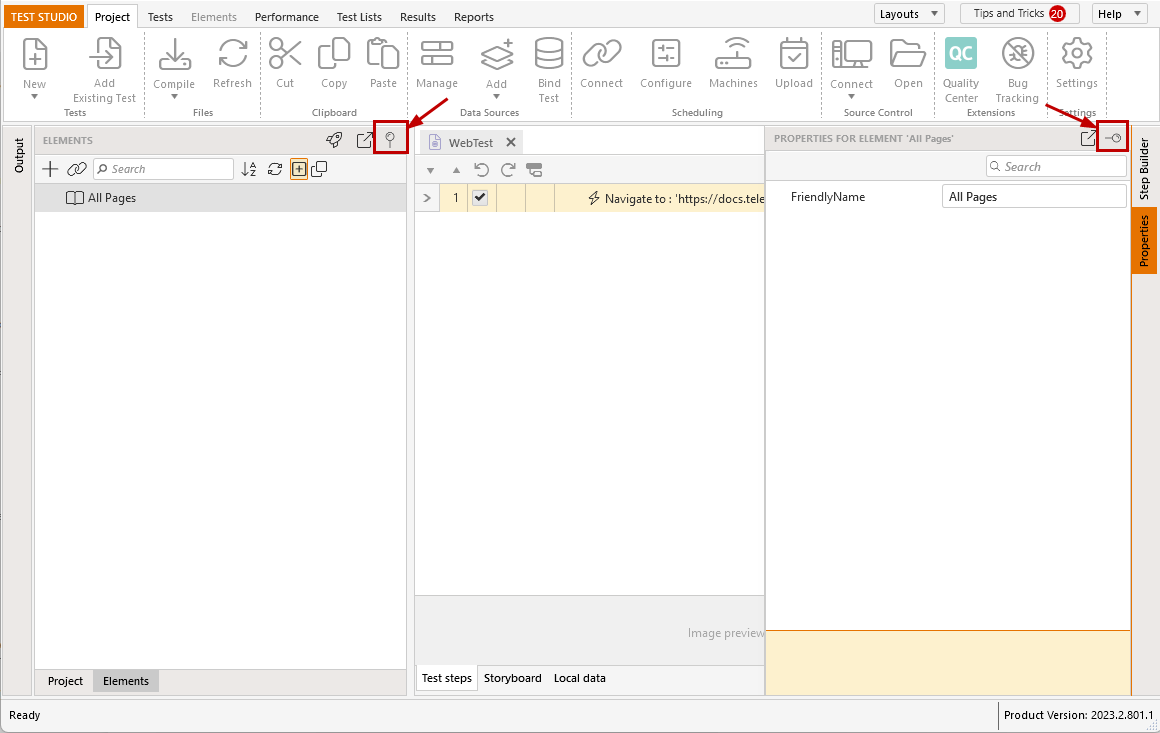
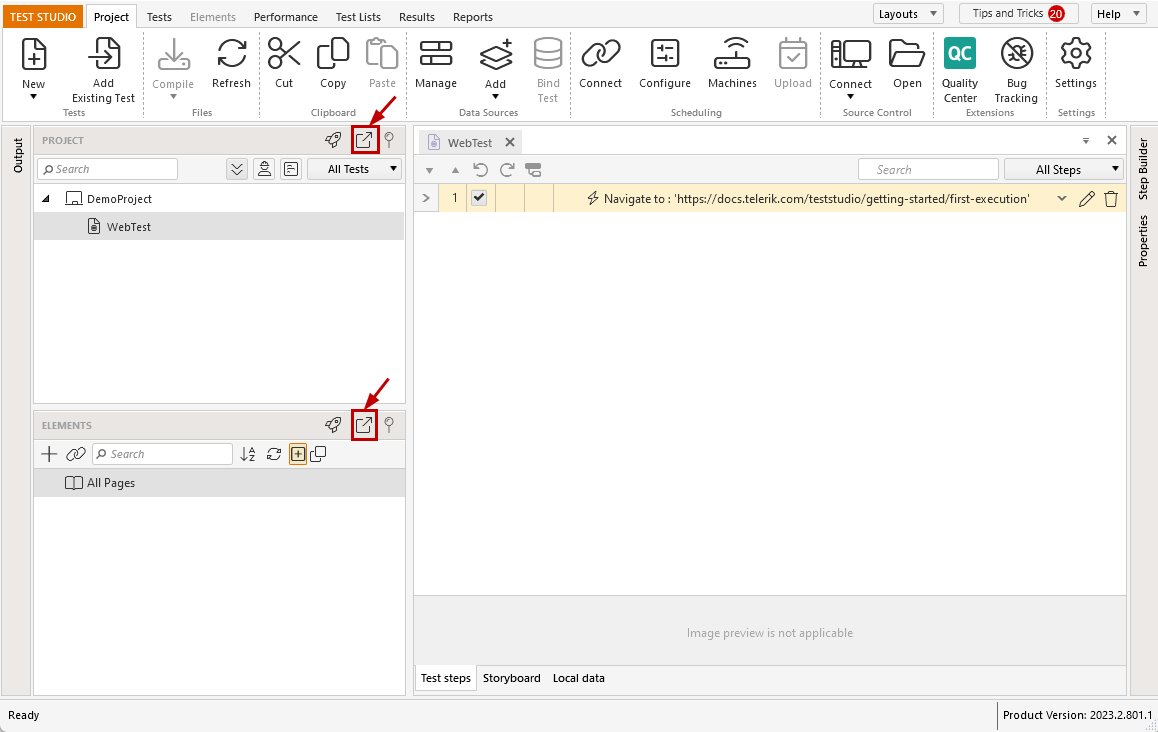
Dock or Undock a Panel
Use the Dock/Undock button in the upper right corner of each panel to change its position in the project layout.
Tip
Check this video to see how panels in Test Studio can be undocked and docked back.
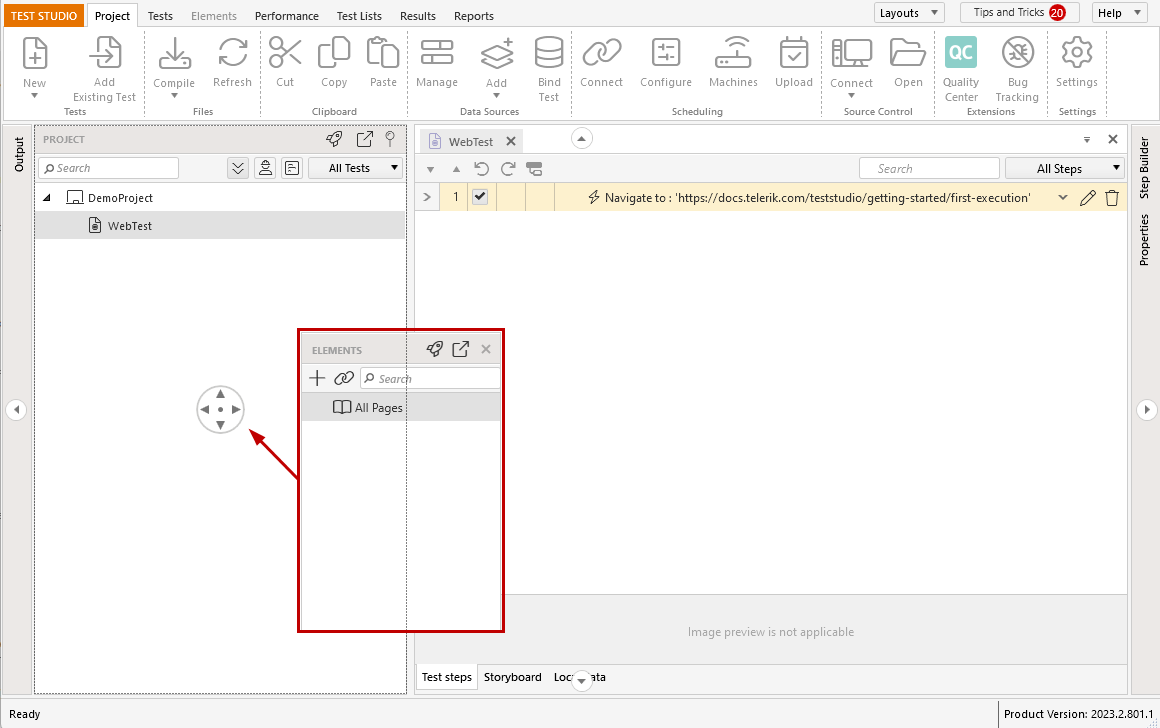
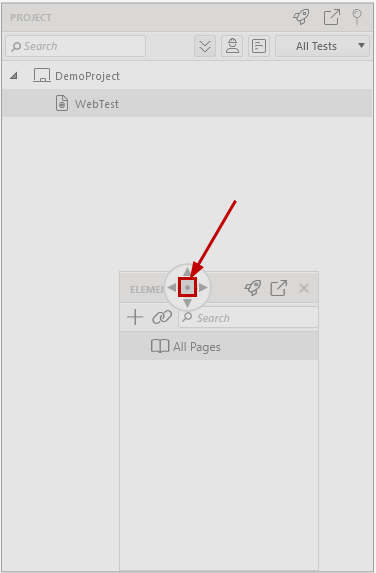
The Undock detaches the pane from its original position and displays it as a separate window. Click on the title bar of the pane and use the mouse to drag and drop it anywhere in the project area. Circle with directions - top, bottom, left, right and center - is displayed to help you choose the preferred position relative to the target panel.
If you want to place the panel separately, you can use the arrows on the right, left, top and bottom sides of the Test Studio project window.
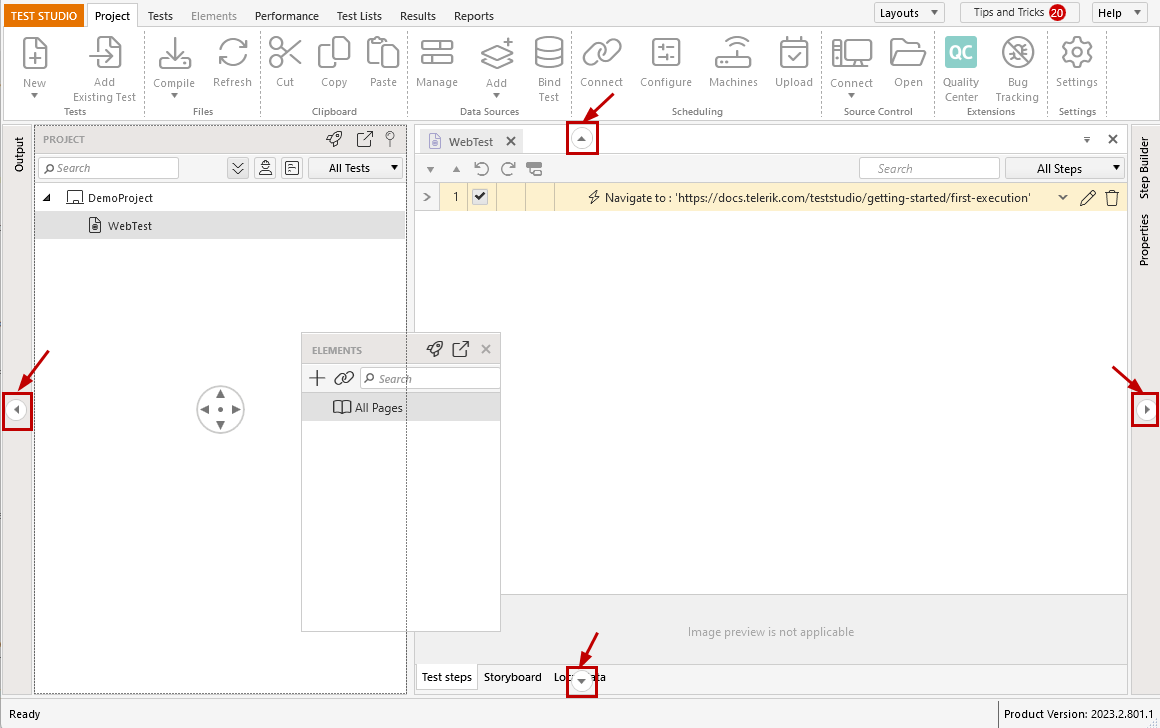
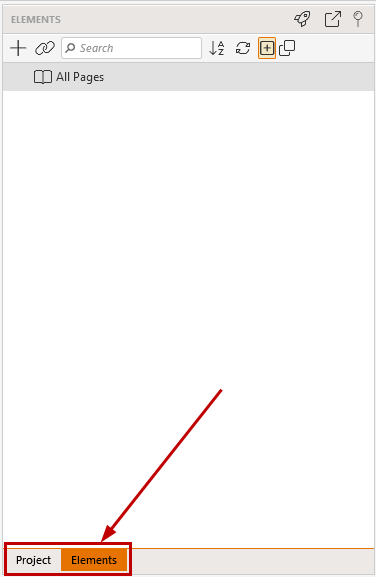
If you select the center of the target panel, the undocked panel will appear as a tab next to the target panel.
 |
 |