Telerik Data Access
This article demonstrates how to leverage Telerik Data Access on the backend and let Kendo UI take care of the user interface.
Setting Up the Project
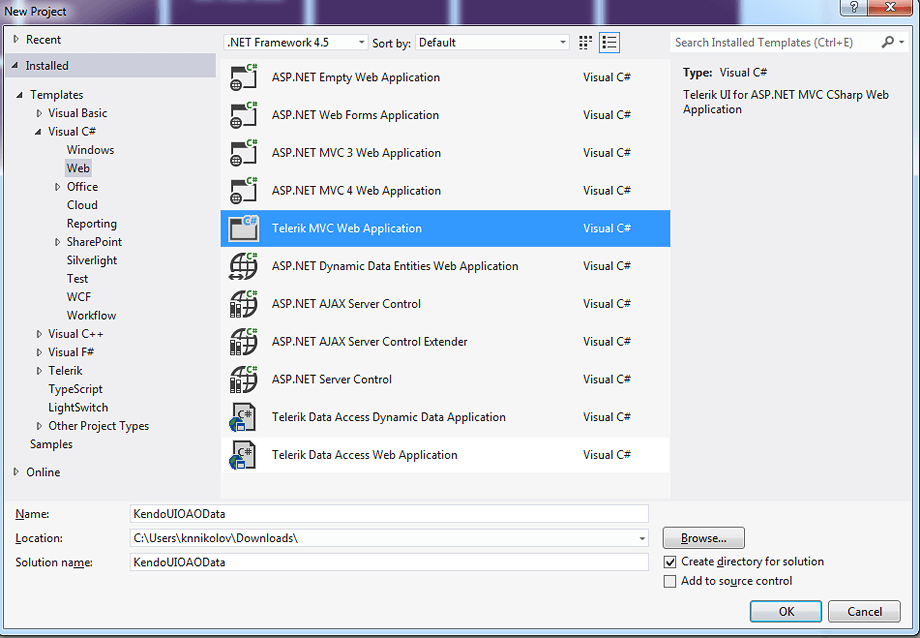
To get started, create a new Telerik MVC Web Application.
When asked about the Data Access approach, select Skip Creating a Telerik Data Access Model Library Project. This is going to create an empty Telerik UI for an MVC project.
Building the Model
-
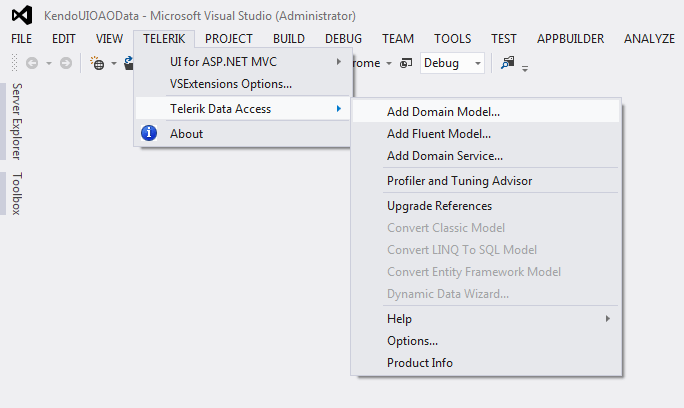
To build a Data Access data model, select TELERIK > Telerik Data Access > Add Domain Model, as shown below.
If you do not have Telerik Data Access installed, you are able to get the trial edition on the Free Trials page.
-
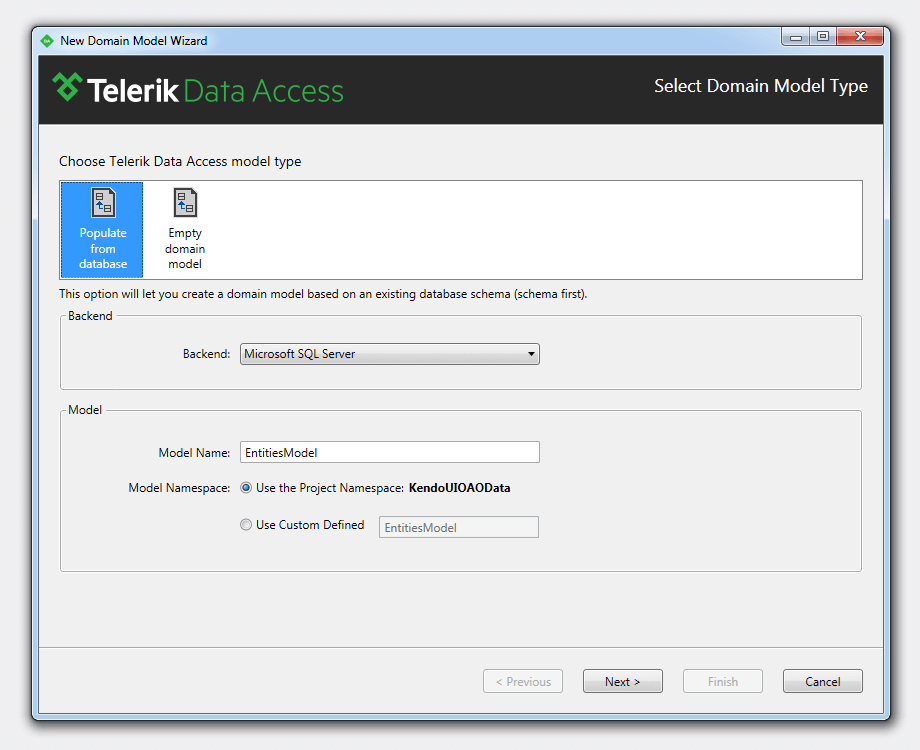
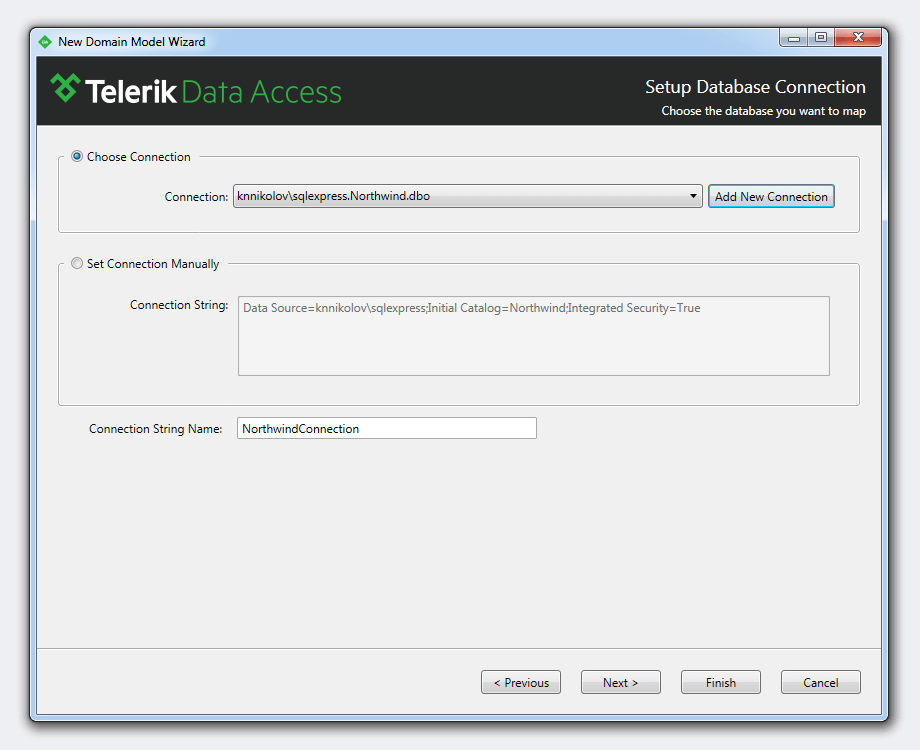
On the window that opens next, select Populate from database. Click Next.
-
Set up a connection to NorthwindOA, installed with Data Access, by choosing the option from the drop-down list. Click Next.
-
Include all tables from the database in the data model by ticking the Tables check box.
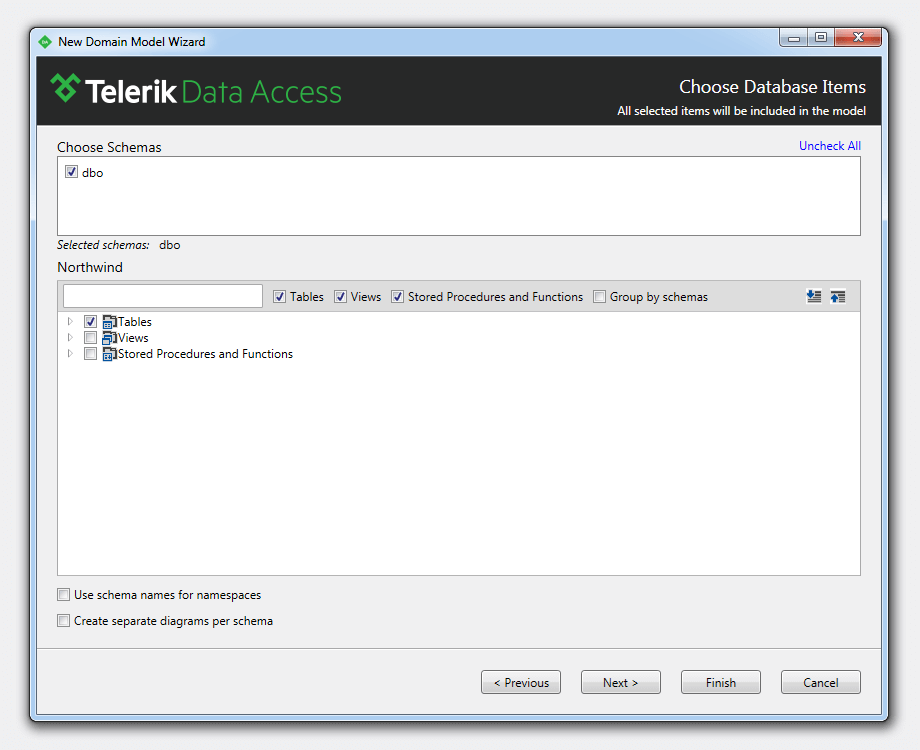
Click Finish. The data model is now ready to be used. Next, you need to expose this data model through a service layer.
Building the Service Layer
-
Perform a build on the application. Right-click the
.rlinqfile in Solution Explorer. Select Add Telerik Data Access Service so that the domain service wizard fires up.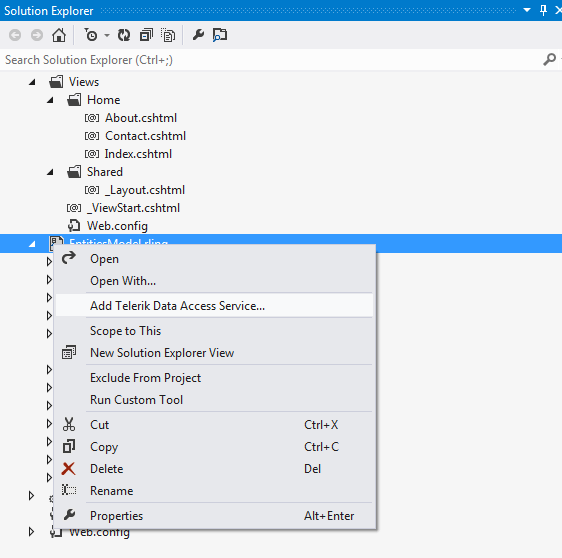
-
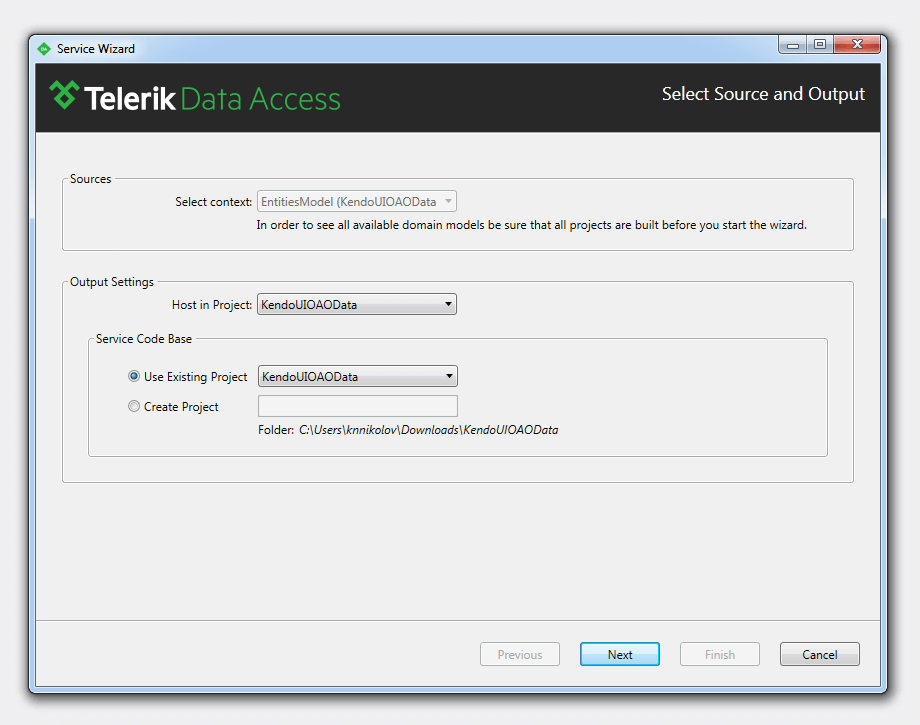
From the drop-down list of the wizard select EntitiesModel. Click Next.
-
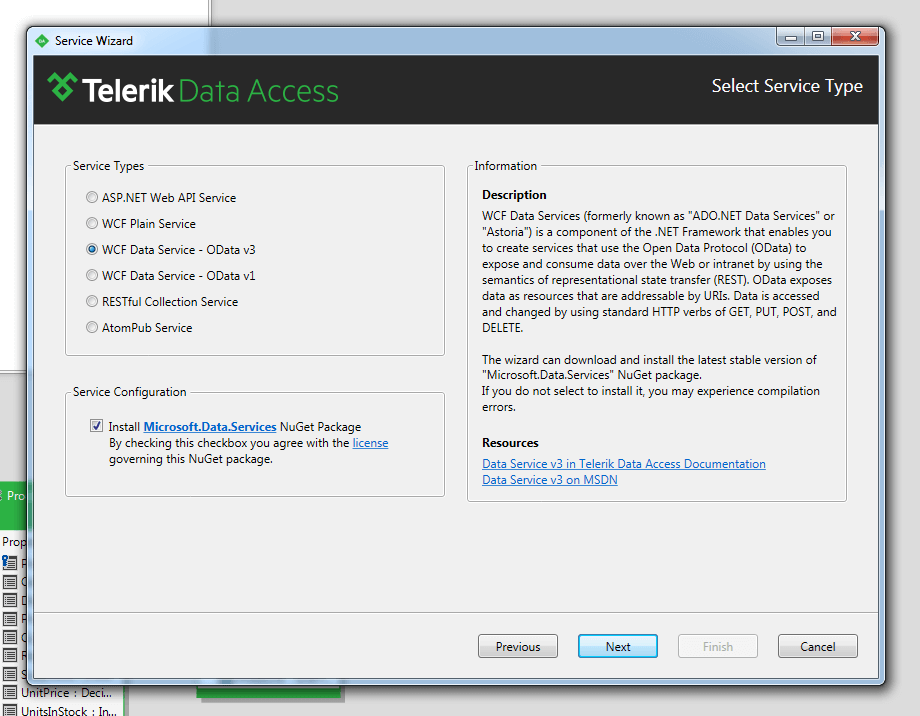
The screen that loads next allows you to configure the service that is going to be created. Select WCF Service - OData v3 and click Next.
-
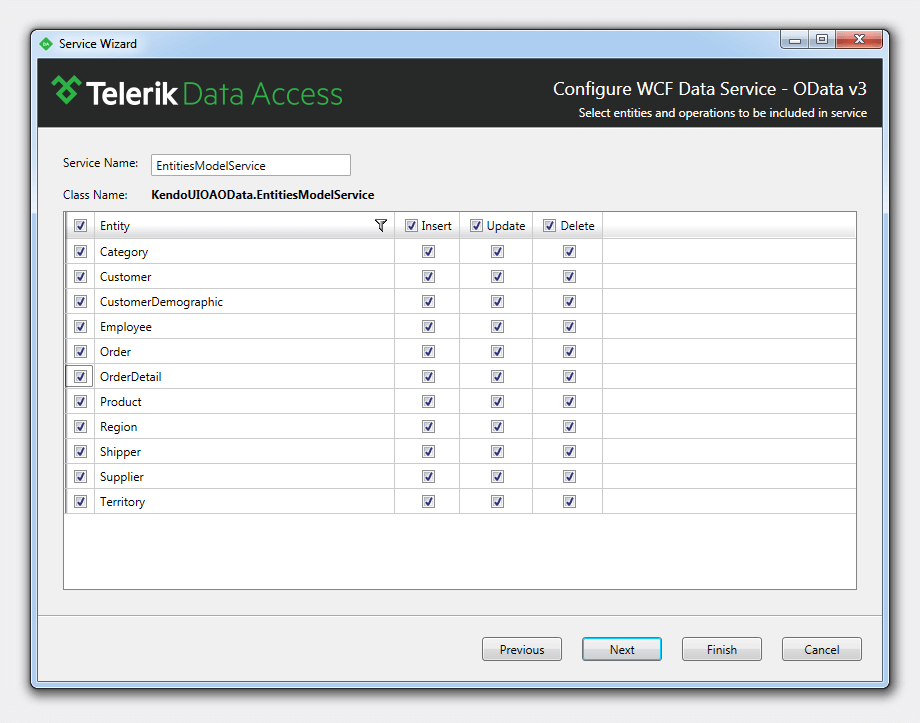
On the next screen you are able to change the name of the service and select which tables to include. Click Finish to create your service.
Connecting oData to the Grid
Now configure the front end. Wire up the Orders to a Kendo UI Grid. Kendo UI is a very rich and powerful framework that provides you with full control over the UI of your project, so make sure you explore it even further.
-
Edit the
Global.asax.csfile and add the following route configuration in theRegisterRoutesmethod:RouteTable.Routes.IgnoreRoute("EntitiesModelService.svc/{*pathInfo}"); // specify the correct service path here
Set up the Grid widget. For detailed information on how to configure data binding, visit the Kendo UI live demo page. Basically, use a
divthat is going to be applied as the container for the Grid and configure the widget in script.
The following example demonstrates some sample code you need.
<!--Will be turned into a Kendo UI Grid! -->
<div id="grid"></div>

<!-- configure the Grid-->
<script>

    // Document ready fires when the whole page is ready
    // and all elements, scripts, styles have been loaded.
    $(function () {

        // Use regex for some date parsing.
        // Select the div and create the Grid element.
        $("#grid").kendoGrid({
            dataSource: {
                type: "odata",
                transport: {
                    read: "/EntitiesModelService.svc/Orders"
                },
                schema: {
                    data: "value",
                    total: "['odata.count']",
                    model: {
                        fields: {
                            OrderID: { type: "number" },
                            Freight: { type: "number" },
                            ShipName: { type: "string" },
                            OrderDate: { type: "date" },
                            ShipCity: { type: "string" }
                        }
                    }
                },
                pageSize: 10,
                serverPaging: true,
                serverFiltering: true,
                serverSorting: true
            },
            filterable: true,
            sortable: true,
            pageable: true,
            columns: [
                {
                    field: "OrderID",
                    filterable: false
                },
                "Freight",
                {
                    field: "OrderDate"
                },
                "ShipName",
                "ShipCity"
            ]
        });

    });

</script>-
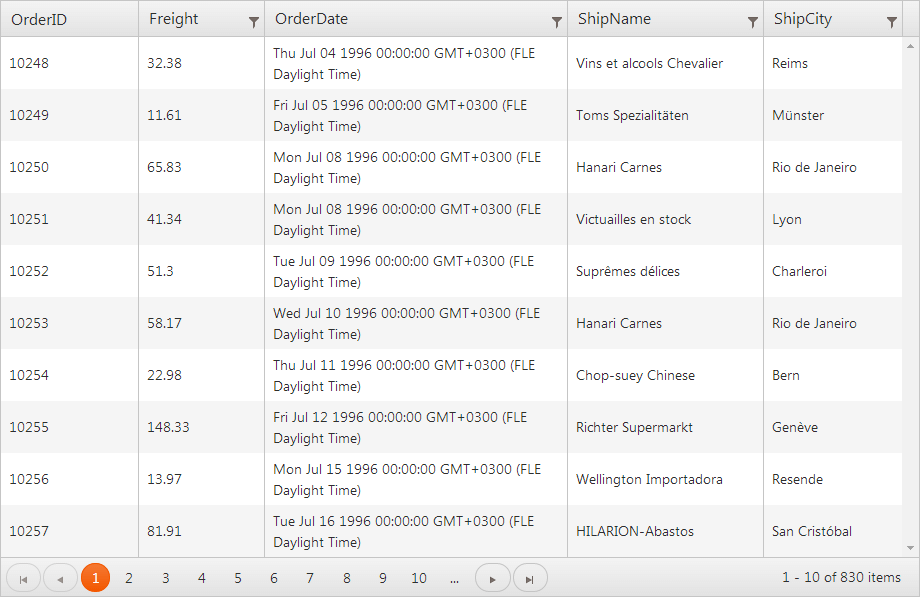
Run the application. The following screenshot demonstrates the Grid you are expected to see as a result.