Custom Data-Fetching Mechanism
The HeatMap allows you to create a custom data source thus allowing you to customize its data-fetching mechanism and optimize its performance and memory footprint.
To achieve the desired scenario, you need to:
- Create the custom HeatMap data source
- Create the custom
HeatMapDefinition - Apply the custom
HeatMapDefinition
The implementation demonstrated in this article is a proof of concept—the main idea is to set the entry point for creating a custom HeatMap source and use it with the control.
Creating the Custom Data Source
To create a custom HeatMap data source, you need to implement the IHeatMapSource interface. IHeatMapSource exposes methods and properties that are used by the Header to get the data from the given collection. For the sake of simplicity, the example uses a multidimensional array to store the data in the HeatMap source.
Create a custom data item
public class CustomHeatMapItem
{
    // Stores the color of the cell.
    public Color Color { get; set; }
    // Stores the value of the cell.
    public double Value { get; set; }
}
Implement the IHeatMapSource interface
public class CustomHeatMapSource : IHeatMapSource
{
    private CustomHeatMapItem[,] array;
    public CustomHeatMapSource(CustomHeatMapItem[,] array)
    {
        this.array = array;
    }

    public IEnumerable ItemsSource
    {
        get { return this.array; }
        set { this.array = (CustomHeatMapItem[,])value; }
    }

    public int RowsCount
    {
        get { return this.array.GetLength(0); }
    }

    public int ColumnsCount
    {
        get { return this.array.GetLength(1); }
    }

    public object GetDataItem(int rowIndex, int columnIndex)
    {
        return this.array[rowIndex, columnIndex];
    }

    public double GetValue(int rowIndex, int columnIndex)
    {
        return this.array[rowIndex, columnIndex].Value;
    }

    // Note that this method was implemented only to help us get the color from the array.
    // The method is not required by the interface.
    public Color GetColor(int rowIndex, int columnIndex)
    {
        return this.array[rowIndex, columnIndex].Color;
    }

    public void Dispose()
    {
        this.array = null;
    }
}
Creating the Custom HeatMapDefinition
To use the custom source, implement a custom definition that derives from the HeatMapDefinition class. The class exposes several protected methods and a property that you have to override.
Implement the custom HeatMapDefinition
public class CustomHeatMapDefinition : HeatMapDefinition
{
    private CustomHeatMapSource source;
    public CustomHeatMapDefinition(CustomHeatMapSource source)
    {
        this.source = source;
    }

    protected override IHeatMapSource Source
    {
        get { return this.source; }
    }

    protected override int GetColor(int rowIndex, int columnIndex)
    {
        int color = ToColorInt(this.source.GetColor(rowIndex, columnIndex));
        return color;
    }

    protected override object GetColumnHeader(int index)
    {
        return "Column " + index;
    }

    protected override object GetRowHeader(int index)
    {
        return "Row " + index;
    }

    protected override void OnItemsSourceChanged()
    {
    }

    private static int ToColorInt(Color color)
    {
        var scaleApha = color.A / 255d;
        return (color.A << 24) | ((byte)(color.R * scaleApha) << 16) | ((byte)(color.G * scaleApha) << 8) | (byte)(color.B * scaleApha);
    }
}
Applying the Custom HeatMapDefinition
To use the custom definition, you can create a multidimensional array of CustomHeatMapItem elements and populate the CustomHeatMapSource with it. Then, pass it to the custom definition.
Define the HeatMap in XAML
<telerik:RadHeatMap x:Name="heatmap">
    <telerik:RadHeatMap.RowHeaderSettings>
        <telerik:HeatMapRowHeaderSettings LabelInterval="100" LabelClipToBounds="False" />
    </telerik:RadHeatMap.RowHeaderSettings>
    <telerik:RadHeatMap.ColumnHeaderSettings>
        <telerik:HeatMapColumnHeaderSettings LabelInterval="200" LabelClipToBounds="False" />
    </telerik:RadHeatMap.ColumnHeaderSettings>
</telerik:RadHeatMap>
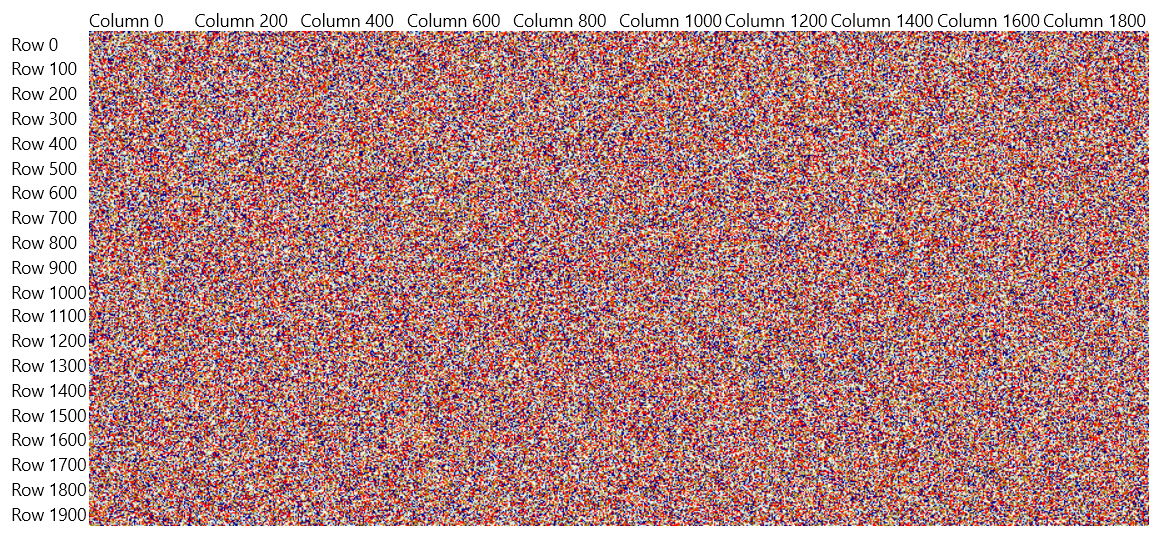
Populate the source with four million items and set the HeatMap definition
private static Random randomGenerator = new Random();
private static List<Color> colors = new List<Color> { Colors.Red, Colors.DarkBlue, Colors.Cornsilk, Colors.DarkGoldenrod, Colors.LightBlue, };

// You can decide where to use this method.
// For example, you can call it after the InitializeComponent() call of the view where the RadHeatMap control is used.
public void SetDefinition()
{
    CustomHeatMapItem[,] data = this.GetData(2000, 2000);
    CustomHeatMapSource source = new CustomHeatMapSource(data);
    this.heatmap.Definition = new CustomHeatMapDefinition(source);
}

private CustomHeatMapItem[,] GetData(int rowsCount, int columnsCount)
{
    CustomHeatMapItem[,] data = new CustomHeatMapItem[rowsCount, columnsCount];
    for (int row = 0; row < rowsCount; row++)
    {
        for (int column = 0; column < columnsCount; column++)
        {
            data[row, column] = new CustomHeatMapItem { Value = row + column, Color = colors[randomGenerator.Next(0, colors.Count)] };
        }
    }
    return data;
}