Getting Started with WinForms PictureBox
This tutorial will help you to quickly get started using the control.
Adding Telerik Assemblies Using NuGet
To use RadPictureBox when working with NuGet packages, install the Telerik.UI.for.WinForms.AllControls package. The package target framework version may vary.
Read more about NuGet installation in the Install using NuGet Packages article.
With the 2025 Q1 release, the Telerik UI for WinForms has a new licensing mechanism. You can learn more about it here.
Adding Assembly References Manually
When dragging and dropping a control from the Visual Studio (VS) Toolbox onto the Form Designer, VS automatically adds the necessary assemblies. However, if you're adding the control programmatically, you'll need to manually reference the following assemblies:
- Telerik.Licensing.Runtime
- Telerik.WinControls
- Telerik.WinControls.UI
- TelerikCommon
The Telerik UI for WinForms assemblies can be install by using one of the available installation approaches.
Defining the RadPictureBox
To start using the control you only need to add a RadPictureBox control to the form either at design time by dragging it from the toolbox and dropping it into the form or via code. From the smart tag you can dock the control in parent's container.
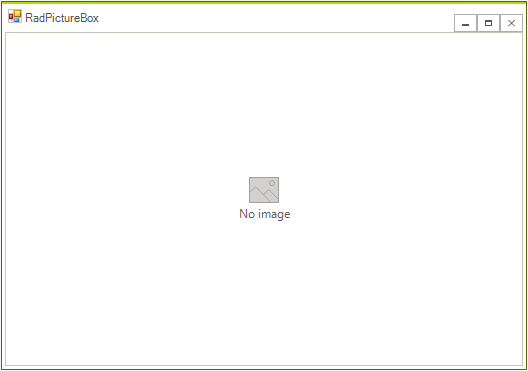
By default, the control is shown with no image icon:

Customize Default Look When there is No Image
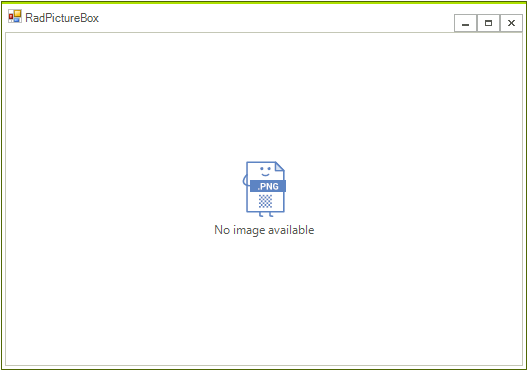
You can use the DefaultSvgImage/DefaultImage and DefaultText properties to customize both the image icon and text according to your needs:
this.radPictureBox1.DefaultSvgImage = RadSvgImage.FromFile(@"..//..//PictureBox//noimage.svg");
this.radPictureBox1.DefaultText = "No image available";
Me.RadPictureBox1.DefaultSvgImage = RadSvgImage.FromFile("..//..//PictureBox//noimage.svg")
Me.RadPictureBox1.DefaultText = "No image available"

Load an Image
To load an image in RadPictureBox control you can use SvgImage or Image property:
- Load an image:
this.radPictureBox1.Image = Image.FromFile(@"..//..//PictureBox//emoticon-happy.png");
Me.RadPictureBox1.Image = Image.FromFile("..//..//PictureBox//emoticon-happy.png")
- Load SVG image:
this.radPictureBox1.SvgImage = RadSvgImage.FromFile(@"..//..//PictureBox//emoticon-happy.svg");
Me.RadPictureBox1.SvgImage = RadSvgImage.FromFile("..//..//PictureBox//emoticon-happy.svg")

See Also
Telerik UI for WinForms Learning Resources
- Telerik UI for WinForms Picturebox Component
- Getting Started with Telerik UI for WinForms Components
- Telerik UI for WinForms Setup
- Telerik UI for WinForms Application Modernization
- Telerik UI for WinForms Visual Studio Templates
- Deploy Telerik UI for WinForms Applications
- Telerik UI for WinForms Virtual Classroom(Training Courses for Registered Users)
- Telerik UI for WinForms License Agreement)