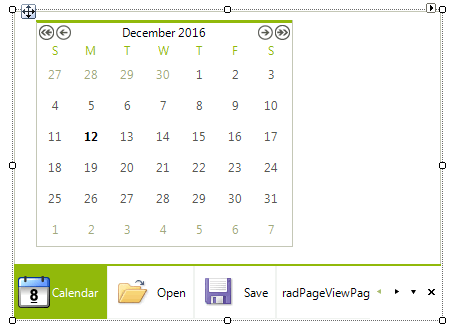
Getting Started with WinForms Strip View
In this tutorial, we are going to create a simple RadPageView in PageViewMode.Strip.
In order to achieve this, you should follow these steps:
1. Create a new Windows Forms Application and drag RadPageView on your form.
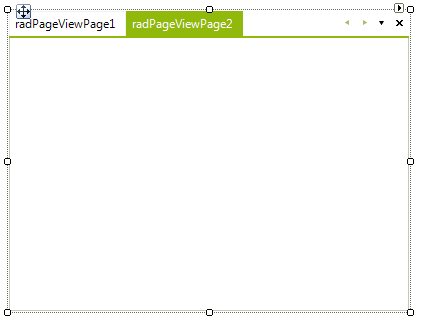
2. Click the Smart Tag of RadPageView and then click the Add Page link five times. This will create five PageViewMode.Strip:
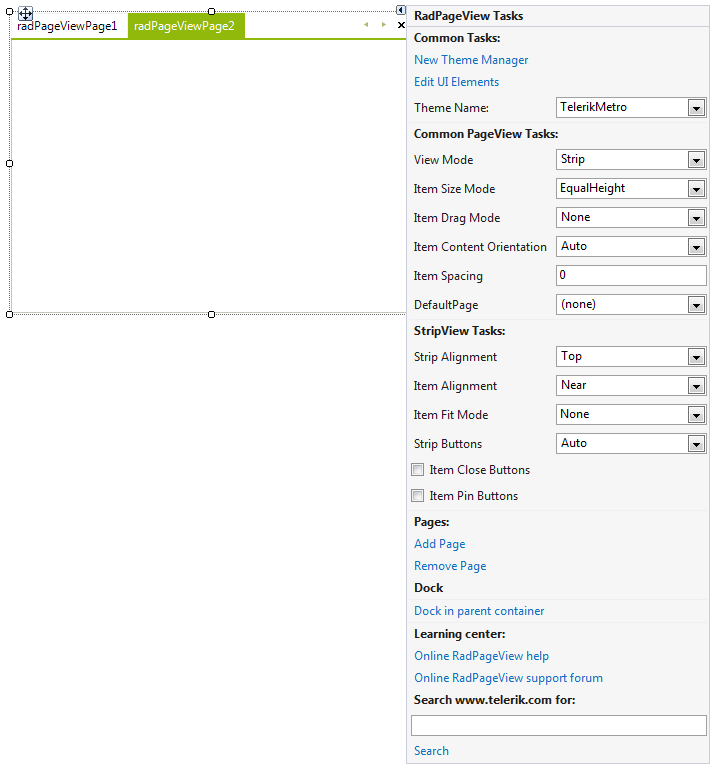
3. With the Action Menu opened, choose the All option from the Strip Buttons drop down list. This will add an overflow button to the default scroll and close buttons.
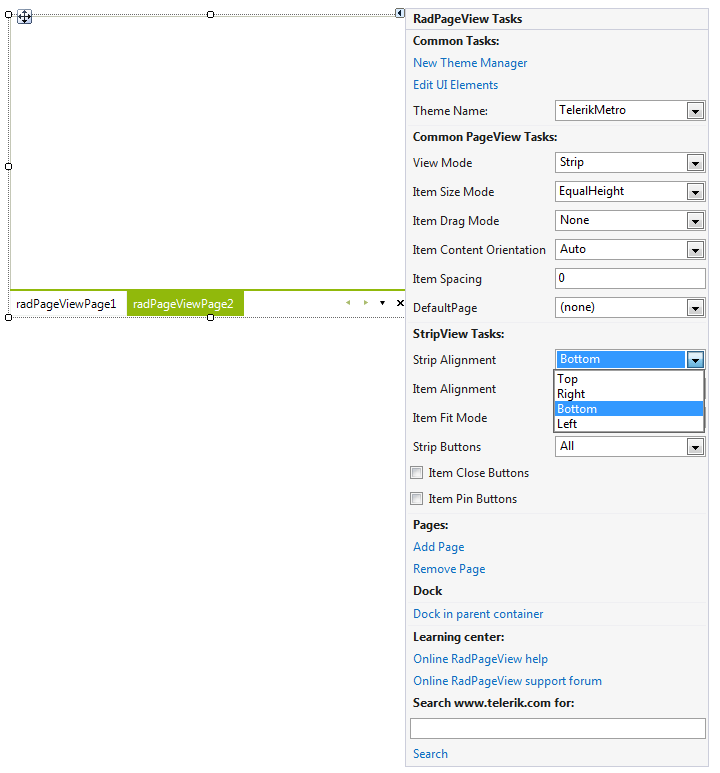
4. Set the Strip Alignment to Bottom. This will align the items to bottom in relation to the content area:
5. Add five images to your project as resources.
6. From the drop down list of the Visual Studio Property Window, select each of the created RadPageViewPages and set its Image property to an image of your choice. You can set the Text in the Property Window as well:
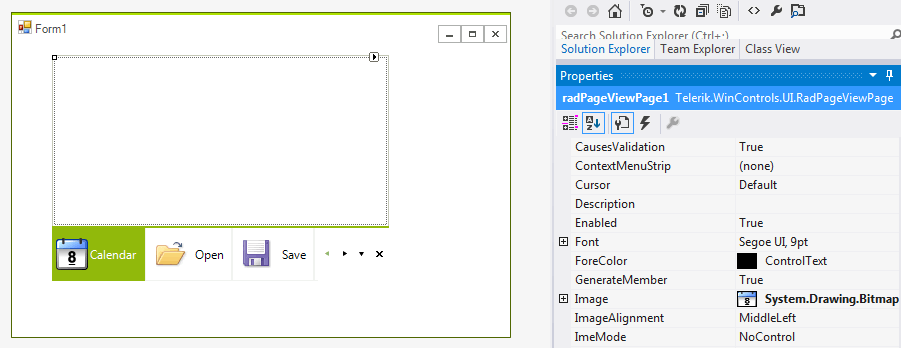
7. The final step concerns the process of adding some content in the content areas of the pages. To do so, again from the drop down list of the Visual Studio Property Window, select each of the created RadPageViewPages and drag the appropriate controls in the content area of the currently selected page:
