First Steps with Telerik UI for Silverlight
This article explains how to get the Telerik UI for Silverlight controls in your project and start using them quickly.
Once you have your first simple control up and running, take a look at the next steps section to start exploring the control functionality in more detail.
Download the Controls
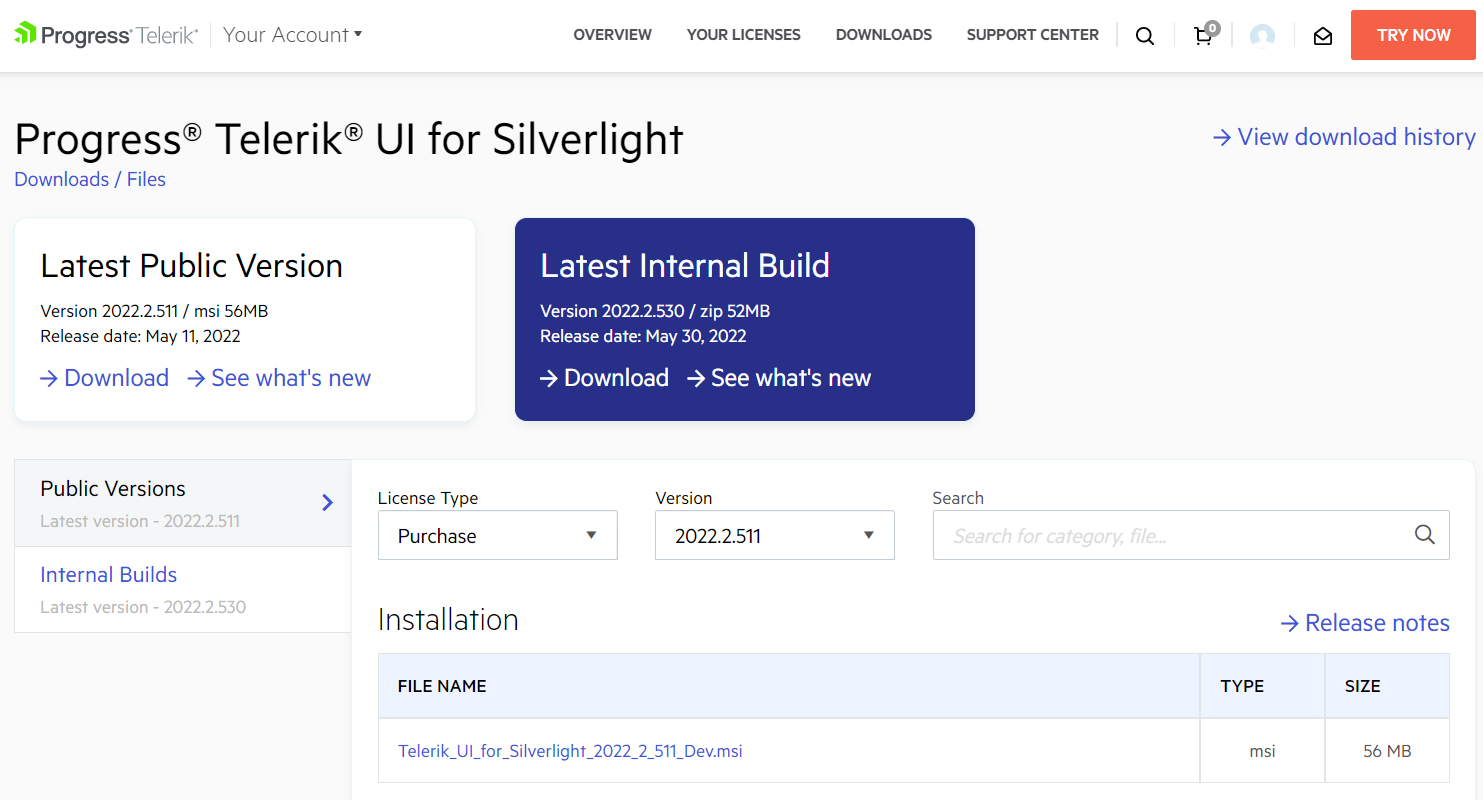
The easiest way to get the controls to your development machine is to use the Progress Control Panel or to download the automated MSI installer from your telerik.com account.
Figure 1: Download automated (.msi) installer

The following article can help you choose the installation type that is most suitable for your needs and preferences: Which File Do I Need to Install.
Create a UI for Silverlight Project
The easiest way to create a Telerik UI for Silverlight project is to use Visual Studio Extensions which are distributed with the Telerik UI for Silverlight installer.
The Visual Studio Extensions can be accessed through the Telerik | Telerik UI for Silverlight menu which has different menu items depending on the selected project in Visual Studio. The extensions can be accessed through the context menu of a Silverlight Application as well.
You can then create the Telerik UI for Silverlight project in one of the 3 following ways:
-
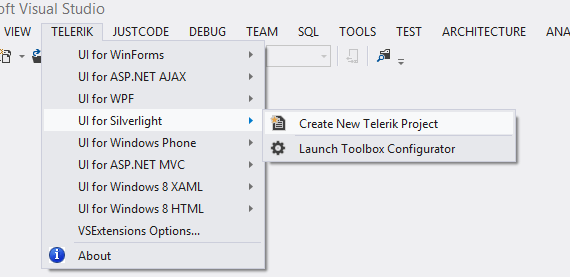
If you do not have a project, run the Create Project Wizard.
Figure 2: Go to Telerik > Telerik UI for Silverlight > Create New Telerik Project

-
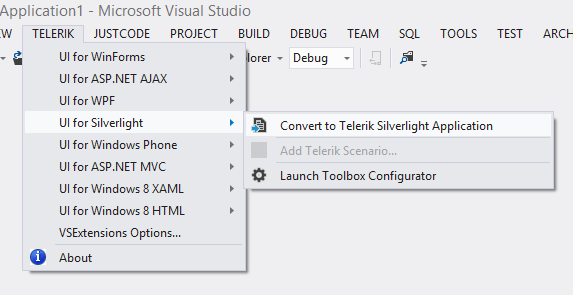
If you already have a Silverlight project, run the Convert Project Wizard.
Figure 3: Go to Telerik > Telerik UI for Silverlight > Convert to Telerik Silverlight Application

If you prefer full manual control over your project, you can copy the Telerik assemblies to the ~/bin and add references to them through the Visual Studio interface. The controls come packaged in several assemblies but to get started, you only need Telerik.Windows.Controls.dll.
Add a Teleik Control to the Project
The final step is to actually add a Telerik control to your application.
-
Example 1: Telerik namespace definition
xmlns:telerik="http://schemas.telerik.com/2008/xaml/presentation" -
Add a Telerik control to the page, for example, a RadListBox:
Example 2: Adding RadListBoxItems
    <telerik:RadListBox  Width="200" x:Name="radListBox">
        <telerik:RadListBoxItem Content="Australia" />
        <telerik:RadListBoxItem Content="Brazil" />
        <telerik:RadListBoxItem Content="Canada" />
        <telerik:RadListBoxItem Content="China" />
        <telerik:RadListBoxItem Content="England" />
        <telerik:RadListBoxItem Content="Germany" />
    </telerik:RadListBox>
You can also drag a control from the Visual Studio Toolbox. If you do not see the controls in the toolbox, examine the Adding the Telerik Controls to the Visual Studio Toolbox article.
-
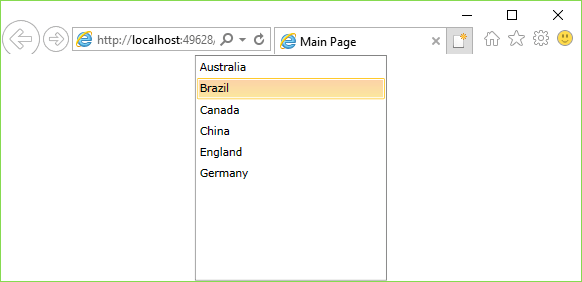
Run the project by pressing F5. You should see something like this:
Figure 4: The final result

Next Steps
Now that you have the Telerik UI for Silverlight controls running in your project, you may want to explore their features, customize their behavior or change their appearance. Below you can find guidance on getting started with such tasks: