Adding UI for Silverlight to Visual Studio 2015 Toolbox
The following tutorial will show you how to add UI for Silverlight controls to Visual Studio 2015 toolbox.
Adding UI for Silverlight to Visual Studio 2015 Toolbox
To manually add Telerik UI for Silverlight to the Visual Studio 2015 Toolbox, follow the steps below:
Open your application in Visual Studio 2015.
Expand the Toolbox (View->Toolbox or use the shortcut Ctrl+Alt+X).
-
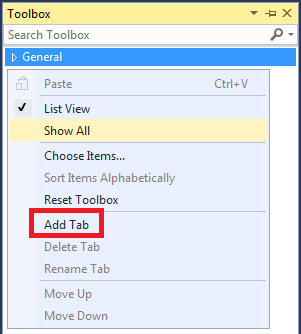
Right-mouse click in the toolbox area and choose "Add Tab" from the context menu.
-
Add a new tab with name "UI for Silverlight".
-
Select the "UI for Silverlight" tab in the toolbox. Right-mouse click and select "Choose Items...".
-
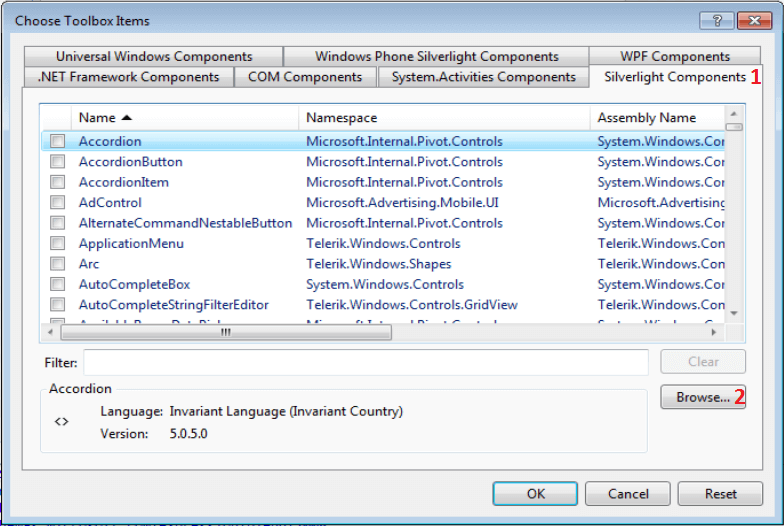
In the "Choose Toolbox Items" dialog, go to the "Silverlight Components" tab and click "Browse...".
-
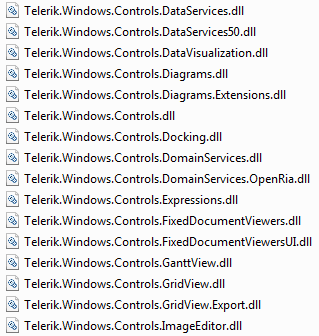
Navigate to the folder where the binaries are located. Select the DLL you want to import and click OK or press Enter.
-
Press OK to include the controls in your toolbox, or filter the controls you want to add.
-
Expand your toolbox. You will see the newly added controls in the "UI for Silverlight" section.
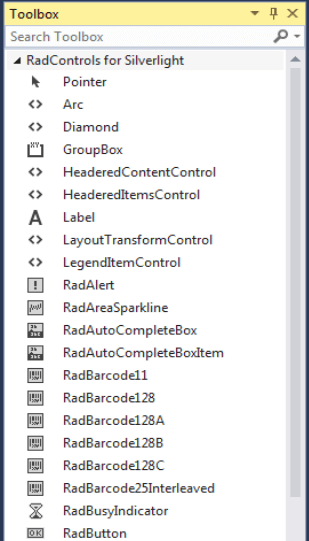
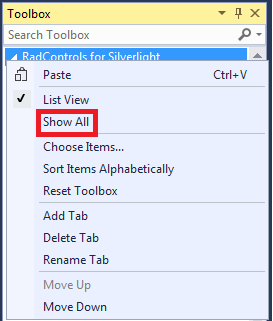
After clicking the OK button of the "Choose Toolbox Items", it is possible that the "UI for Silverlight" tab in the toolbox may be hidden. If that happens, move the mouse pointer over the Toolbox area and right-click the mouse and then select the Show All command from the shortcut menu.
