Generate New Encryption Key
The Encryption Key is used to secure sensitive data across the Test Studio projects. You can get the current key or generate a new one in the Scheduling Config wizard.
- Manage the Encryption Key
- Generate and Import Custom Encryption Key in Single Machine Setup
- Generate and Import Custom Encryption Key in Multiple Machines Setup
- Re-Generate the Custom Key
Manage the Encryption Key
Find useful details on the available options to manage the Encryption key.
Default Encryption Key
The Encryption tab lets you manage the Encryption Key which is used to secure sensitive data across the Test Studio projects including:
- Passwords for connecting to source control repository or bug tracking systems, and database connection strings used in data driven tests; SMTP credentials if used in the Scheduling configuration;
- Password steps recorded in automated tests when the 'Encrypt' step property is enabled.
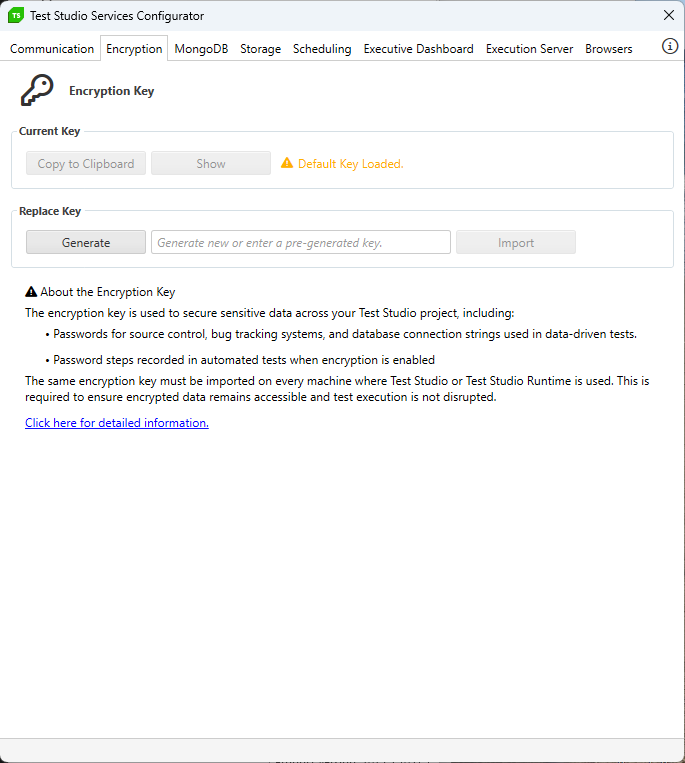
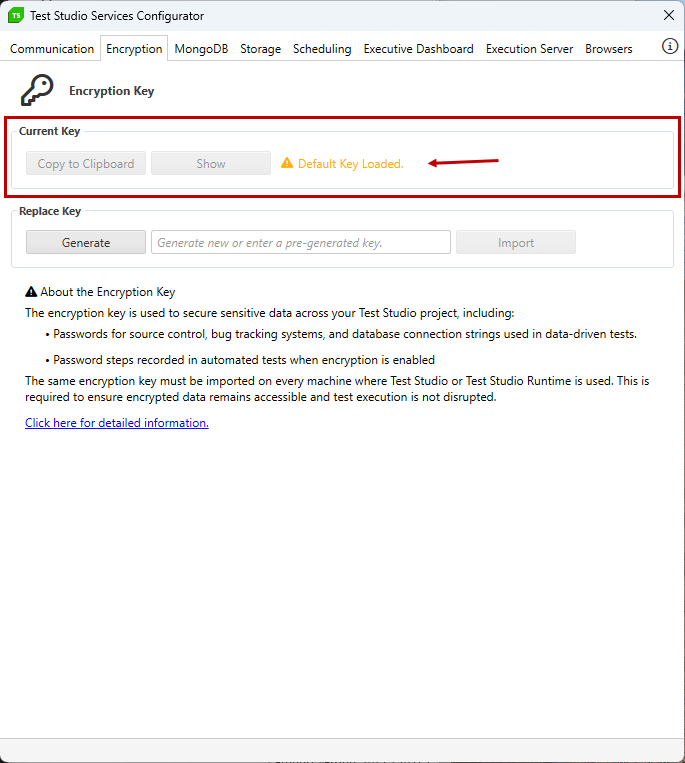
The Current Key section indicates which is the key in use. Test Studio installation uses a default encryption key and you see the current key is the Default Key Loaded. In this configuration you can't copy or see the key.
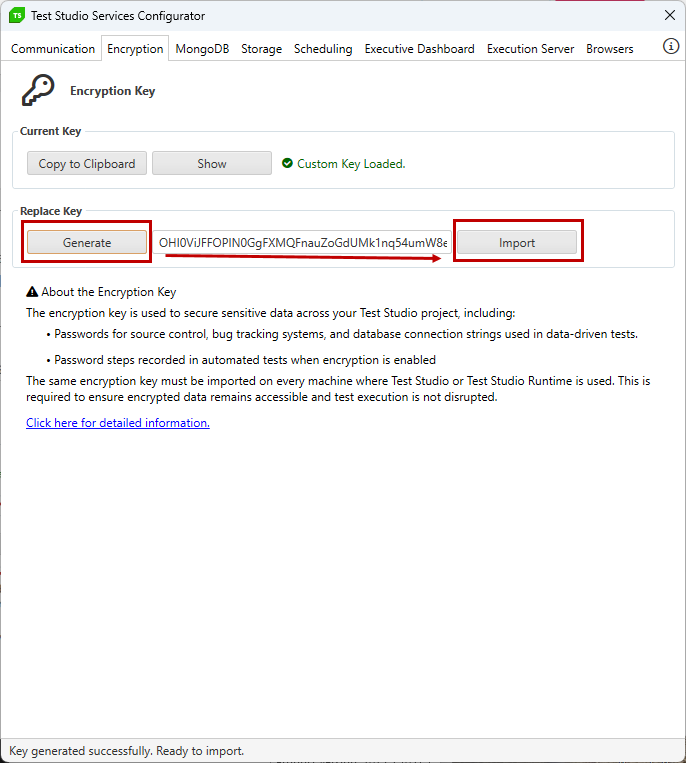
Generate New Key
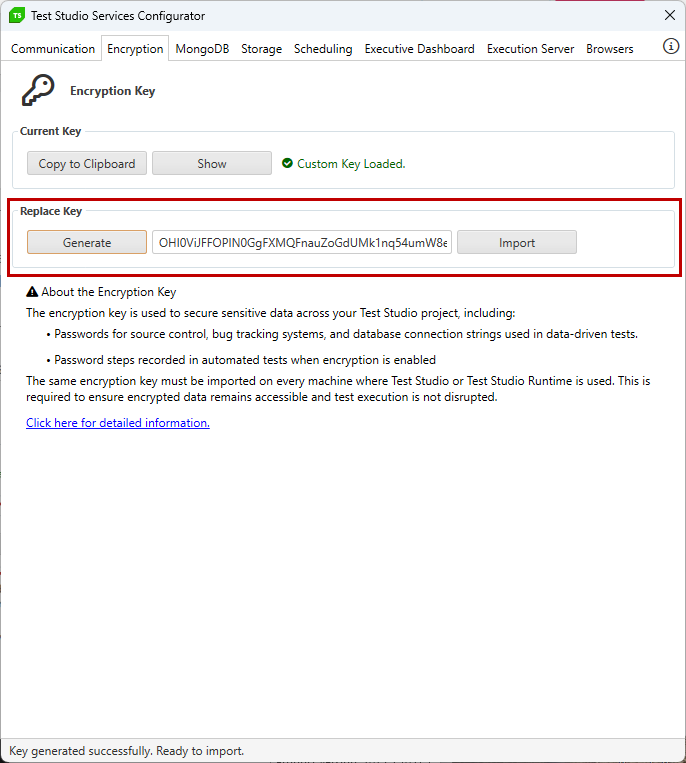
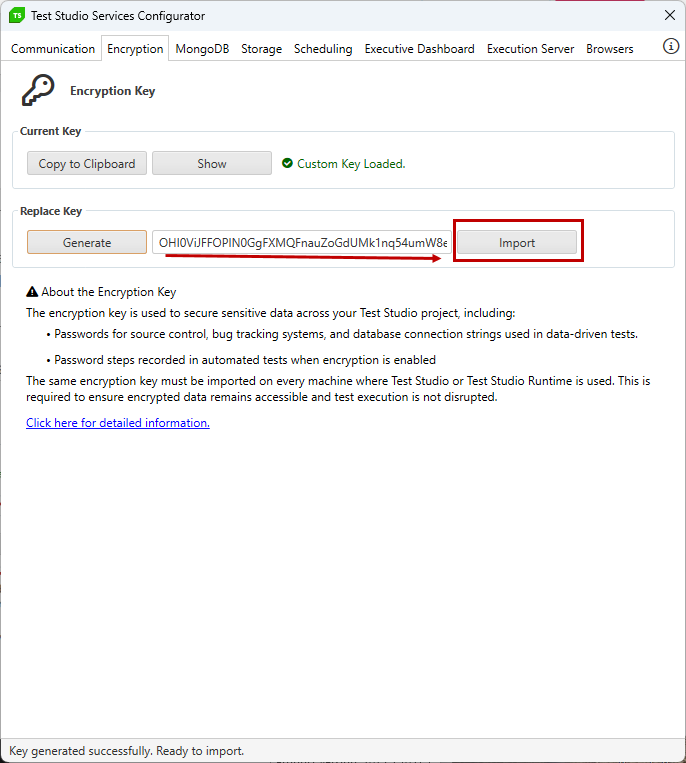
The Replace Key section lets you Generate a new key. Once generated, the new value is populated in the text field and is ready to be imported. Hit the Import button to replace the current key with the new one.
Note
When importing a custom encryption key for the first time some of the encrypted data becomes inaccessible. To continue using your Test Studio projects in such case you must:
- re-enter all passwords for connecting to source control repository or bug tracking systems, and SMTP settings if used in Scheduling configuration;
- all projects on the machine are upgraded to use the new key for password steps in automated tests when the 'Encrypt' step property is enabled and for database connection strings used in data driven tests thus no further interaction is needed for these.
If you decide to regenerate the encryption key and import a new one all encrypted data becomes inaccessible. To continue using your Test Studio projects in such case you must:
- re-enter all passwords for connecting to source control repository or bug tracking systems, and database connection strings used in data driven tests, and SMTP settings if used in Scheduling configuration;
- re-record all password steps in automated tests when the 'Encrypt' step property is enabled.
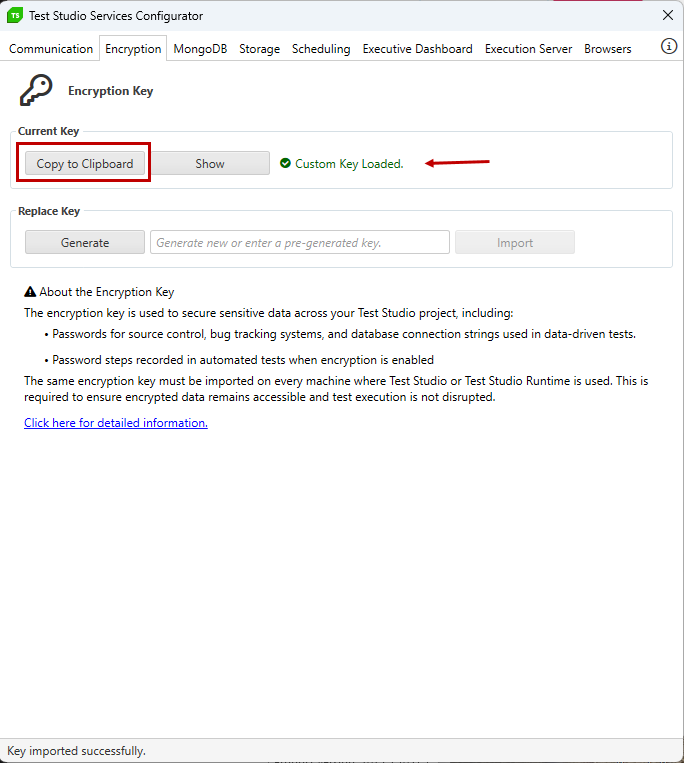
Copy Current Key
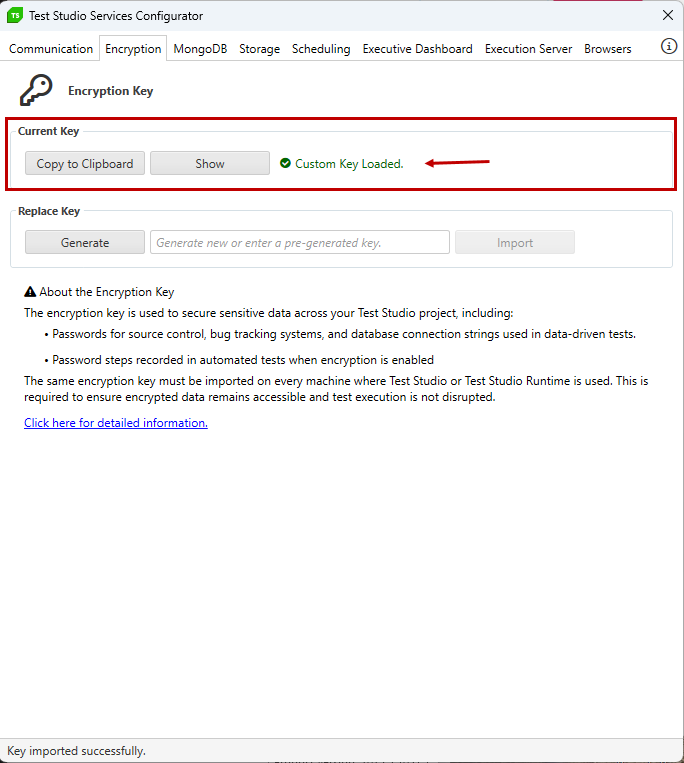
Once a custom key is generated and imported, the Current Key section allows you to copy the value of the key using the Copy to Clipboard button, or see it using the Show button (for the cases when copying is not an option).
Important!
The copied key must be imported on all machines where Test Studio is in use.
Note
The Encryption key is set per machine. This means that importing a key on one machine lets all projects on the same machine to use it. If you see any troubles with the imported key on a machine, be sure to restart all Test Studio processes.
The actual Encryption key is kept in a file namedencryptKey.txtwhich is saved in folderC:\ProgramData\Telerik\Test Studio\Configs. This location is accessible from all users on each local machine and we strongly recommend to ensure its security as per your company security policies.
Generate and Import Custom Encryption Key in Single Machine Setup
Once you generate a new key, hit the Import button to replace the current key in use on the current machine.
In the case when you have only one machine with Test Studio, follow the below steps:
- Open the Test Studio Services config wizard.
- Switch to the Encryption tab and generate new Encryption key.
-
Hit the Import button and wait for a while.
-
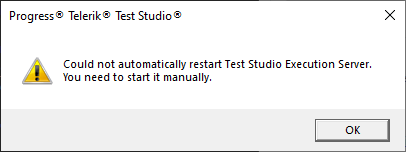
The Execution client application from the system tray on this machine is restarted.
Note! You may see a message that the Execution server app is closed and you need to start it manually.
If running restart Test Studio standalone application and current project in use. When restarted the project will be upgraded.
- If the project is connected to Git source control reset the Git credentials.
- If the project is connected to bug tracking system re-enter the credentials in use.
-
If the current machine is used as Scheduling server with configured SMTP settings, re-enter the credentials in use and apply the change.
Note! SMTP settings are applied for the machine where the Scheduling service is in use, so you only need to change these once.
Password steps in automated tests when the 'Encrypt' step property is enabled are upgraded to use the new encryption key.
- Database connection strings used in data driven tests are upgraded to use the new encryption key.
- You can continue using the project as before.
Generate and Import Custom Encryption Key in Multiple Machines Setup
Once you generate a new key, hit the Import button to replace the current key in use for current machine.
In the setup where Test Studio project is used on multiple machines, you need to import the new key on each machine. Follow the below steps:
- Open the Test Studio Services config wizard on the machine where the Scheduling service is.
- In the Encryption tab generate new Encryption key.
-
Hit the Import button and wait for a while.
-
The Execution client application from the system tray on this machine is restarted.
Note! You may see a message that the Execution server app is closed and you need to start it manually.
If running restart Test Studio standalone application and current project in use. When restarted the project will be upgraded.
- If the project is connected to Git source control reset the Git credentials.
- If the project is connected to bug tracking system re-enter the credentials in use.
-
If the current machine is used as Scheduling server with configured SMTP settings, re-enter the credentials in use and apply the change.
Note SMTP settings are applied for the machine where the Scheduling service is in use, so you only need to change these once.
Password steps in automated tests when the 'Encrypt' step property is enabled are upgraded to use the new encryption key.
- Database connection strings used in data driven tests are upgraded to use the new encryption key.
- If the current project is under source control push the latest changes to the remote repository.
-
On this same machine copy the new key value from the Current Key section in the Test Studio Services config wizard->Encryption tab. Be sure to safely distribute the key as per your local security policies.
Logon to each of the machines where Test Studio is in use.
- Start the Test Studio Services configuration wizard.
-
Switch to the Encryption tab and use the copied key from your local machine (Step 10. in this list) to import it. Be sure to safely distribute the key as per your local security policies.
Hit the Import button and wait for a while.
-
If running the Execution client application from the system tray is restarted.
Note! You may see a message that the Execution server app is closed and you need to start it manually.
Repeat steps 13. to 17. for all machines where Test Studio is in use. If Test Studio application is running while importing the new key be sure to restart it.
- Continue with getting the latest version of the project from the source control in use and recording/running tests. If the machine is used for test execution as part of the Test Studio Scheduling setup, you need to upload the latest state of project in the Storage database.
Re-Generate the Custom Key
If you decide to re-generate the custom encryption key and replace it with a new one, be informed that all encrypted data becomes inaccessible. This means you need to also re-record all password steps across the automated tests and re-enter database connection strings used in data driven testing along with re-entering Git, bug tracking system and SMTP credentials.
You can follow the steps described for single machine setup or multiple machines configuration listed above with the only change in steps 9. and 10. as follows:
-
Password steps must be re-recorded in automated tests when the 'Encrypt' step property is used.
Tip! You can use the option to add steps for an existing element in the elements repository to re-create the step. Another possible approach is to use the partial test run options.
Database connection strings used in data driven tests must be re-entered.