Branch Management For Git Source Control
Test Studio supports management of Git branches in remote and local repositories.
Remote Repository
Once a local project is connected to a remote Git repository or a remote project is opened and locally cloned in Test Studio its branches could be managed within Test Studio.
1. Open a source control project enabled for Git.
2. Remote repository supports Commit, Push, Pull and Discard Local Changes.
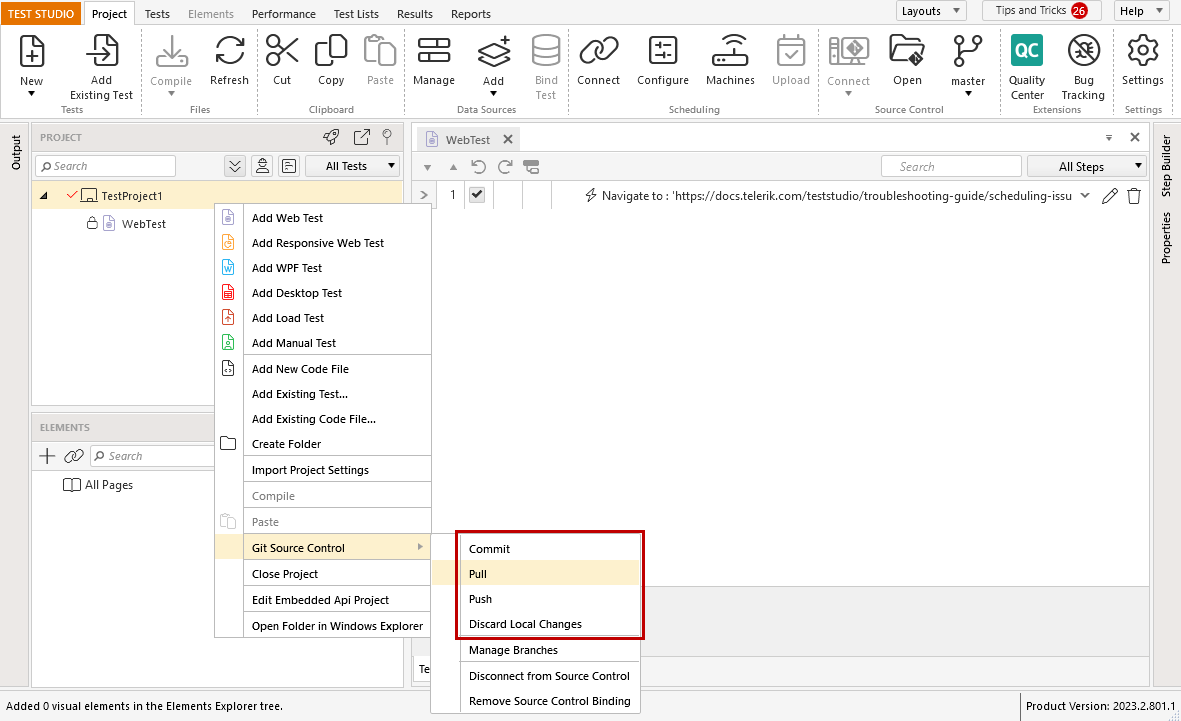
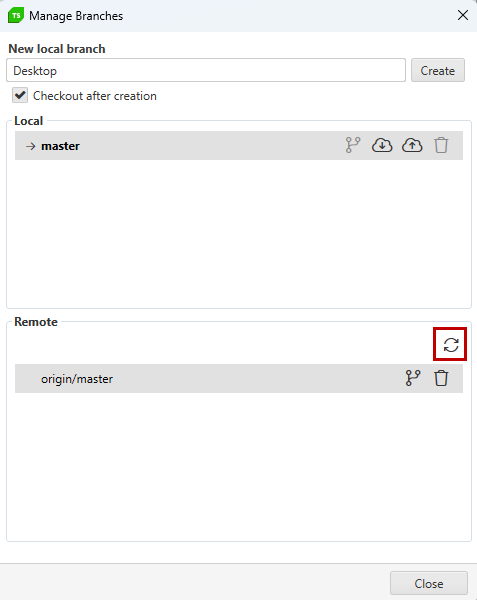
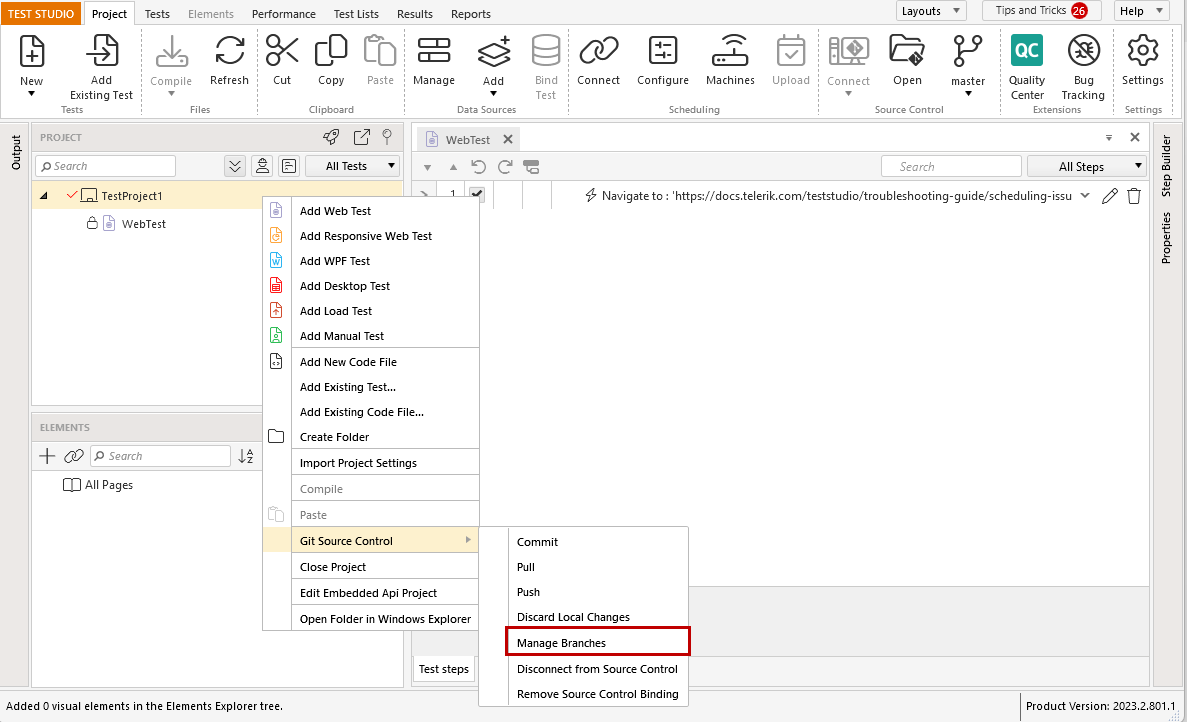
3. The Manage Branches dialog could be accessed from the Project Explorer options menu or from the Source Control ribbon.

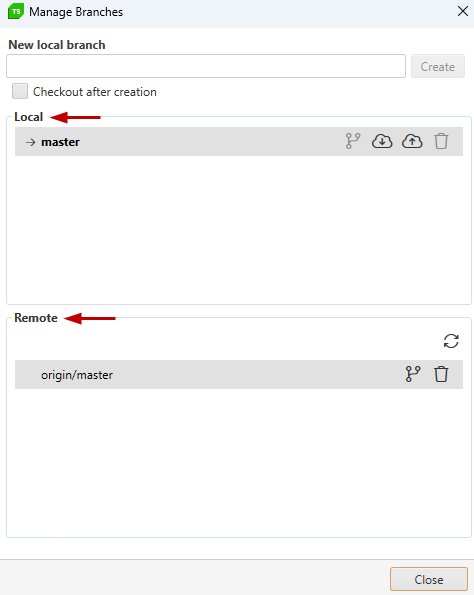
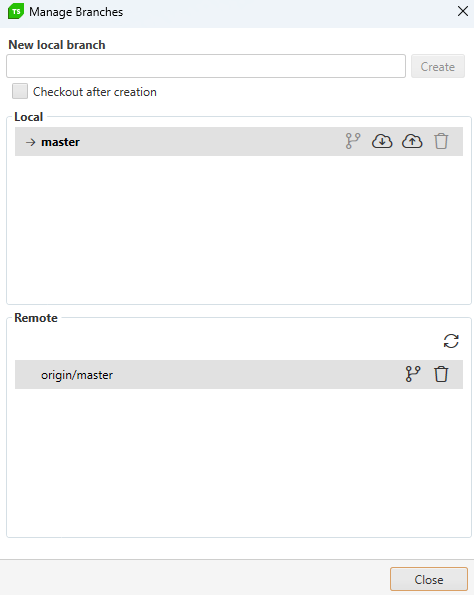
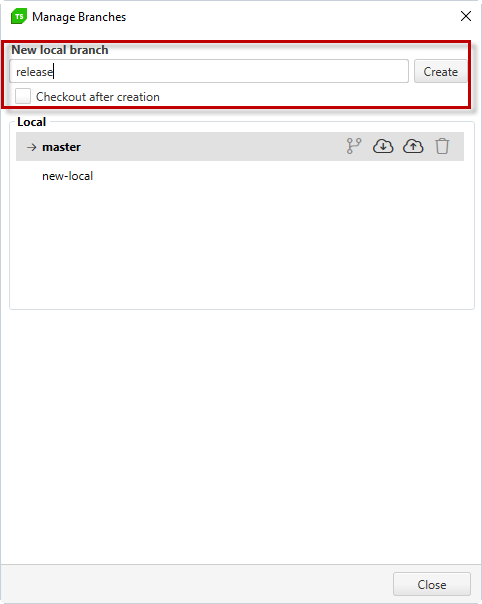
4. The Manage Branches dialog contains a list of local and remote branches. The initially created branch is set as default one and is called master.
5. In the Manage Branches dialog a new local branch could be created. Enabling the checkbox "Checkout after creation" will automatically checkout the newly created branch.

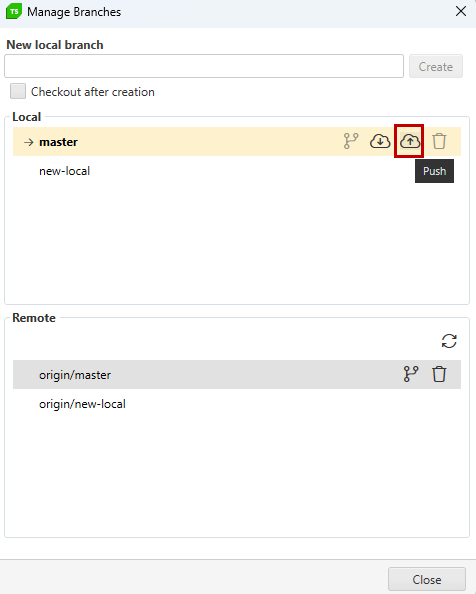
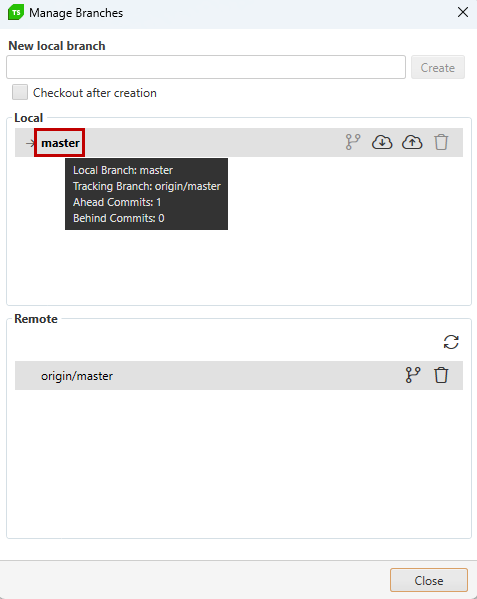
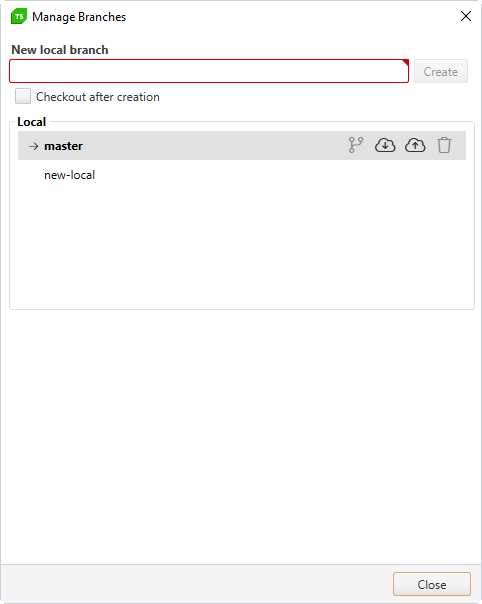
6. The newly created local branch will appear in the respective list and will be marked as current with a red arrow sign in front of its name. Once the dialog is closed the project will be reloaded to display the new branch.
The current branch is also displayed in the Source Control ribbon.

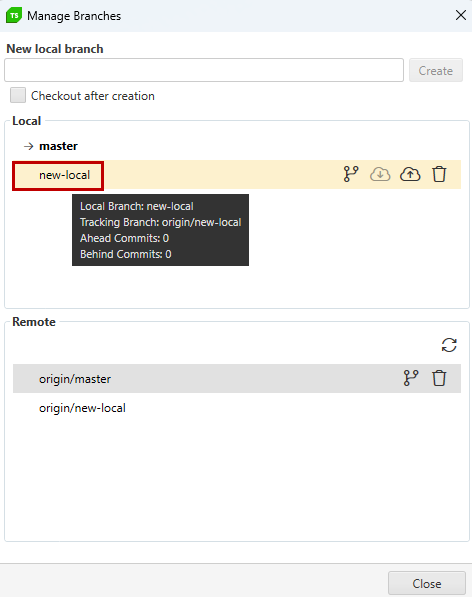
7. The newly created branch will remain local until it is pushed to the remote repository. To do so open the Manage Branches window, select the branch to push to remote repository and click the Push icon.
8. The refresh button for the list with remote branches will fetch all references from the remote server and clear stale local ones.
9. If there is a remote branch not present in the local project it could be checked out and a local branch with the same name will be created.
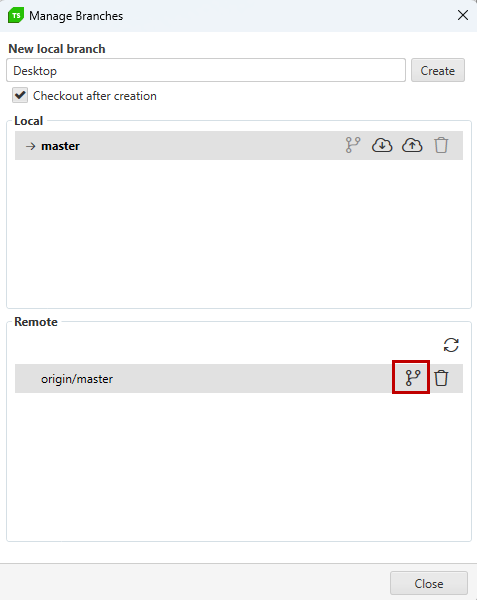
Checkout a remote branch already existing in the local repository will checkout the local branch with the same name.
10. In the case when there are local commits not pushed to the remote branch the local one will be displayed in bold.
11. In the case when there are remote commits not pulled to the local branch it will be displayed in italic.
12. Pull command could be executed against the current checked out branch only. Checkout is grayed out.
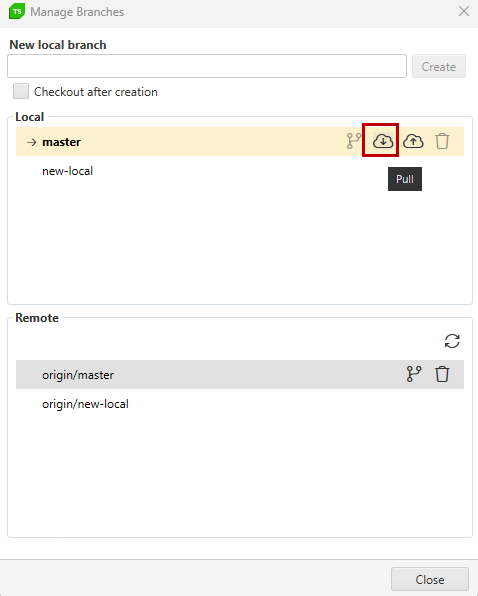
If a branch is not currently checked out the Checkout button is active and Pull is grayed out.
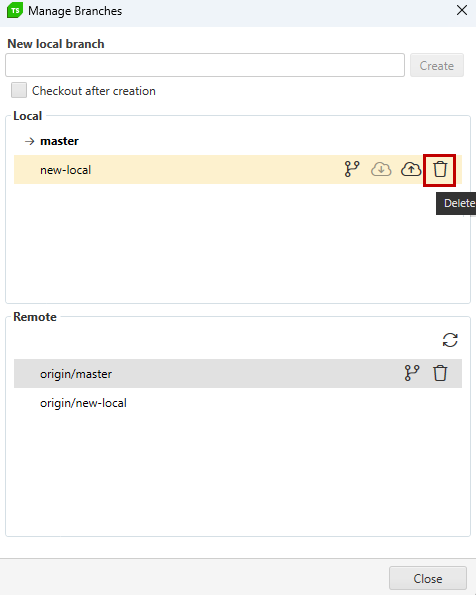
13. Both local and remote branches could be deleted. Since the change is irreversible there is a warning message to confirm your choice.
Local repository
A local project could be also source control enabled using Git and local branches could be maintaned in Test Studio.
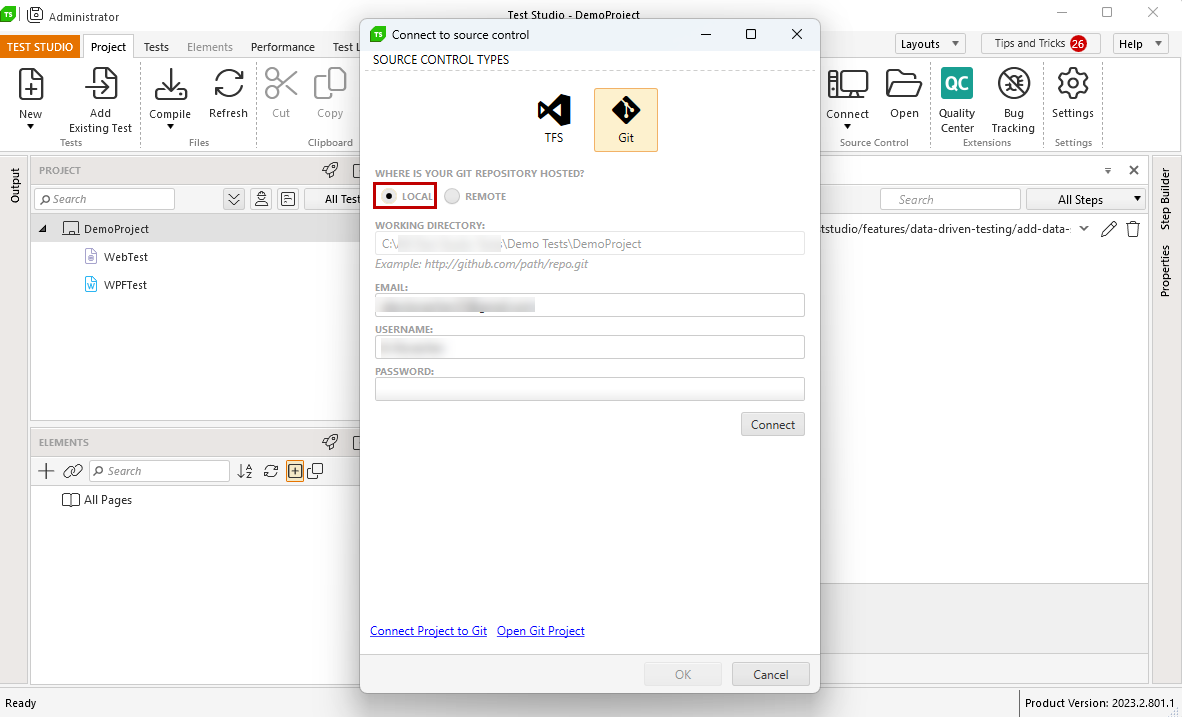
1. Open a project in Test Studio, click the Connect button in the Source Control ribbon. Select Git, choose Local and fill in the appropriate information click Connect and OK.
2. For local repository only Commit is available as an option.

3. The Manage Branches dialog could be accessed from the Project Explorer options menu or from the Source Control ribbon.
4. The Manage Branches dialog contains a list of local branches. The initially created branch is set as default one and is called master.

5. In the Manage Branches dialog a new local branch could be created. Enabling the checkbox "Checkout after creation" will automatically checkout the newly created branch.
6. The newly created branch will appear in the list and will be marked as checked out with a red arrow sign in front of its name. Once the dialog is closed the project will be reloaded to display the new branch.
7. The current branch name is displayed in the Source control ribbon. It also could be double checked in the Manage Branches dialog at any time.