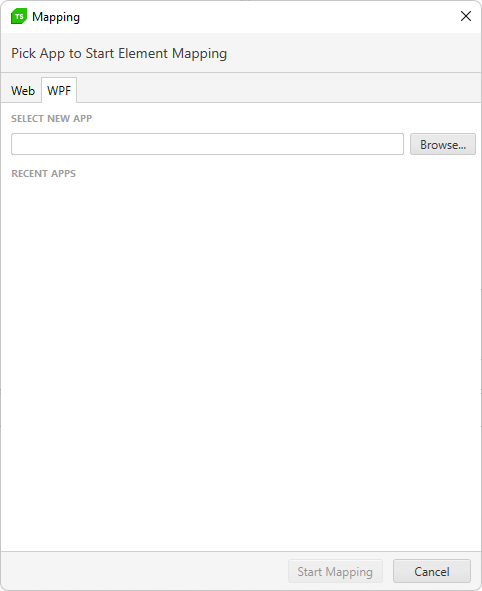
The example shown here is for a Web test, but for a WPF test the actions are exactly the same.
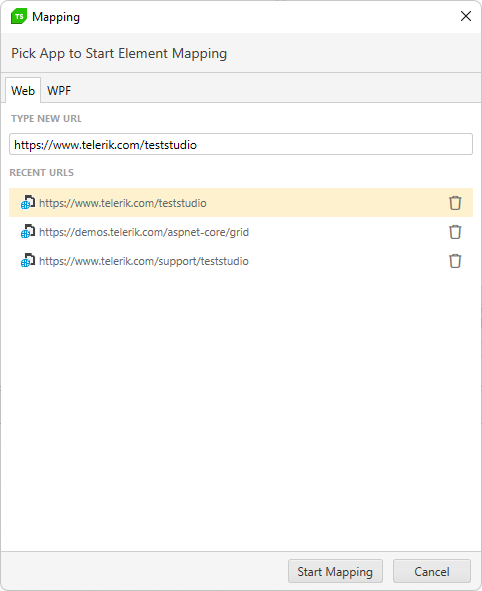
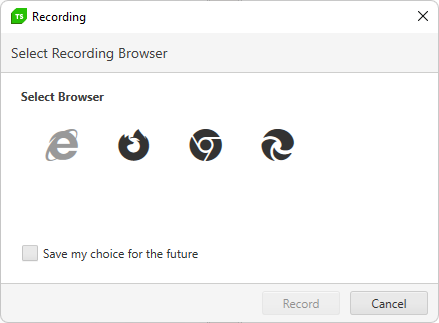
Select Recording browser and click Record.
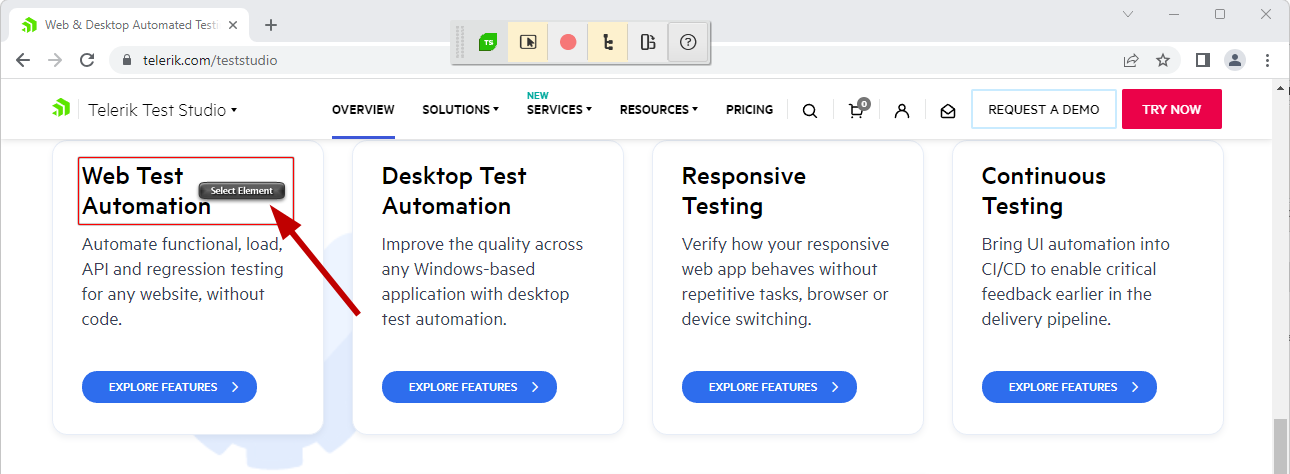
Test Studio will navigate to the URL, attach the recorder and enable Highlighting so you can directly highlight the desired element and click on Select Element as shown below:
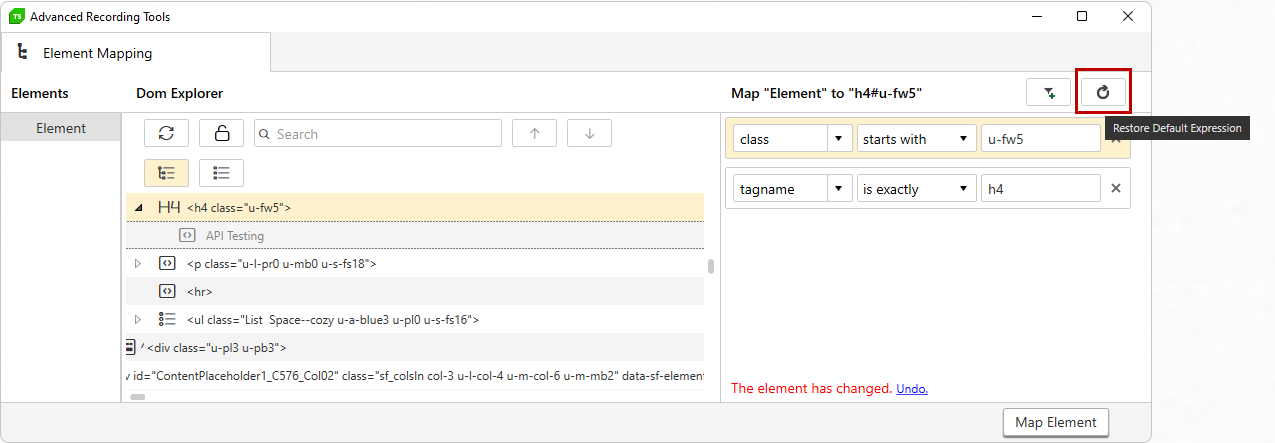
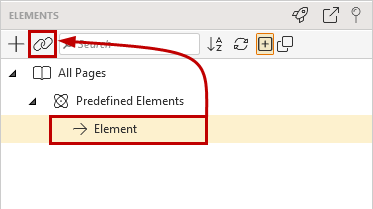
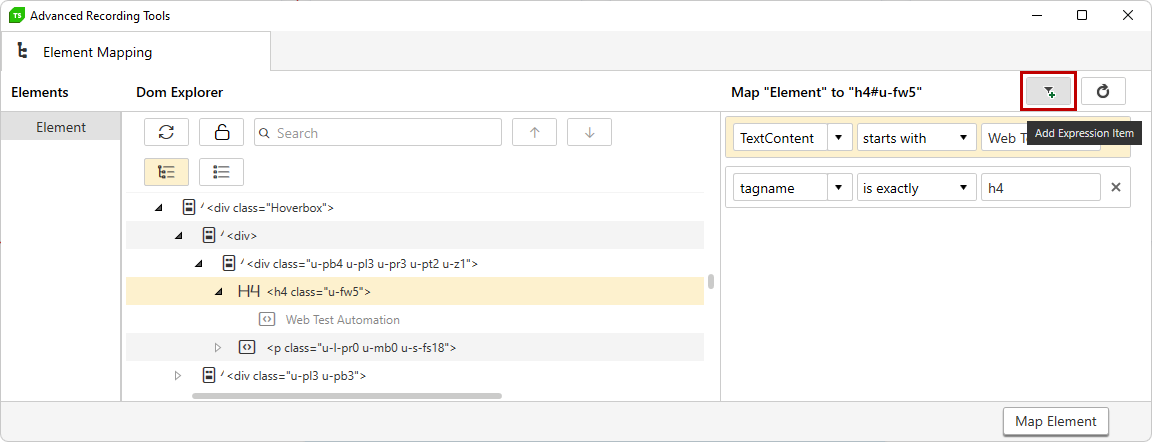
You select the predefined element you would like to map (1) from the Elements section, confirm the find logic (2) and click on Map Element button (3).
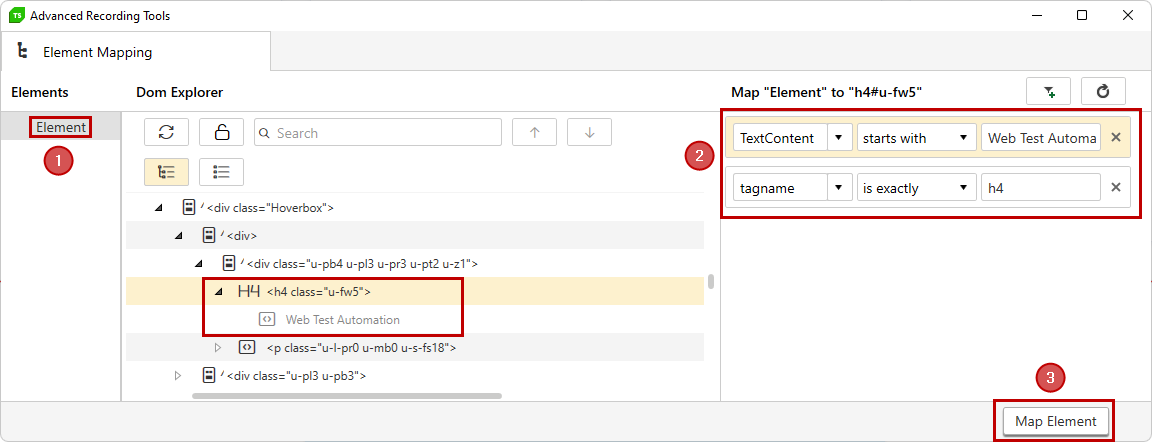
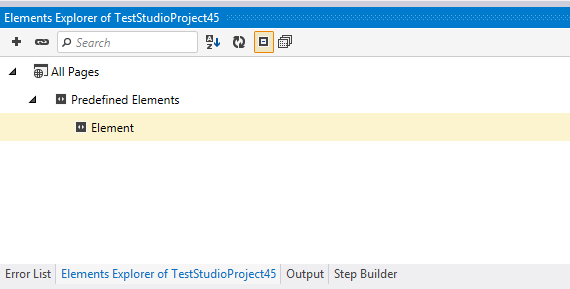
Please note in the example above we are working with only one predefined element in the Elements section. However you can have many predefined elements listed there. You need to be careful when mapping with an actual element which predefined element is selected. In order to avoid confusion it will be best to use descriptive friendly names to your predefined elements.
In case you would like to build more robust find logic before mapping the predefined element you can add an Expression Item.
Another filter is added so you can tweak the element's find logic.
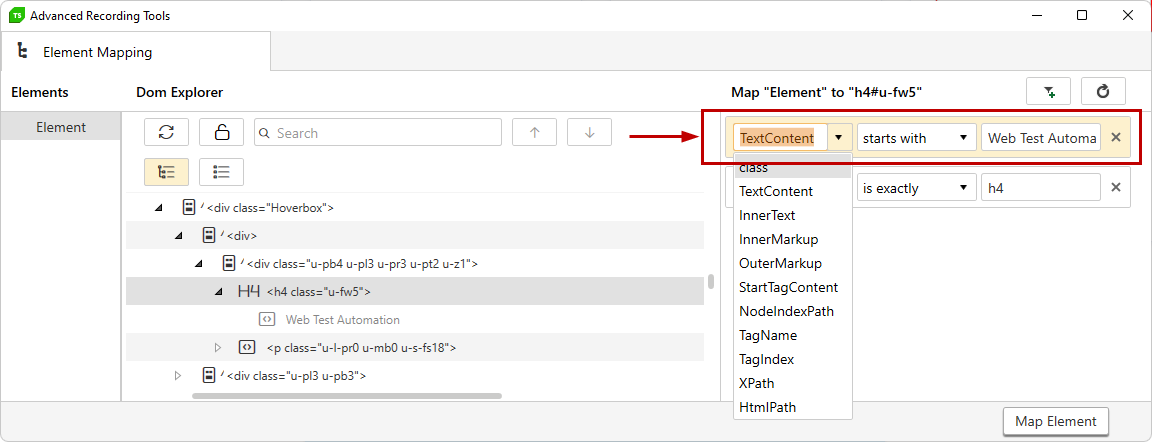
You can undo all the changes and revert to the default find expression using the Restore Default Expression button.