Headless Test Execution in Test Studio
Headless testing improves both the effectiveness and efficiency of your testing process. Test Studio supports execution of all existing web tests in headless mode for Chrome and Edge Chromium browsers.
Find out more about this type of execution for UI tests in the below article.
What is Headless Testing?
Running web tests in headless browser mode uses a web browser to run the scripts, but skips loading the browser's UI. That means that the HTML page under test is not getting rendered during the run, so the overall execution is much faster. Another advantage is that tests bypass interacting with the page to manipulate the browser more directly, which reduces the failures due to UI-related interactions.
Tip
Find out further advantages of headless testing in this Test Studio blog post.
Test Studio is a test automation platform for web, WPF, and responsive web applications, supporting UI, functional, load, and RESTful API testing. Sign up for a free 30-day trial!
![]()
New to Telerik Test Studio?
How to Execute Test in Headless Browser Mode?
Test Studio currently supports the headless mode for Chrome and Edge Chromium browsers. You can execute any existing test in your automation project in headless mode by selecting that type of browser.
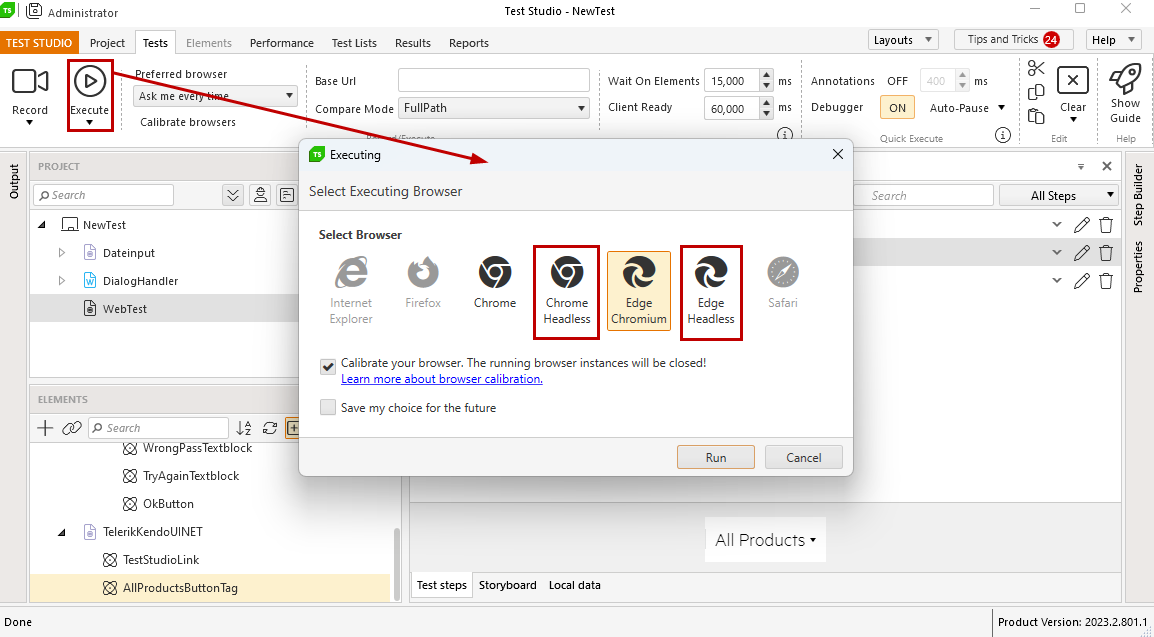
Once you initiate the headless browser run in quick execution, you can continue interacting freely with your desktop. Since there is no UI loaded, you don't need to wait for the run to finish. The indication for the test run process is the Visual Debugger at the lower right corner of your display - right above the system tray. This toolbar will indicate the currently executed step.

Do I Need to Modify the Existing Tests to Execute Them in Headless Chrome or Edge Chromium Browser?
Since there is no UI loaded during the headless test execution, it is much faster than the usual test run with active browser. Therefore, we recommend to review the existing web tests and determine if these contain sufficient wait and/or verification steps to ensure stable and consistent behavior during headless browser execution.
What Are the Wait/Verification Steps and When Do I Need Them?
The wait and verify steps are the mechanism in Test Studio to align the test execution speed with the speed of application responsiveness. This type of steps are always related to an element on the page and are slowing down the execution, depending on how fast the application handles the actions in test - thus, these are not actually affecting the overall amount of time required for the test run.
The basic concept of adding a short delay as a wait or verify step is to ensure the state of the application under test is what you expect it, before sending the next action. The straight forward example is to ensure an element is visible, or exists, on the page, after the page is reloaded. However, don't underestimate the dynamic content on a page, without reloading it. Here are some common examples:
- Selecting a value from dropdown control - verify that the option to select is visible, or exists, before you select it from the list.
- Entering some text, which gets populated anywhere on the page - verify that the expected element's text content is updated accordingly.
- An element on page changes visually, after some data is submitted - verify the style or attributes of an element.
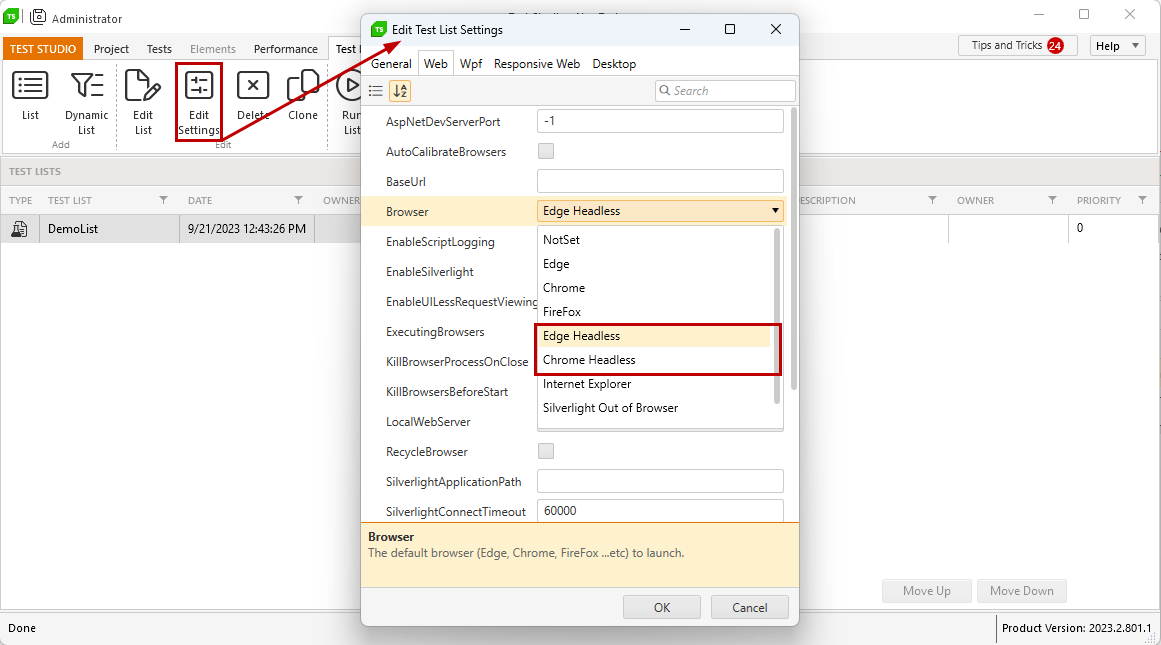
Execute Tests in Test Lists Using Headless Chrome Browser
Similar to the existing web tests, all existing automated test lists with web tests can be executed in headless browser mode for Chrome or Edge Chromium. To set any of these types of browser for the test list, modify its Web settings.