Getting Started with WPF Window
This tutorial will walk you through the creation of a RadWindow and will show you how to:
Adding Telerik Assemblies Using NuGet
To use RadWindow when working with NuGet packages, install the Telerik.Windows.Controls.Navigation.for.Wpf.Xaml package. The package name may vary slightly based on the Telerik dlls set - Xaml or NoXaml
Read more about NuGet installation in the Installing UI for WPF from NuGet Package article.
With the 2025 Q1 release, the Telerik UI for WPF has a new licensing mechanism. You can learn more about it here.
Adding Assembly References Manually
If you are not using NuGet packages, you can add a reference to the following assemblies:
- Telerik.Licensing.Runtime
- Telerik.Windows.Controls
- Telerik.Windows.Controls.Navigation
- Telerik.Windows.Data
You can find the required assemblies for each control from the suite in the Controls Dependencies help article.
Declare a RadWindow
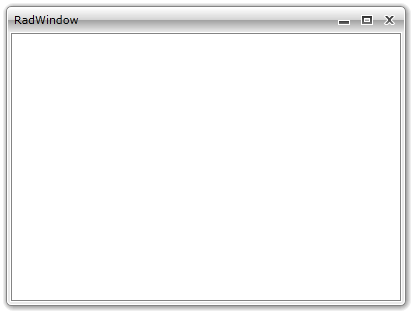
You can add RadWindow manually in XAML as demonstrated if Example 1.
Example 1: Adding RadWindow in XAML
<telerik:RadWindow Height="300" Width="400"/>
Here is an example of declaring a RadWindow in code.
Example 2: Adding RadWindow in code
RadWindow radWindow = new RadWindow();
radWindow.Width = 400;
radWindow.Height = 300;
Dim radWindow As New RadWindow()
radWindow.Width = 400
radWindow.Height = 300
It's not a good practice do declare your RadWindow as visual element in XAML. The only scenario, when it is meaningful to use the RadWindow in XAML, is when it represents the entire user control. To learn more about that read here.
Show the RadWindow
To open the RadWindow you have to call its Show() method.
In order to make the window modal you have to call the ShowDialog() method. To learn more about modal windows read here.
Example 3: Calling the Show() method
radWindow.Show();
radWindow.Show()
Add content to the RadWindow
To add content to the RadWindow you have to use the Content property or the ContentTemplate property.
As the Content property is of type object you can set it to any control that you like. If you want to have a more complex content that consists of more than one control, be sure to wrap them inside a layout control and pass the layout control as content.You can also set the content of the RadWindow to a UserControl.
You can skip the in-line setting of the Content property and define the content directly under the RadWindow tag.
The only scenario, where you can add content to the RadWindow at design-time, is when the RadWindow represents an entire user control. To learn more about that read here.
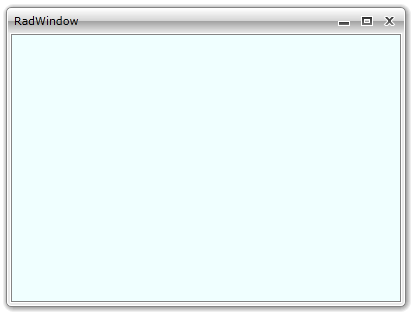
Example 4: Setting the Content property
Grid grid = new Grid();
grid.Background = new SolidColorBrush(Color.FromArgb(255, 240, 255, 255));
radWindow.Content = grid;
Dim grid As New Grid()
grid.Background = New SolidColorBrush(Color.FromArgb(255, 240, 255, 255))
radWindow.Content = grid
Use predefined windows
There is a set of predefined dialog windows that can be directly used. Such windows are the Confirm, Alert and Prompt dialogs. These dialogs can be shown by calling the respective methods of the static RadWindow class.
All of the predefined windows are modal windows.
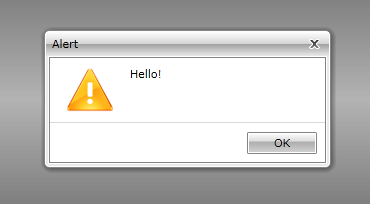
- Alert() - shows an alert dialog. This method has 3 overloads. To learn more read here.
Example 5: Using the Alert method
RadWindow.Alert("Hello!");
RadWindow.Alert("Hello!")
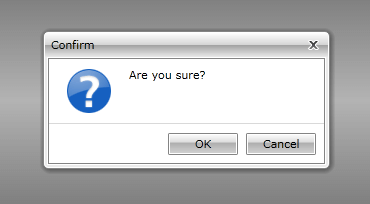
- Confirm() - shows a confirm dialog. This method has 2 overloads. To learn more read here.
Example 6: Using the Confirm method
RadWindow.Confirm(new DialogParameters()
{
    Content = "Are you sure?"
});
Dim parameters As New DialogParameters()
parameters.Content = "Are you sure?"
RadWindow.Confirm(parameters)
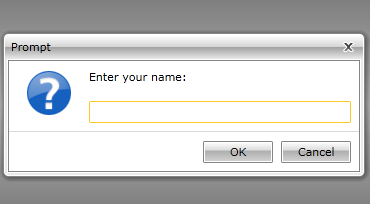
- Prompt() - shows a prompt dialog. This method has 3 overloads. To learn more read here.
Example 7: Using the Prompt method
RadWindow.Prompt(new DialogParameters()
{
    Content = "Enter your name:"
});
Dim parameters As New DialogParameters()
parameters.Content = "Enter your name:"
RadWindow.Confirm(parameters)
Using RadWindow with NoXaml assemblies
If you are using Implicit Styles to style the control, note that the newly created user control will not receive automatically the RadWindow style. The BasedOn property of the custom style need to be set to the default style of RadWindow which is RadWindowStyle. You should add the following style after the merged dictionaries to fix this:
Example 8: Custom Style targeting your RadWindow control
<Application.Resources>
    <ResourceDictionary>
        <ResourceDictionary.MergedDictionaries>
            <ResourceDictionary Source="Themes/System.Windows.xaml" />
            <ResourceDictionary Source="Themes/Telerik.Windows.Controls.xaml" />
            <ResourceDictionary Source="Themes/Telerik.Windows.Controls.Navigation.xaml" />
        </ResourceDictionary.MergedDictionaries>
        <Style TargetType="local:RadWindowControl" BasedOn="{StaticResource RadWindowStyle}" />
    </ResourceDictionary>
</Application.Resources>
Telerik UI for WPF Learning Resources
- Telerik UI for WPF Window Component
- Getting Started with Telerik UI for WPF Components
- Telerik UI for WPF Installation
- Telerik UI for WPF and WinForms Integration
- Telerik UI for WPF Visual Studio Templates
- Setting a Theme with Telerik UI for WPF
- Telerik UI for WPF Virtual Classroom (Training Courses for Registered Users)
- Telerik UI for WPF License Agreement