Getting Started with WinForms Panorama
This tutorial will help you to quickly get started using the control.
| RELATED VIDEOS | |
|---|---|
Getting started with RadPanorama 
|
In this video, we are going to see what it takes to get started with the RadPanorama. RadPanorama is a control that displays elements of type RadTileElement in a mosaic manner. This control is inspired by the Metro Start Menu screen of Windows 8. |
Adding Telerik Assemblies Using NuGet
To use RadPanorama when working with NuGet packages, install the Telerik.UI.for.WinForms.AllControls package. The package target framework version may vary.
Read more about NuGet installation in the Install using NuGet Packages article.
With the 2025 Q1 release, the Telerik UI for WinForms has a new licensing mechanism. You can learn more about it here.
Adding Assembly References Manually
When dragging and dropping a control from the Visual Studio (VS) Toolbox onto the Form Designer, VS automatically adds the necessary assemblies. However, if you're adding the control programmatically, you'll need to manually reference the following assemblies:
- Telerik.Licensing.Runtime
- Telerik.WinControls
- Telerik.WinControls.UI
- TelerikCommon
The Telerik UI for WinForms assemblies can be install by using one of the available installation approaches.
Defining the RadPanorama
This article will demonstrate how to get started with RadPanorama. You will be guided through the process of creating a sample application step-by-step.
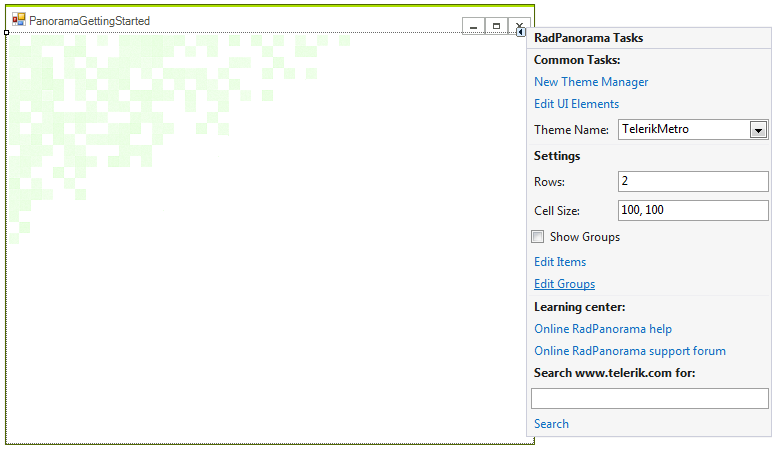
1. Let’s start by adding the RadPanorama control to the form and setting its Dock property to Fill in the Properties window.
2. Click RadPanorama and a small arrow will appear in the upper right corner. Open the Smart Tag.
3. In the Smart Tag click the Edit Groups link:
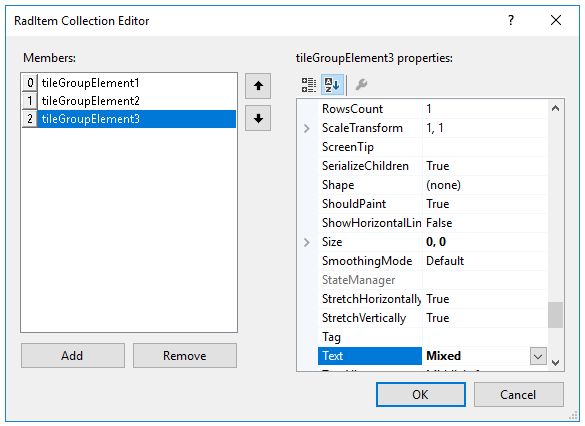
4. The RadItem Collection Editor will be opened. Add three groups and set their Text properties to: Tile, Live Tiles, Mixed
5. Now, navigate to the Items property of each group and add few items in it. In this case the first group will contain only RadTileElements, the second group only RadListTileElements and the third group both types of elements.
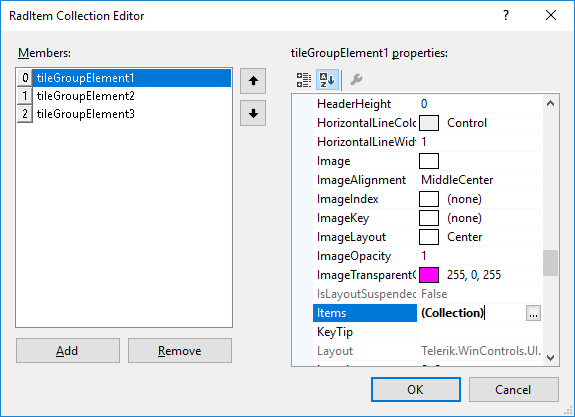
6. Then click OK to close the editor.
7. Go back to the Smart Tag and check the Show Groups check box.
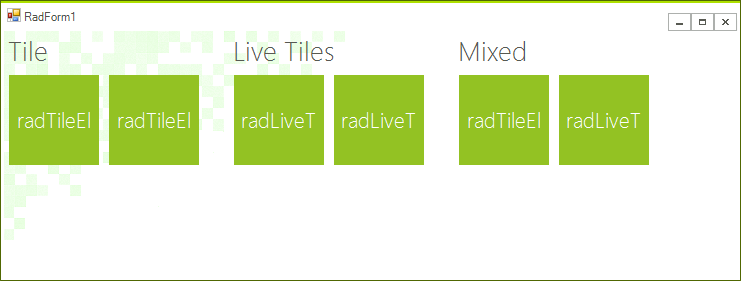
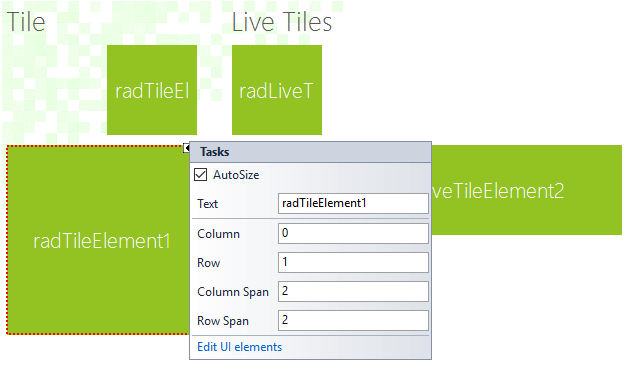
8. Select each tile and in each tile’s Smart Tag, edit its Column, Row, Column Span and Row Span properties.
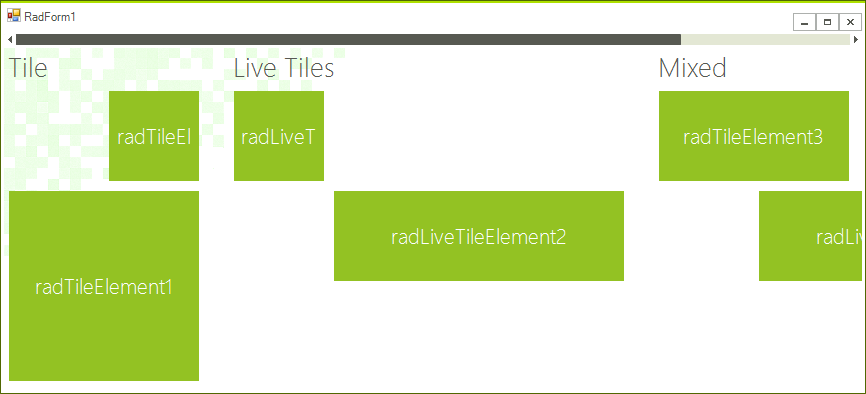
9. Once you are done with the customization of the properties, if the size that the items need is greater than the control size, the scroll bar will automatically be shown:
10. The layout is done. You can customize each item according to your needs and also you can subscribe to the Click event of each of them, in order to perform some action upon click. To customize RadLiveTileElements, you can use the Live Tile Editor.
See Also
Telerik UI for WinForms Learning Resources
- Telerik UI for WinForms Panorama Component
- Getting Started with Telerik UI for WinForms Components
- Telerik UI for WinForms Setup
- Telerik UI for WinForms Application Modernization
- Telerik UI for WinForms Visual Studio Templates
- Deploy Telerik UI for WinForms Applications
- Telerik UI for WinForms Virtual Classroom(Training Courses for Registered Users)
- Telerik UI for WinForms License Agreement)