Calibrate Browsers
A specific set of settings is required to enable each of the supported browsers for test recording and execution with Test Studio Dev and this is called Browser Calibration. Some of the browsers also require the installation of an extension.
Test Studio is a UI test automation platform that helps QA and Engineering teams build stable and easily maintainable automated tests. Sign up for a free 30-day trial!
![]()
New to Telerik Test Studio?
Built-in Calibration
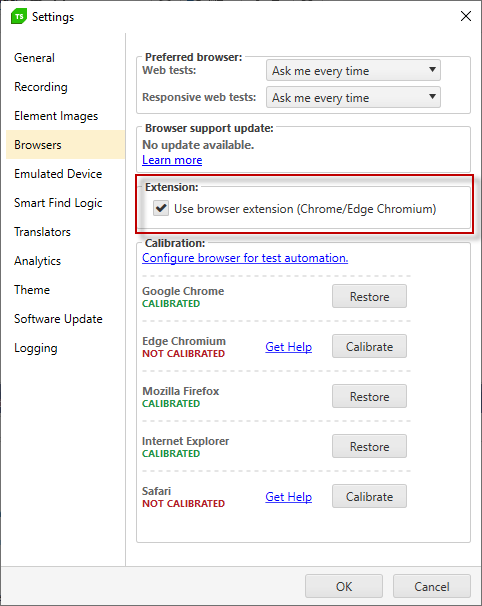
We call that the browser is calibrated when the required settings are applied. Test Studio Dev provides a built-in configuration approach which will set all necessary settings for the supported browsers out of the box and no manual interaction is required. To use our built-in feature open the Test Studio Dev Settings window and switch to its Browser tab.

In the Browser tab are listed the installed browsers on the current machine with a Calibrate/Restore button next to each. If a browser is successfully calibrated the button allows you to restore its previous settings.

If a browser is not yet configured the button allows you to calibrate it.

Note!
During browser calibration Test Studio Dev automatically closes all currently running browser instances. Ensure there is no important information you might lose if browser gets closed before proceeding with calibrationTip
You can check all settings applied from the calibration in the Manual Configuration section below (click the + sign to expand it).
Enable Chrome and Edge Chromium for Automation
Once Chrome and Edge Chromium browsers are calibrated you can continue with recording and executing the automated tests.
Enable Chrome and Edge Chromium for Automation with Extension (Optional)
By default Test Studio Dev projects are set to use Chrome and Edge Chromium without extension. Along with that, there is the option to run these two browsers automation with the help of an extension. The Progress Telerik Test Studio Extension is officially distributed in the Chrome web store and is available for download and installation (Edge Chromium supports adding extensions from the Chrome store).
If you choose to use Chrome for recording and execution with the extension, you need to change a setting in the Test Studio Dev project. The project setting is listed under the Browsers tab and is named Use browser extension(Chrome/Edge Chromium). This option is disabled by default, but you can check the checkbox to set Test Studio Dev to start the Chrome/Edge Chromium browser for this project with the extensions.
Enable Firefox for Automation
Firefox browser requires an extension for the purposes of automation testing with Test Studio Dev.
The Firefox extension can be found in the Firefox Add-ons Page - Progress Test Studio Extension.
Settings Applied from the Calibration
Chrome
If your Chrome browser has an active Google Apps session (for example, you are logged into GMail), automatic calibration will not work as expected. To use automatic configuration, log out of your Google account first.
You can check all settings applied from the calibration in the Manual Configuration section below (click the + sign to expand it).
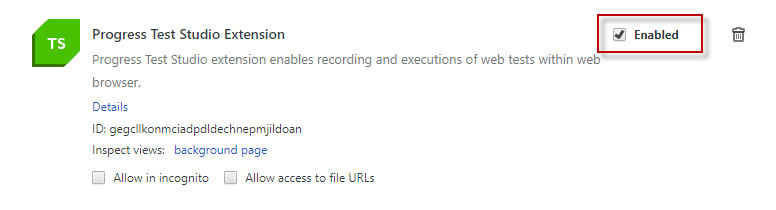
Enable Extensions
1. Click on located in the upper right corner of the browser More tools > Extensions.
2. Ensure that the Progress Test Studio Extension is enabled.
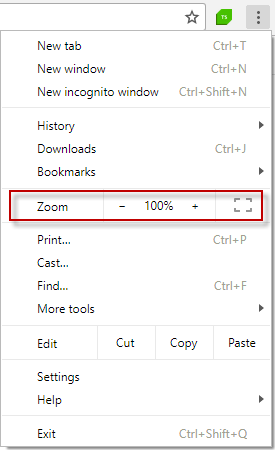
Zoom Level Set to 100%
1. Click on in the upper right corner.2. Use the plus (+) and minus (-) buttons next to Zoom to set it to 100% (or use the keyboard shortcut: Ctrl + 0).
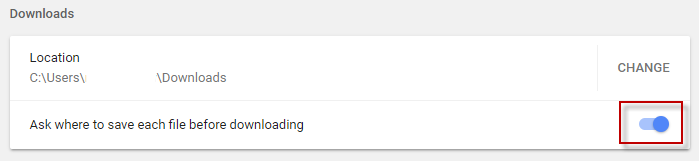
Enable File Downloads
1. Click on in the upper right corner.2. Select Settings from the drop-down menu.
3. Scroll to the bottom and click Advanced.
4. Locate the Downloads section.
5. Enable Ask where to save each file before downloading.
Disable Pop-up Blocker
1. Click on in the upper right corner.2. Select Settings from the drop-down menu.
3. Scroll to the bottom and click Advanced.
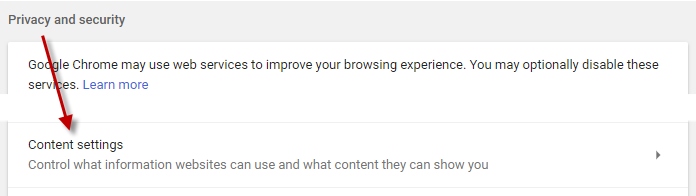
4. Locate the Privacy and security section.
5. Click Content Settings.
6. Under Popups section enable Allowed.

Allow All Sites to Run JavaScript
1. Click on in the upper right corner.2. Select Settings from the drop-down menu.
3. Scroll to the bottom and click Advanced.
4. Locate the Privacy and security section.
5. Click Content Settings.
6. Under JavaScript enable Allowed.

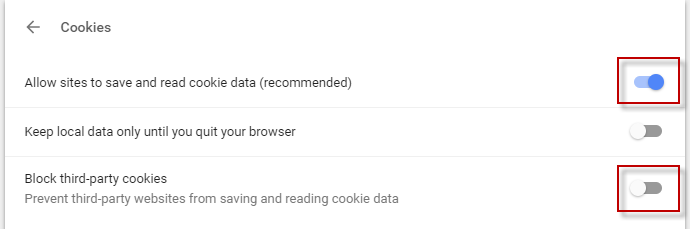
Unblock Third-Party Cookies and Site Data
1. Click on in the upper right corner Settings > Advanced > Privacy and security > Content Settings > Cookies .2. Enable Allow sites to save and read cookie data (recommended).
3. Disable Block third-party cookies.
Allow all Sites to Download Multiple Files Automatically
1. Click on in the upper right corner > Settings > Advanced > Privacy and security > Content Settings.2. Under Automatic Downloads section enable Allow all sites to download multiple files automatically .

Disable Web Security
1. Open the Default Chrome User data folder under the your Windows account - "C:\Users\[WindowsUser]\AppData\Local\Google\Chrome\User Data\Default" and locate the Preferences file.
2. Open it with a text editor and search for "webkit". If there is no such preference in the file, add the following at the bottom of the file:
"webkit":{"webprefs":{"web_security_enabled":false}}
If the "webkit" preference already exists in the Preferences file and has any value in the "webprefs", you can add the web security as follows:
Existing values listed in the file:
"webkit":{"webprefs":{"minimum_font_size":6}}
The file after adding the web security:
"webkit":{"webprefs":{"minimum_font_size":6, "web_security_enabled":false}}
Edge Chromium
You can check all settings applied from the calibration in the Manual Configuration section below (click the + sign to expand it).
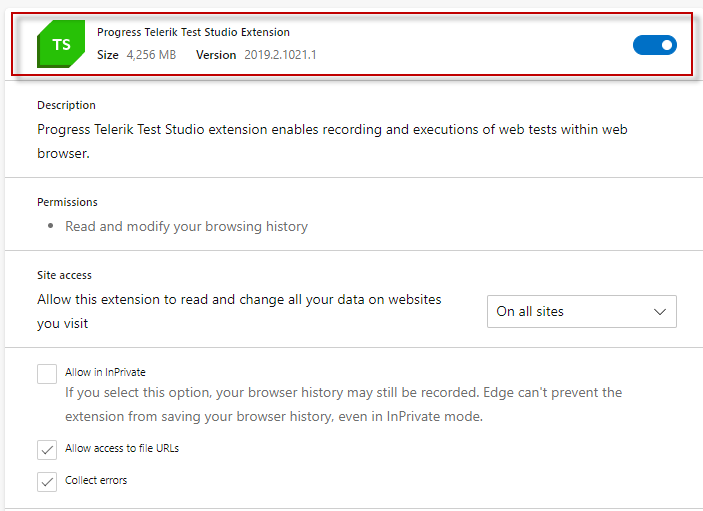
Enable Extensions
1. Click on Edge browser *Settings* button - the three dots located in the upper right corner of the browser Settings -> Extensions.2. Ensure that the Progress Telerik Test Studio Extension is enabled.
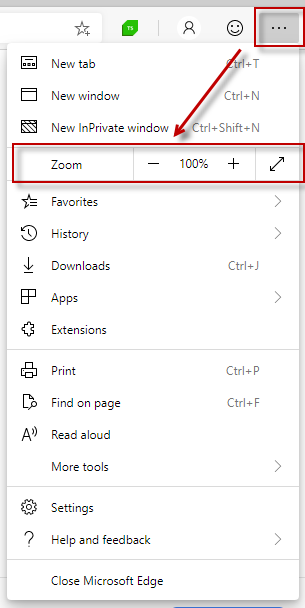
Zoom Level Set to 100%
1. Click on Edge browser *Settings* button - the three dots located in the upper right corner of the browser.2. Use the plus (+) and minus (-) buttons next to Zoom to set it to 100%.
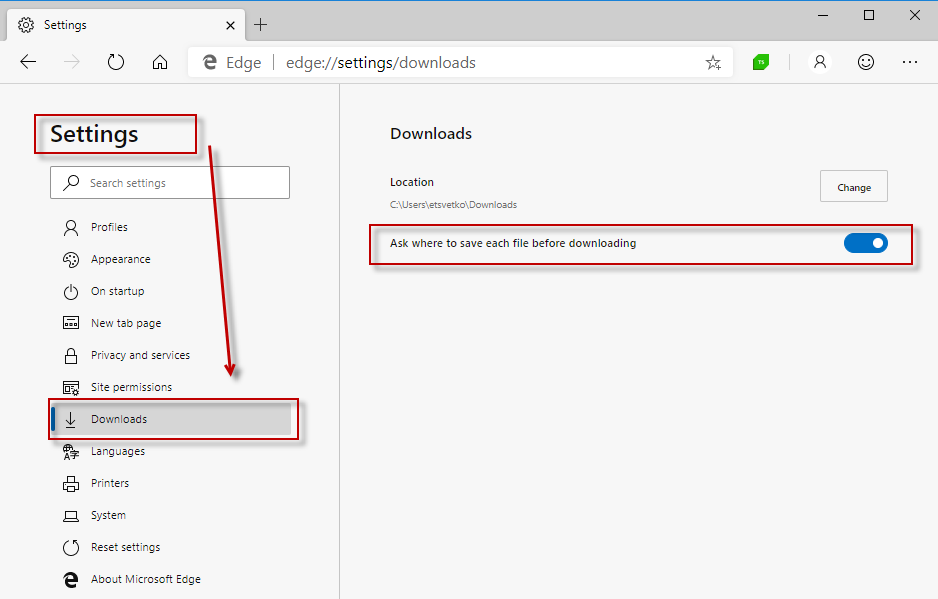
Enable File Downloads
1. Click on Edge browser *Settings* button - the three dots located in the upper right corner of the browser.2. Select Settings from the drop-down menu.
3. Locate the Downloads section.
4. Enable Ask where to save each file before downloading.
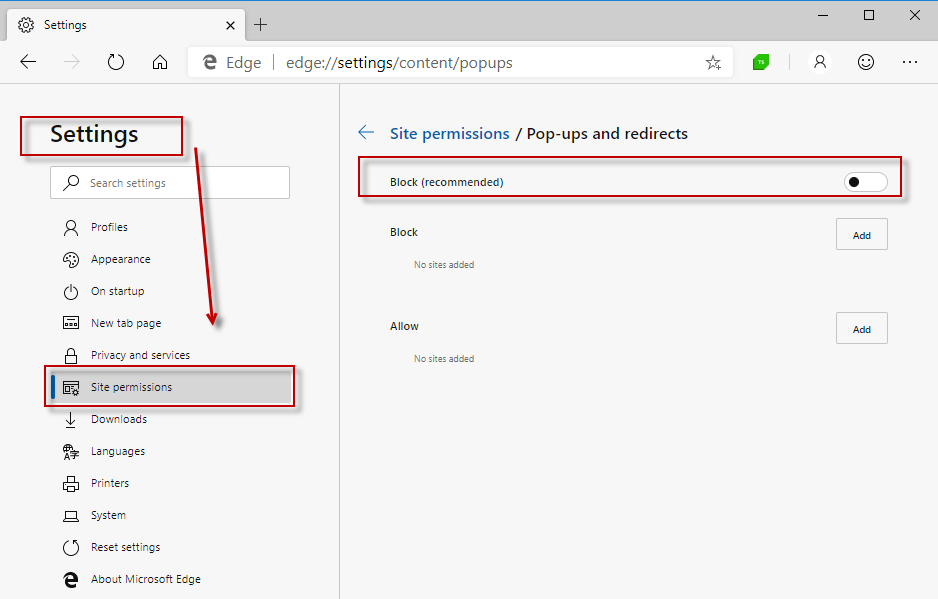
Disable Pop-up Blocker
1. Click on Edge browser *Settings* button - the three dots located in the upper right corner of the browser.2. Select Settings from the drop-down menu.
3. Locate the Site Permissions section.
4. Open the Pop-ups and redirects section.
5. Disable the Block option.
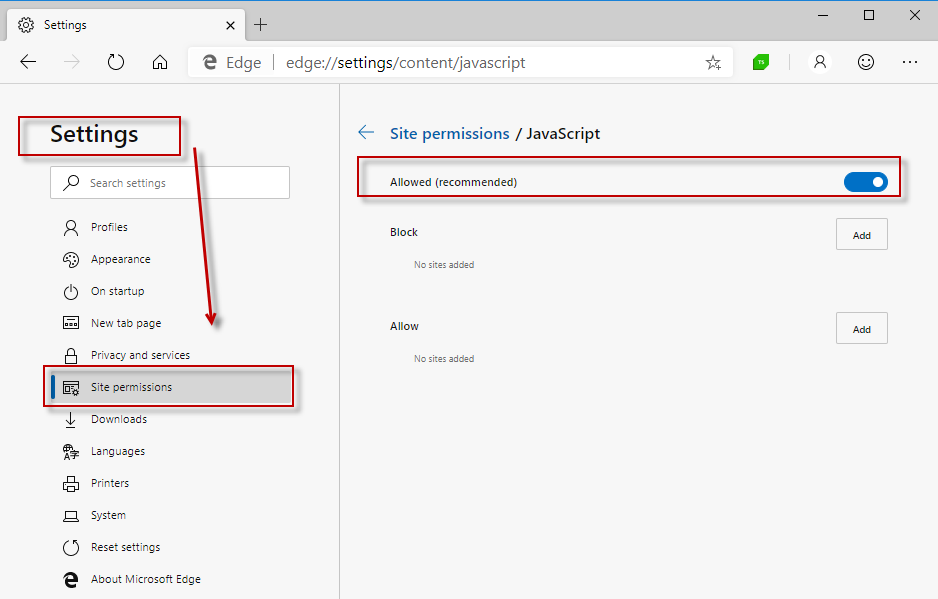
Allow All Sites to Run JavaScript
1. Click on Edge browser *Settings* button - the three dots located in the upper right corner of the browser.2. Select Settings from the drop-down menu.
3. Locate the Site Permissions section.
4. Open the JavaScript section.
5. Enable the Allowed option.
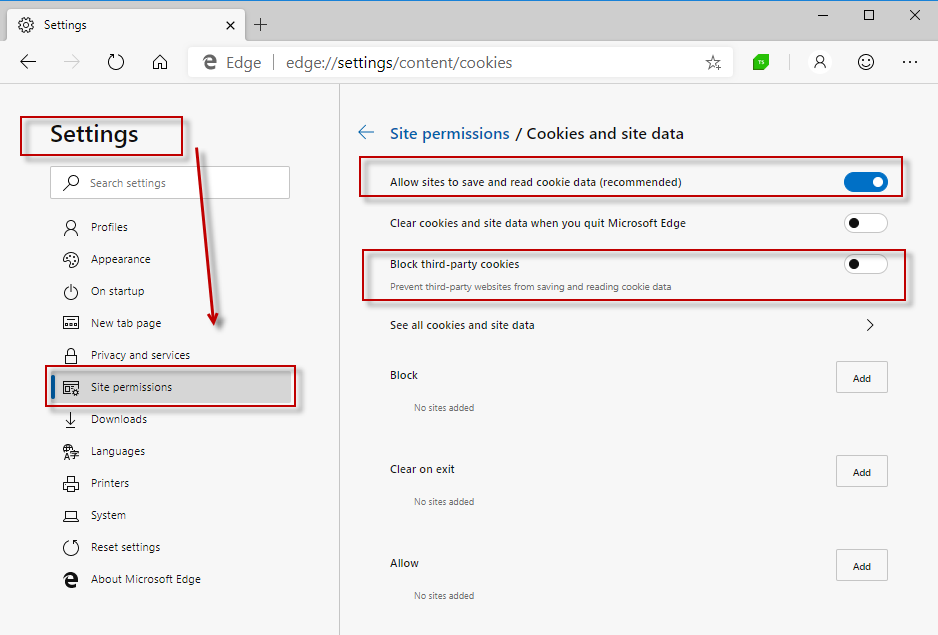
Unblock Third-Party Cookies and Site Data
1. Click on Edge browser *Settings* button - the three dots located in the upper right corner of the browser.2. Select Settings from the drop-down menu.
3. Locate the Site Permissions section.
4. Open the Cookies and site data section.
5. Enable the Allow sites to save cookies option.
6. Disable the Block third-party cookies option.
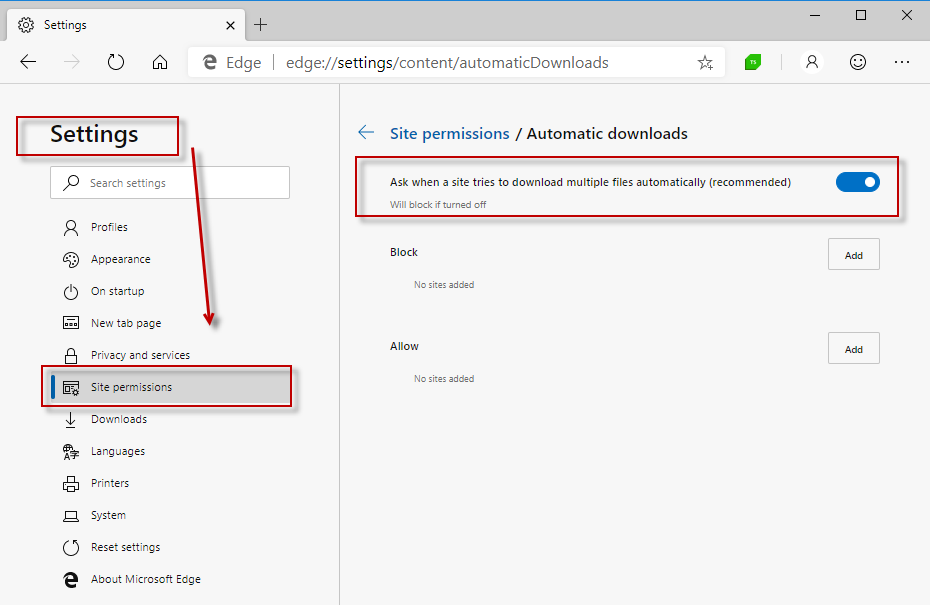
Allow all Sites to Download Multiple Files Automatically
1. Click on Edge browser *Settings* button - the three dots located in the upper right corner of the browser.2. Select Settings from the drop-down menu.
3. Locate the Site Permissions section.
4. Open the Automatic downloads section.
5. Enable the Ask when site tries to download multiple files option.
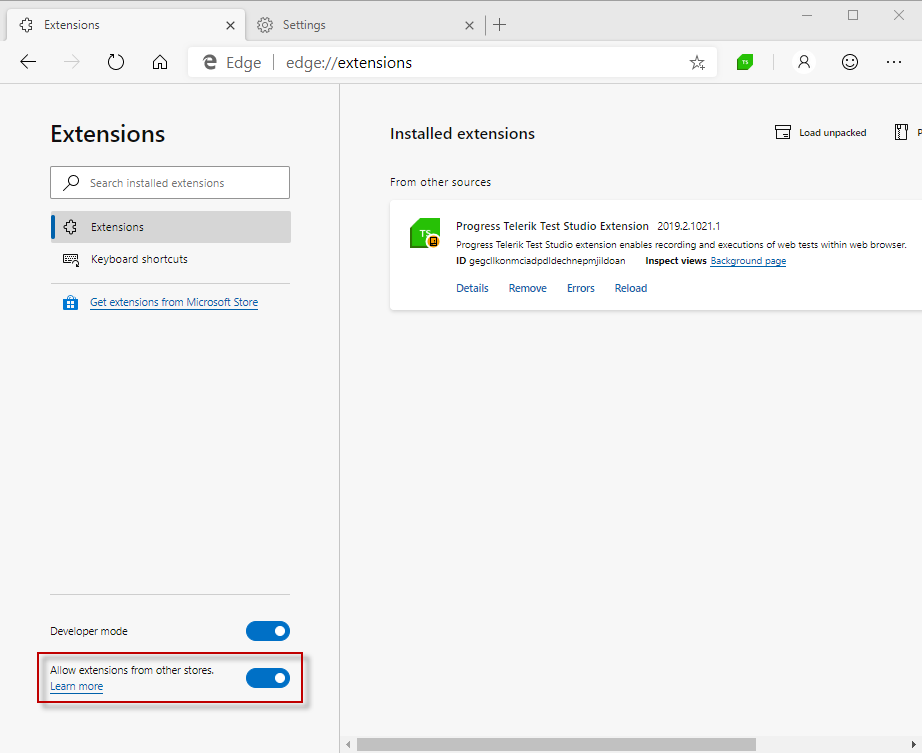
Allow Extension from Other Stores
1. Click on Edge browser *Settings* button - the three dots located in the upper right corner of the browser.2. Select Extensions from the drop-down menu.
3. Locate the Site Permissions section.
4. Enable the Allow extensions from other stores option.
FireFox
You can check all settings applied from the calibration in the Manual Configuration section below (click the + sign to expand it).
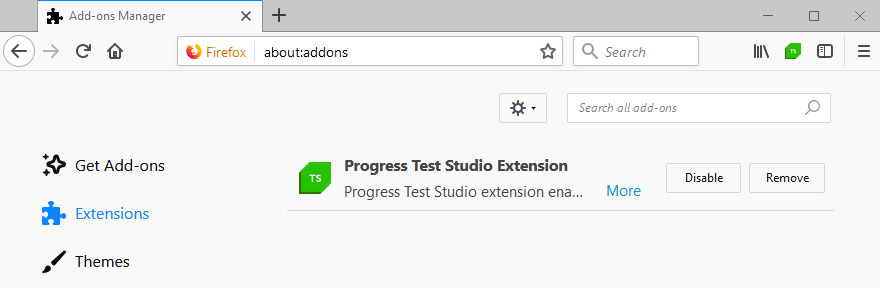
Enable Progress Test Studio Extension
1. Click on browser settings in the right upper corner and press on Add-ons.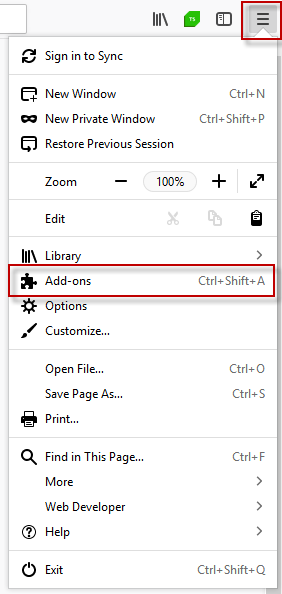
2. Ensure that the Progress Test Studio Extension is enabled.
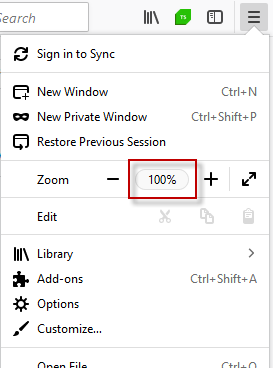
Zoom Level Set to 100%
1. Click on browser settings.2. Use the plus (+) and minus (-) buttons to set it to 100%.
Turn Off Pop-up Blocker & Enable JavaScript
1. Click on browser settings and press on Options.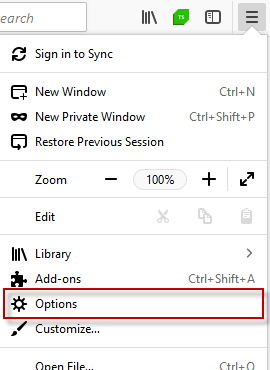
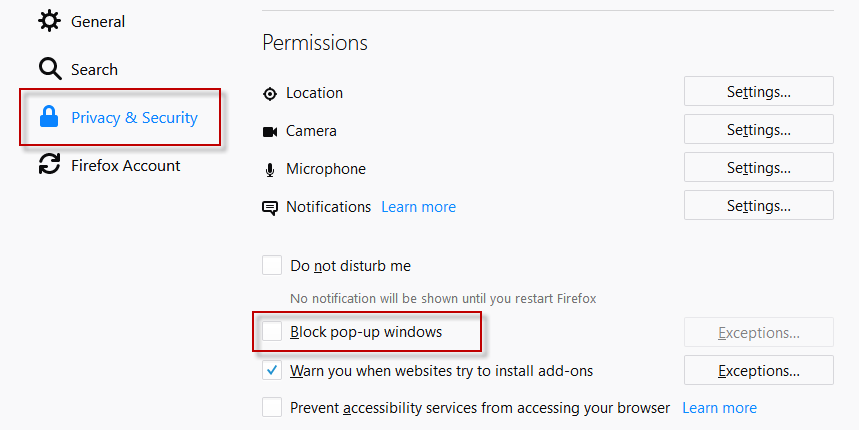
2. Click on the Privacy and Security tab (on the left side) and scroll down to Permissions section.
3. Uncheck the Block pop-up windows checkbox.
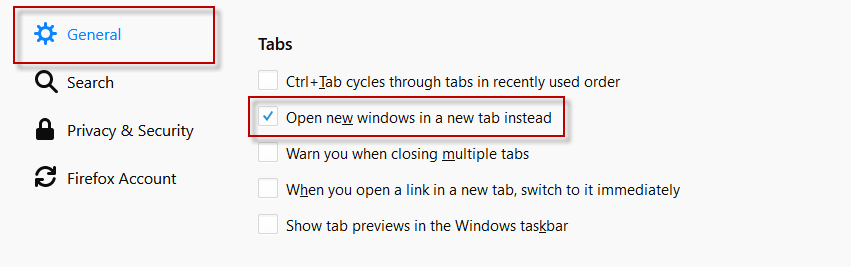
Pop-ups Open in a New Tab
1. Click on browser settings and press on Options.2. Scroll down to Tabs section and check Open new windows in a new tab instead.
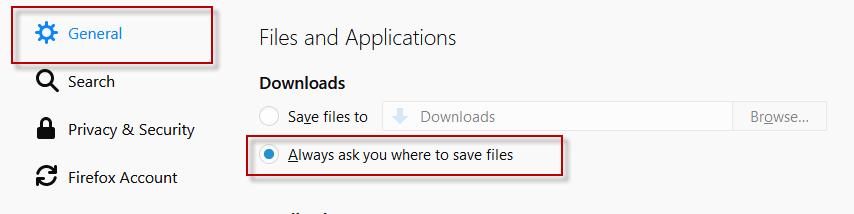
Enable File Downloads
1. Click on browser settings and press on Options.2. Scroll down to Downloads section and check and select Always ask you where to save files.
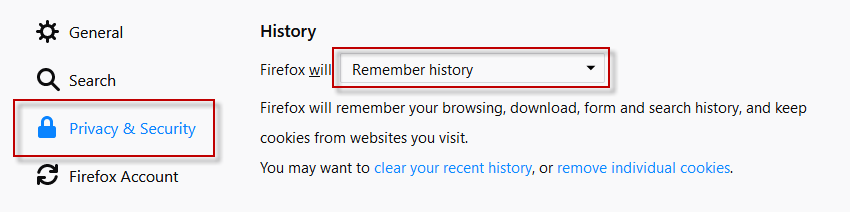
Enable Cookies
1. Click on browser settings and press on Options.2. Click on the Privacy and Security.
3. Scroll down to History section to set the option to Remember history.
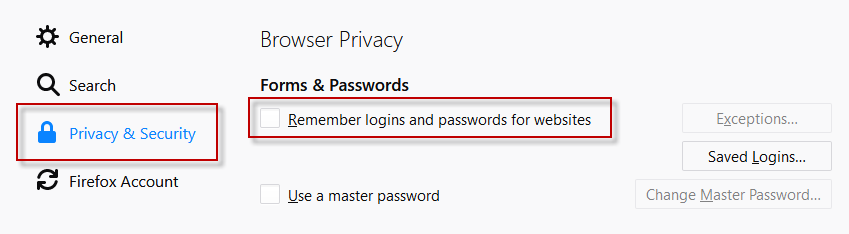
Disable 'Remember passwords for sites'
1. Click on browser settings and press on Options.2. Click on the Privacy and Security.
3. Make sure the Remember logins and passwords for websites option is disabled.
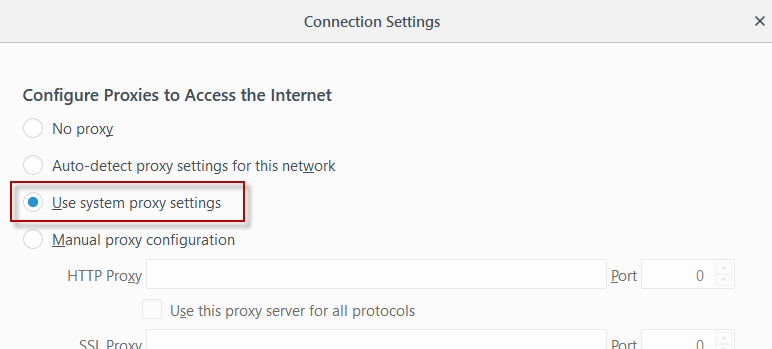
Use System Proxy Settings
As of the 2012 R1 version released in April 2012, set the Connection Settings to Use system proxy settings.1. Click on browser settings and press on Options.
2. Click on the General.
3. Scroll down to Network Proxy section and press on Settings... button.
4. In the Connection Settings window select Use system proxy settings.
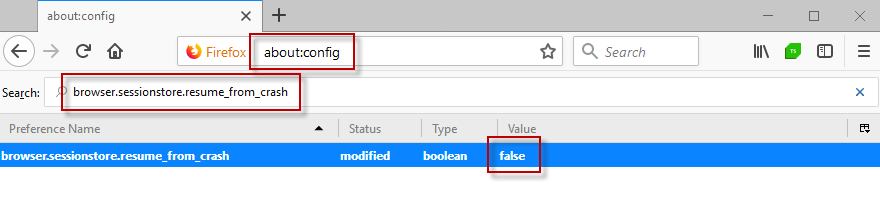
Setting Configuration Flags
There are three more settings to be modified in the configuration editor - type about:config in the url bar and press Enter to access it. Double click the following settings to set these to false:- browser.sessionstore.resume_from_crash
- browser.tabs.warnOnClose

- browser.tabs.warnOnCloseOtherTabs

Disable Conflicting Extensions
The following Add-ons are known to conflict with the Progress Test Studio Extension:- AOL Messaging Toolbar
- FoxyProxyStandard