Storyboard
The Storyboard is a three-dimensional, visual representation of the recorded test steps. During the recording session Test Studio dev automatically takes screenshots where appropriate and highlights the element of interest for each screenshot. As you record your test, a screenshot of your action on the target element is captured to the Storyboard. This gives you a visual flow of how your test has progressed. It is a great time saver in helping others understand the state of the test at the time of recording, along with which the target elements of the tests were. By default, Storyboard is enabled and set to a scale of 75% in Project Settings > Recording Options.
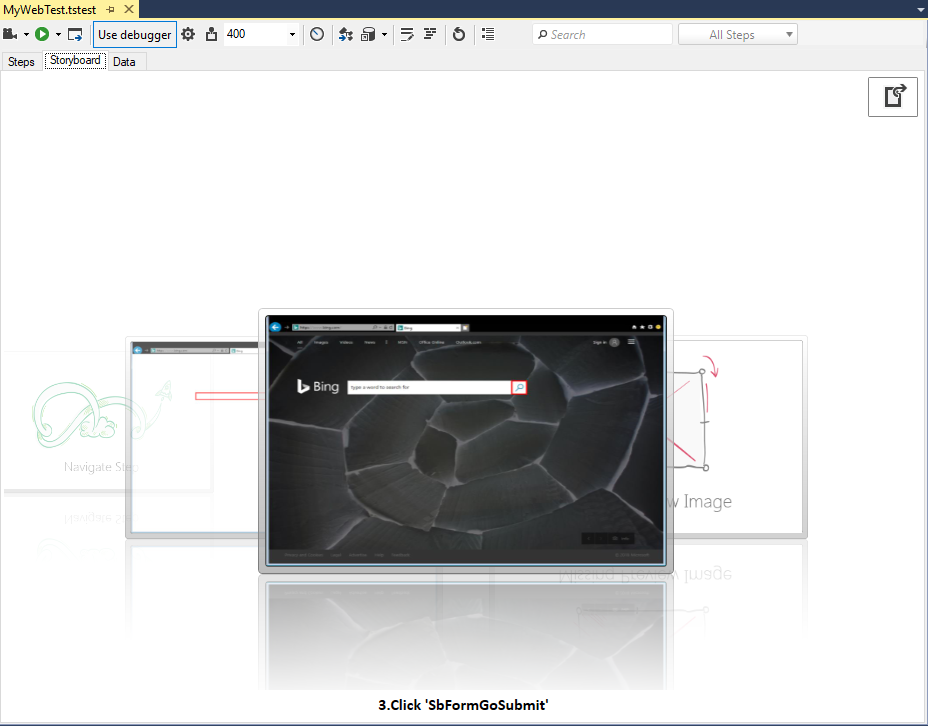
The Storyboard view allows you to flip through each step visually as with a stack of cards. Clicking on any background image will bring it "up front" or use the mouse wheel to cycle through the images.
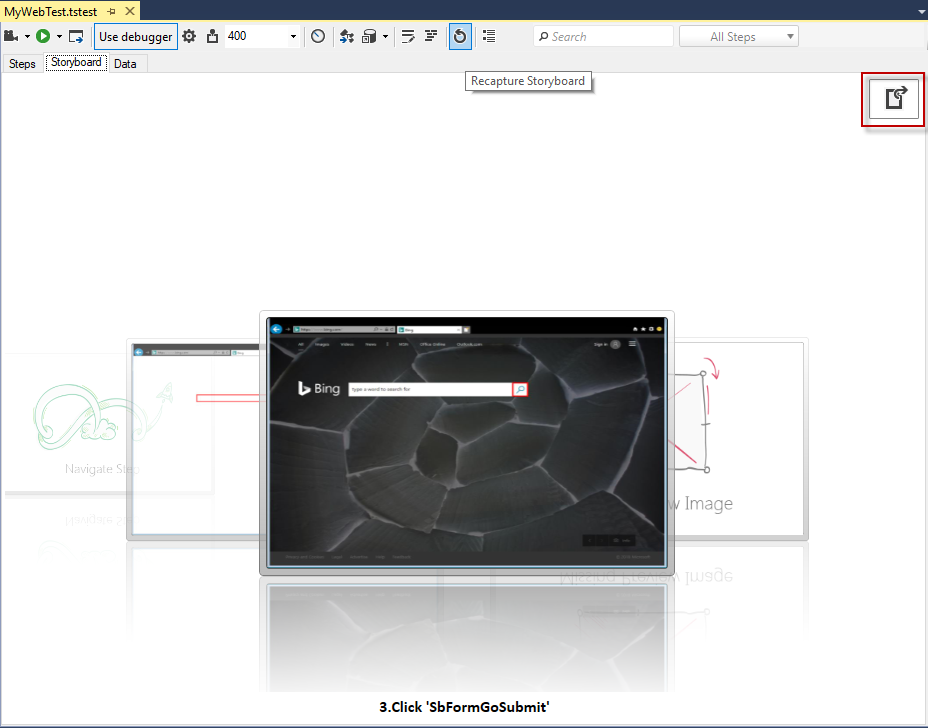
Recapture Storyboard
The Recapture Storyboard button is in the test step pane. It runs your test and stores new screen shots of each test step. This allows you to refresh the baseline of images automatically if you modified your test or your application has changed.
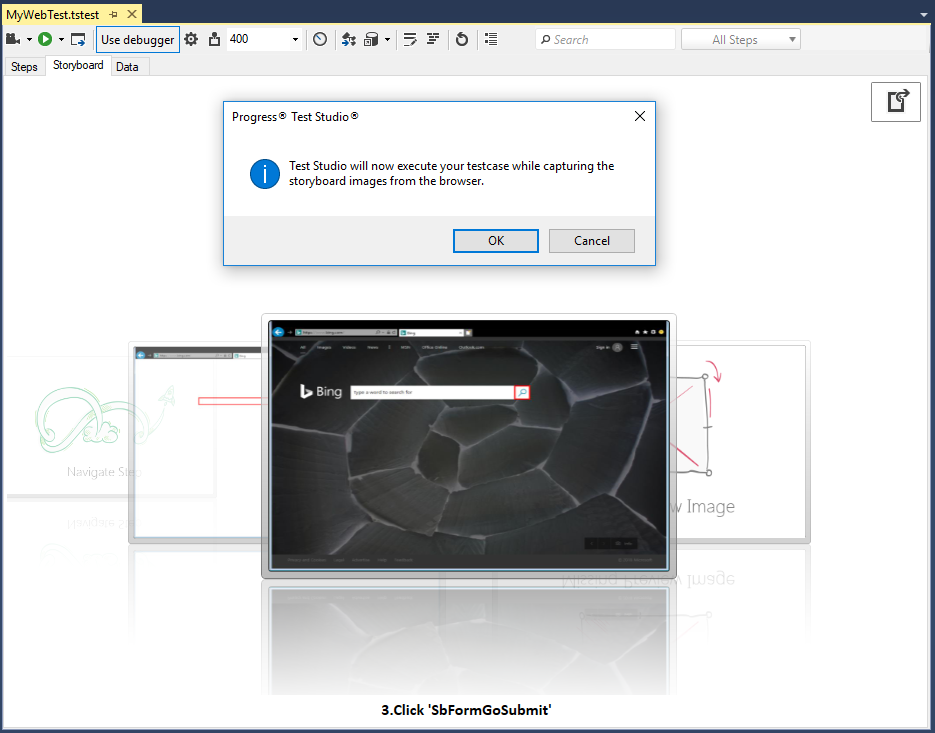
You will be prompted to confirm the execution of the test to recapture the screenshots.
Export as HTML
The Export Storyboard as HTML Documentation button is located in the upper right of the Storyboard pane.
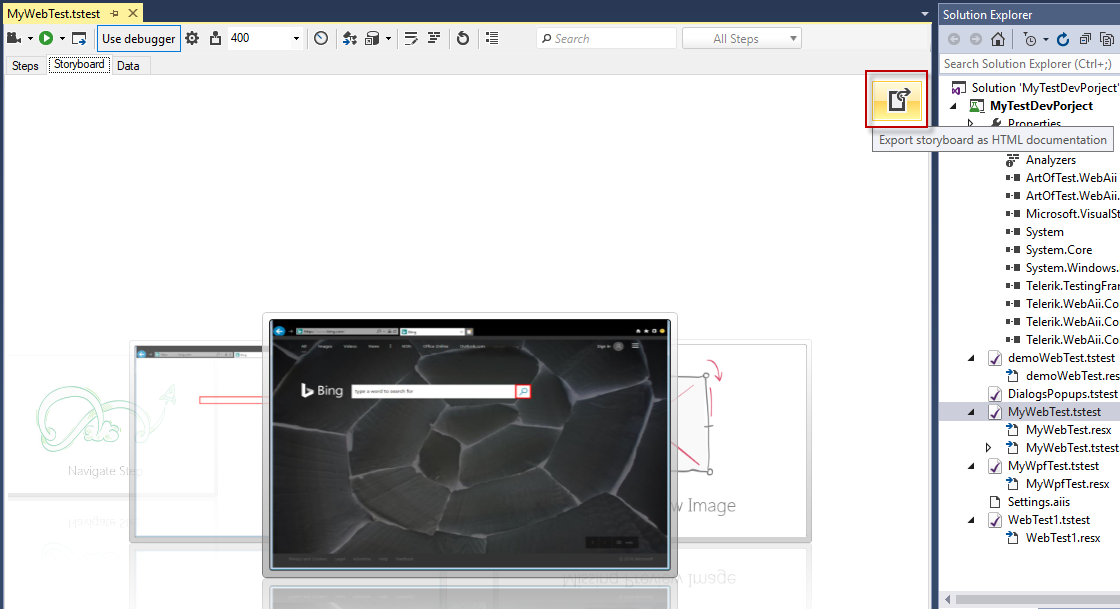
You are prompted to select a folder to save the applicable files and images. Open the HTML file in a web browser for a report-like representation of the test, complete with a test summary, step descriptions, and expandable images.