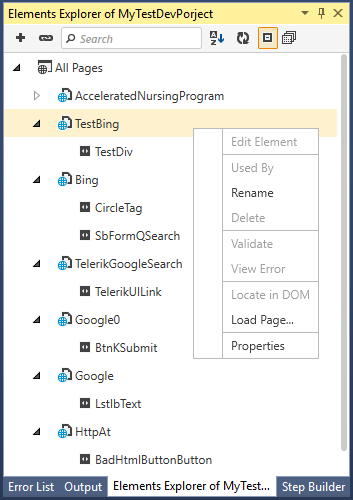
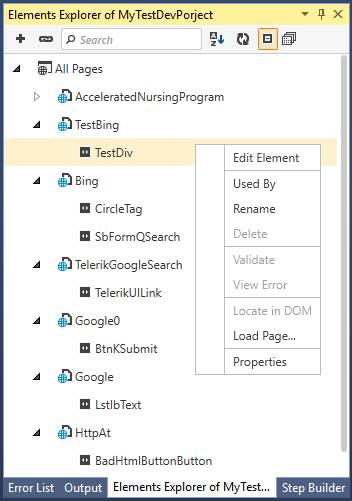
Elements Explorer
The Elements Explorer displays a tree of elements which you have recorded step against, or manually added to the Element's repository through the DOM explorer in the recording toolbar. The elements are arranged in a tree view and expose properties more specific to testing.
Each element is shown only once in the Elements Explorer although it may be used in several tests and test steps. Test Studio Dev relies on an intelligent element identification scheme called Find Logic and thus reuses already recorded elements which could be identified with the same find expression.
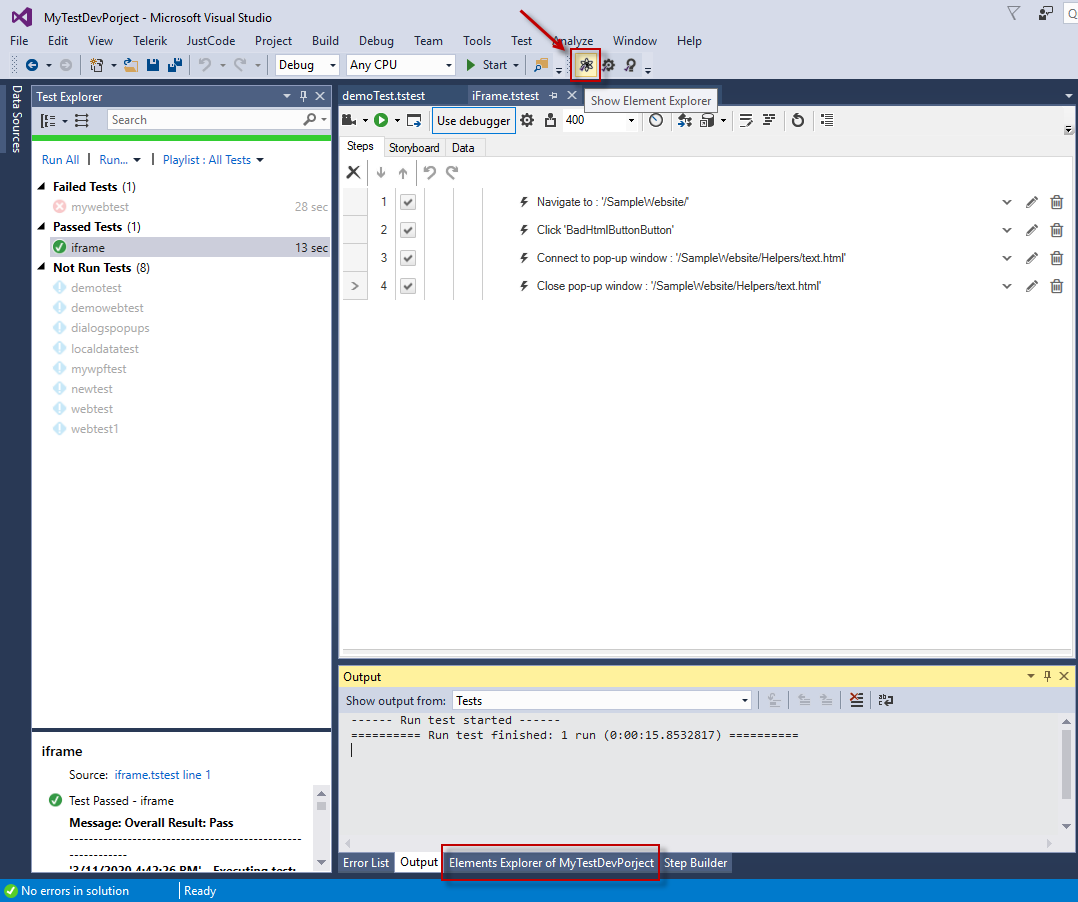
To open the Elements Explorer in project click on the Show Elements Explorer button. It will appear in the lower middle pane next to Error List and Output tabs.
Sort Elements in Elements Explorer
The Elements pane maintains a list of all Elements within the current project. It allows you to view elements and edit the way they are found during execution.
The Elements menu bar  has the following buttons:
- Add Element - add a Predefined element.
- Element Mapping (IntelliMap) - Map a Predefined element.
Both of the above options concern a pre-development stage of testing when the application under test is still in rough development.
- Search - search the Explorer based on the element's Friendly Name property - the name listed in the elements tree view.
- Sort - organize the elements in an ascending or descending order, or clear the sorting.
- Refresh - refresh the display of elements in the Explorer. This should be rarely necessary as Test Studio Dev normally refreshes the elements window properly.
- Expand/Collapse - show or hide all elements under their respective page nodes.
- This Test/All Tests - show elements for the currently displayed test only, or the elements for every test in the project.
The hierarchy is maintained according to where the element is located on the page. For example, if there are no frames or regions, then elements for that particular page will be listed under the Page node.
- The HTML tree view is organized by Page > Frame > Test Regions > Element.
- The Silverlight tree view is organized by Page > Frame > SilverlightApp > Element.
- The WPF tree view is organized by Application > Window > Element.
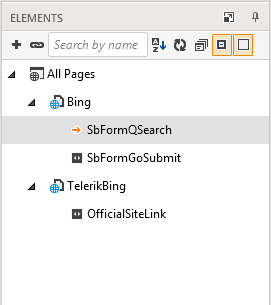 HTML Tree View |
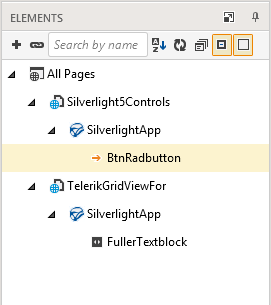 Silverlight Tree View |
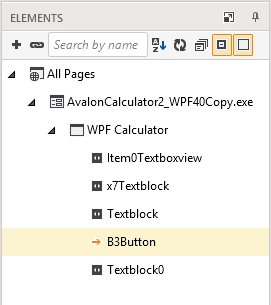 WPF Tree View |
