Managing Custom Fonts
ThemeBuilder provides convenient ways to add and manage your preferred custom fonts and icon fonts so you can use them when customizing Telerik and Kendo UI components. To add or customize fonts, you need a ThemeBuilder license.
Hosted fonts are currently not supported.
Adding Custom Fonts
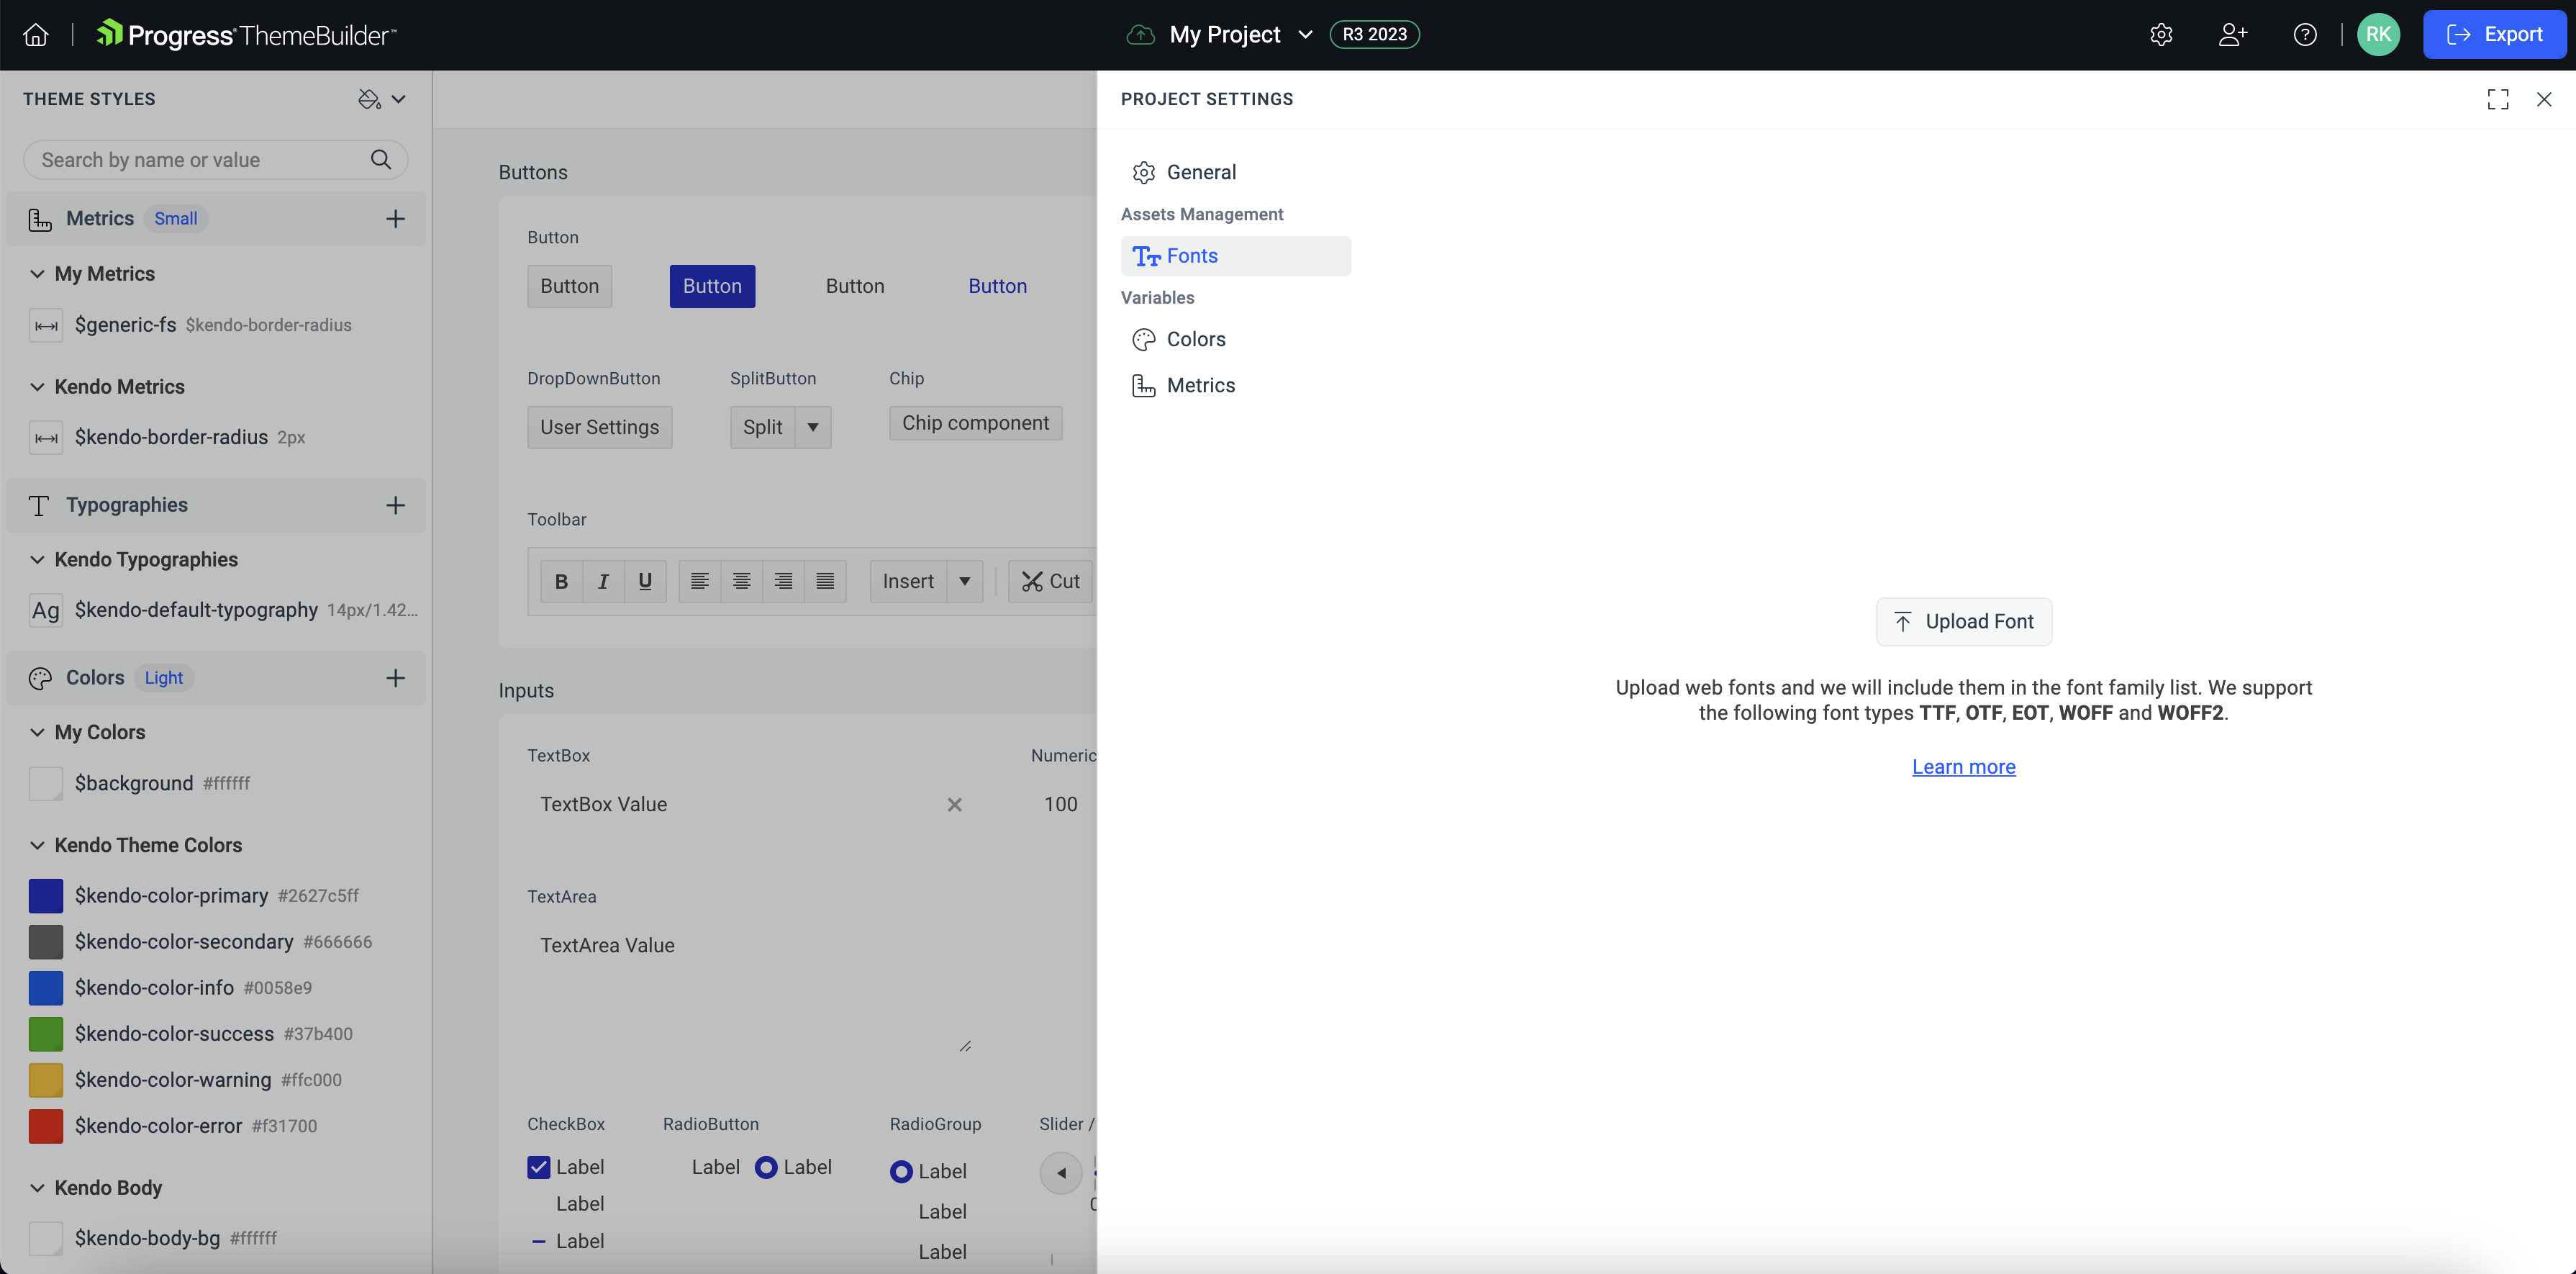
Open an existing ThemeBuilder project and select Project Settings from the toolbar.
In the Project Settings dialog, select the Fonts tab.
-
In the Fonts tab, select Upload Font.
-
Add the font files that you want to use in your project. The supported file extensions are TTF, OTF, EOT, WOFF, and WOFF2.
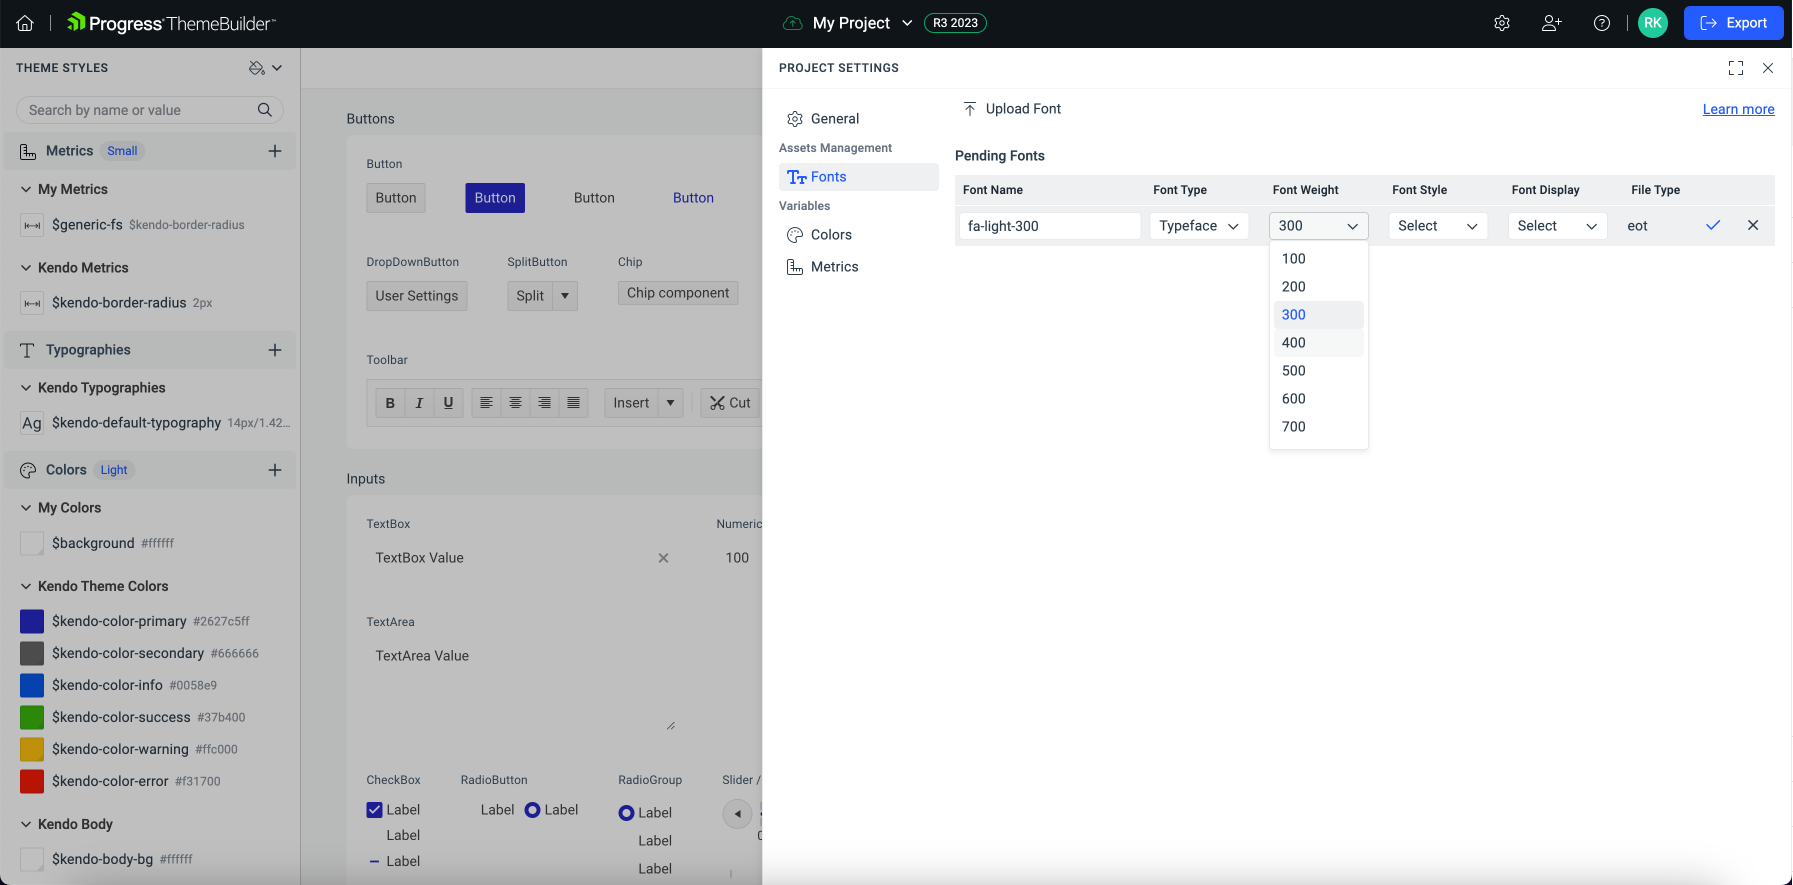
Set the Font Name—this name appears in the Font Family drop-down. You can assign the same Font Name to multiple uploaded fonts so browsers can load the best match for specific font metadata configurations.
-
Select the Font Type:
- Typeface—Use this font type to add a custom font family. Note that you can use EOT and WOFF2 font file types only as typeface fonts.
- Icon—Use this font type to add custom icon fonts.
-
Optionally, set the font's metadata—Font Weight, Font Style, and Font Display. These options will be applied when using the font.
When you upload several fonts with the same Font Name and different metadata configurations, browsers use the font that best matches the applied font CSS styles.
-
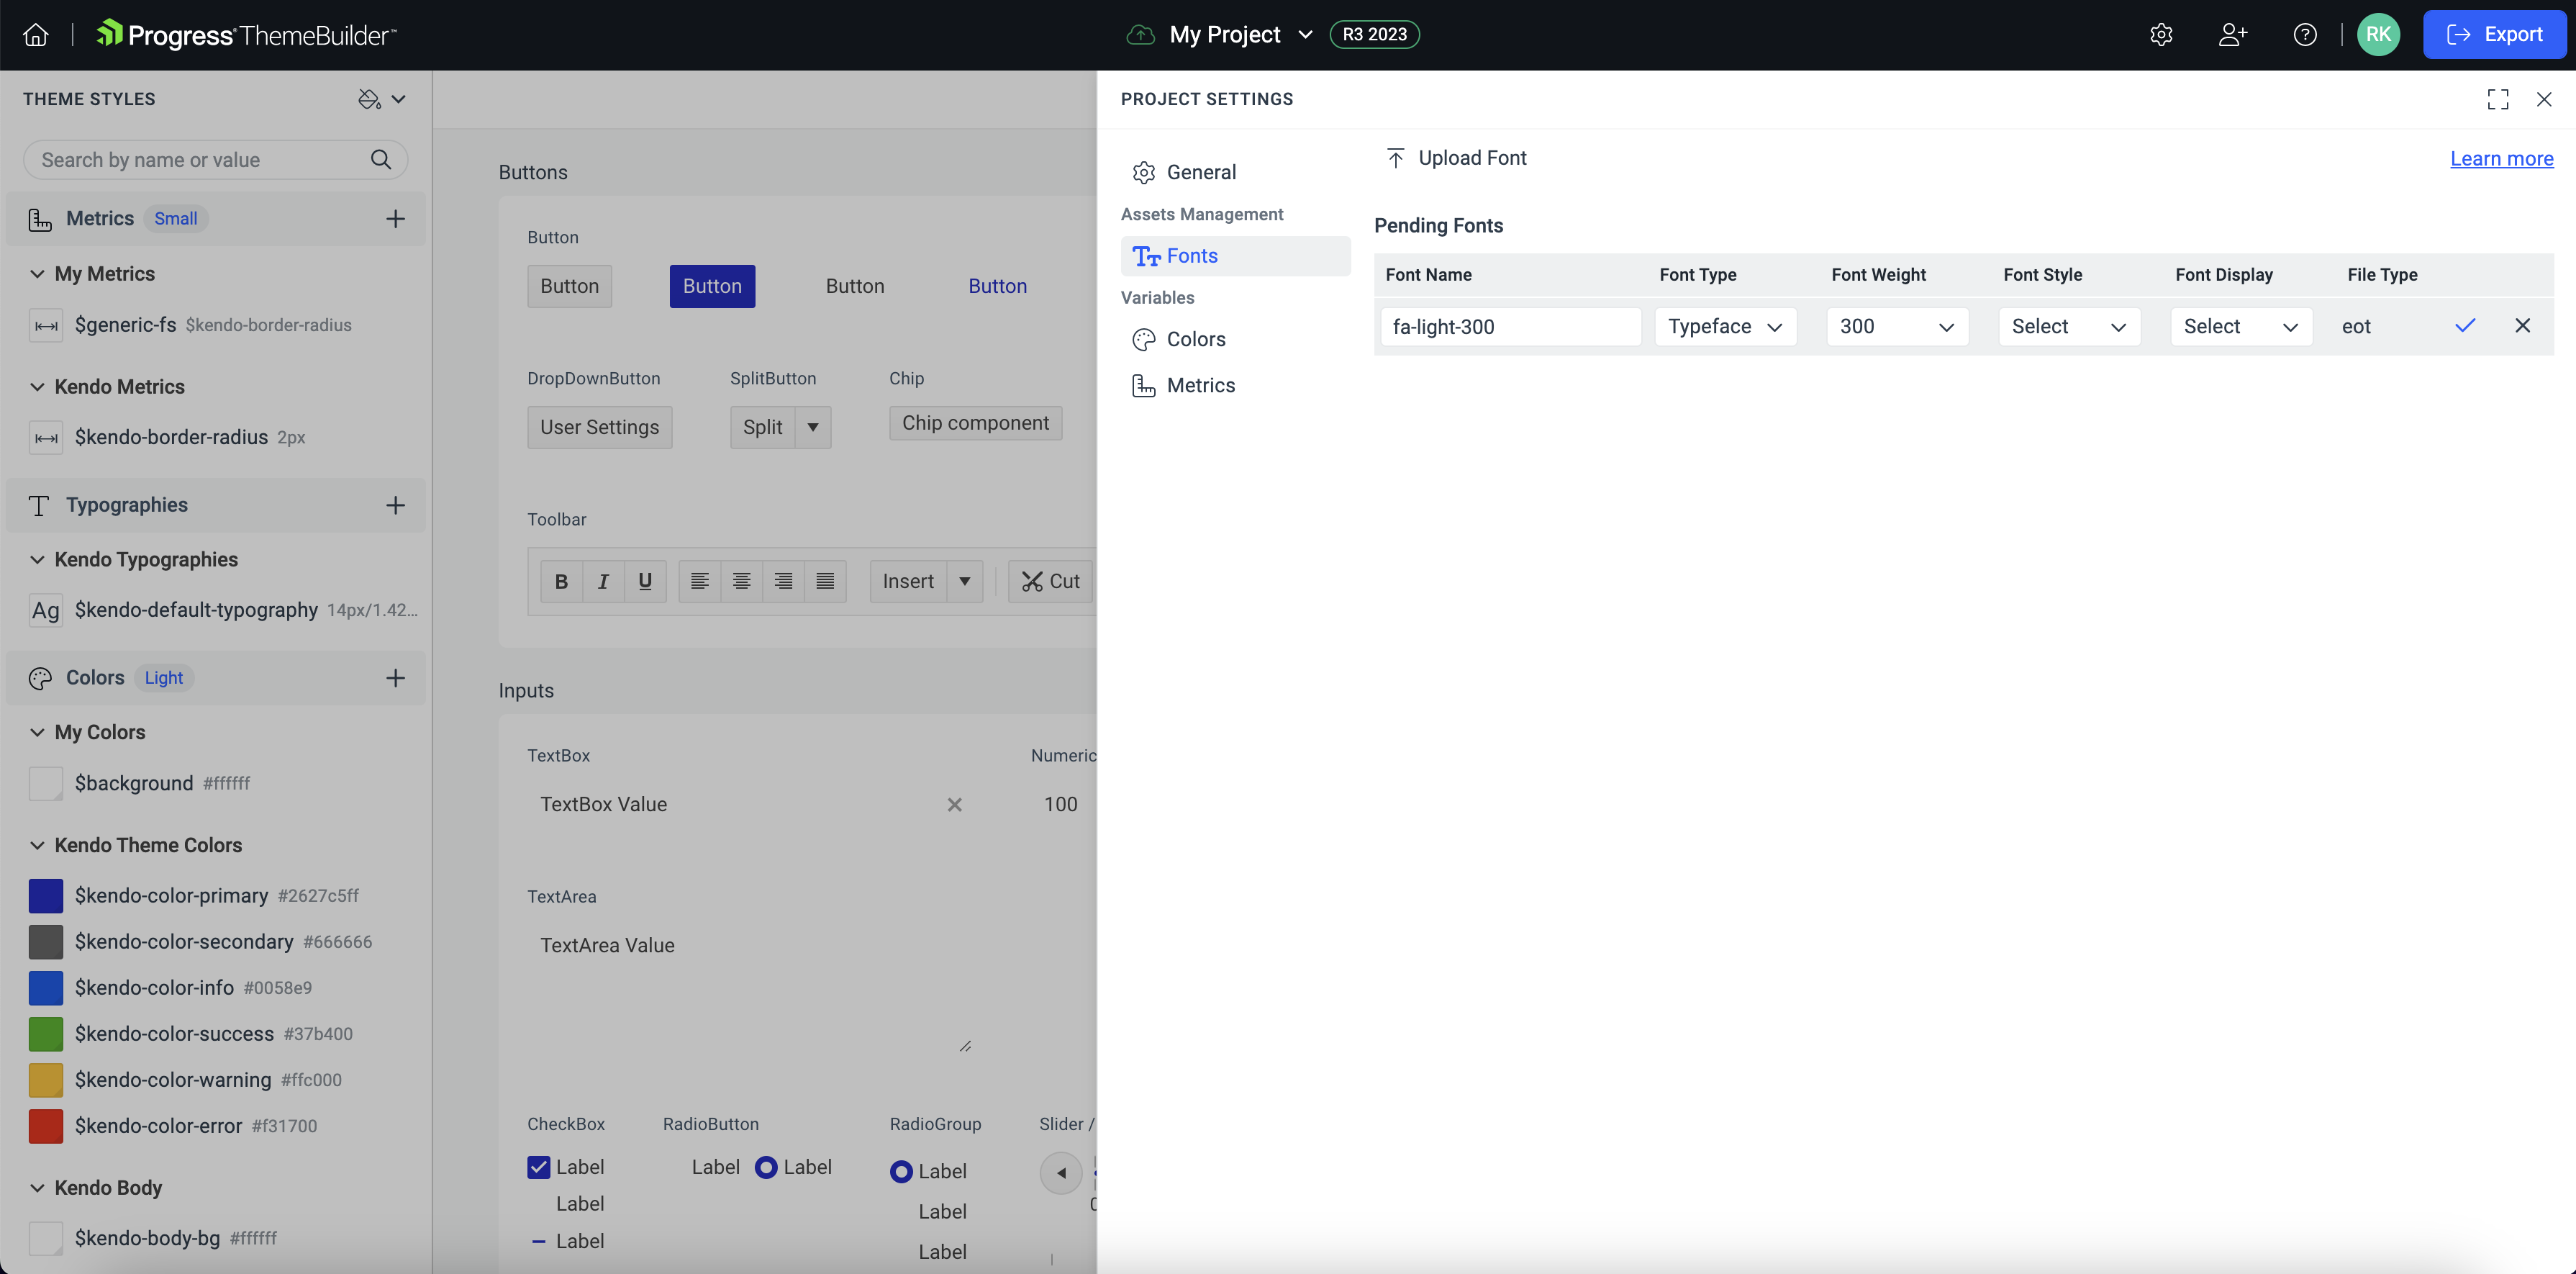
Select the check button to add the font.
Accessing Your Custom Fonts
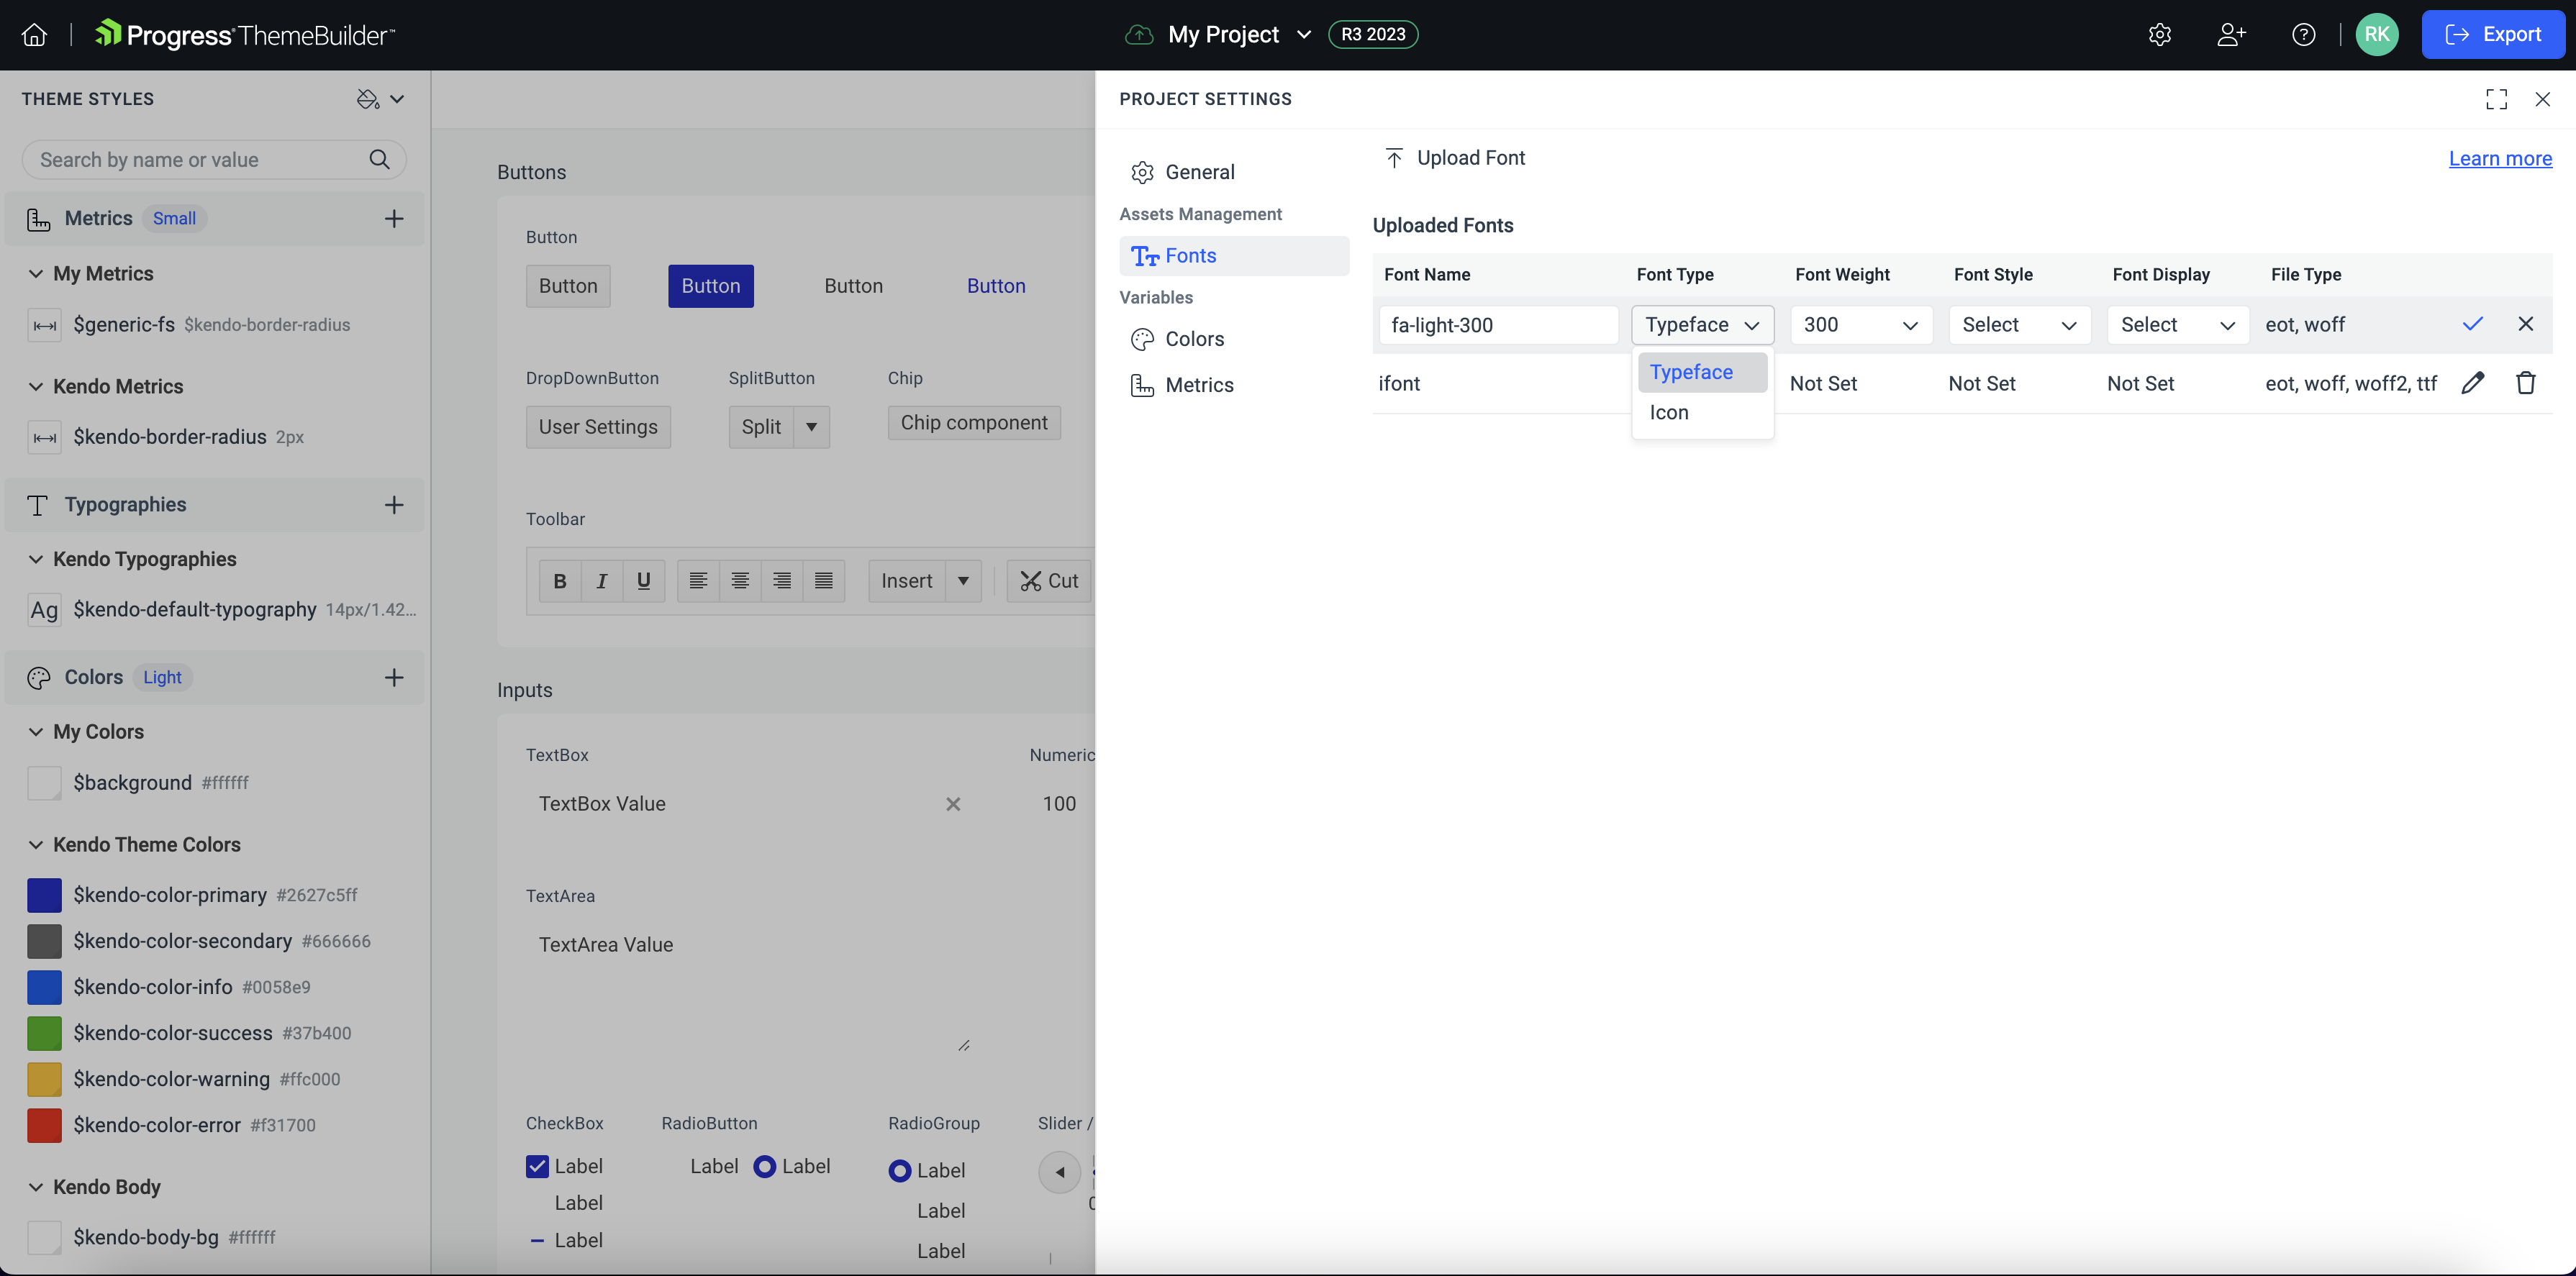
Once you add a custom font, it appears in the Font Family editor drop-down, and you can use it like any other font.
In ThemeBuilder, you can access your custom fonts in several ways:
- The Project Settings button in the Toolbar—provides quick access to your project settings, where you can find a tab with your custom fonts at any stage of the customization process.
- The Font Family editor under the Text node in the PROPERTIES pane—provides access when customizing a component's text properties.
- The Typographies section under THEME STYLES—provides access to the Font Family editor when creating or editing typography variables.
Editing Your Custom Fonts
Open an existing ThemeBuilder project and select Project Settings from the toolbar, then choose the Fonts tab.
In the Uploaded Fonts list, select the edit button to customize a previously added font.
-
Update the desired font parameters.
Select the check button to save the changes.
Deleting Your Custom Fonts
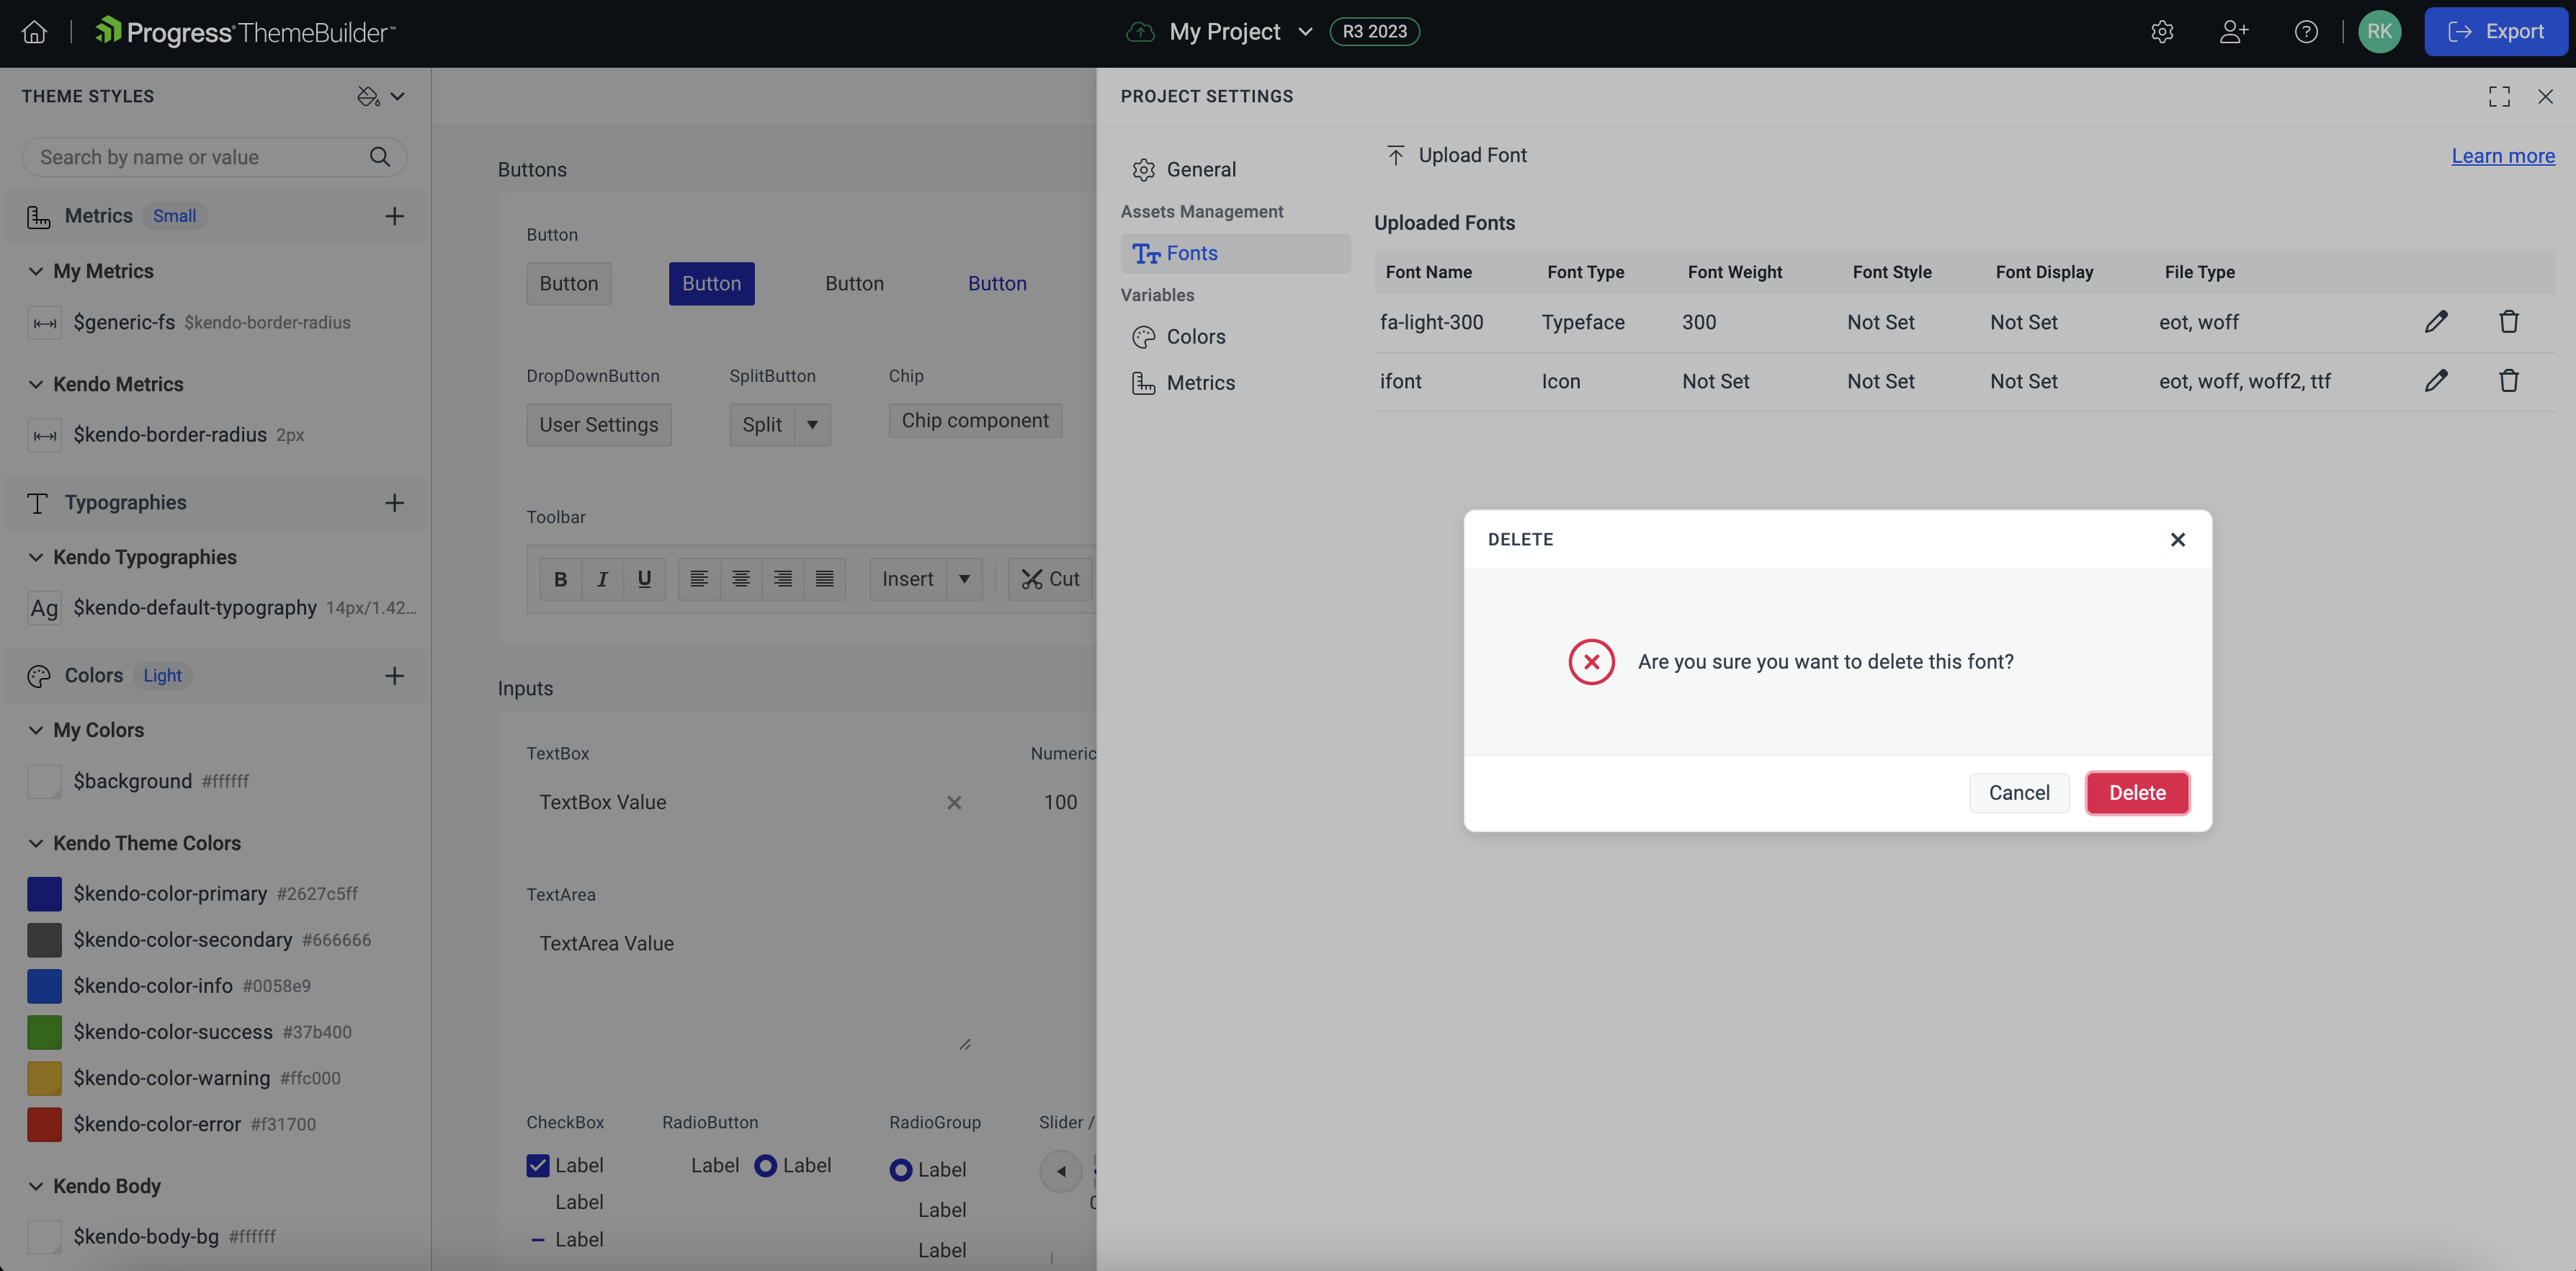
Open an existing ThemeBuilder project and select Project Settings from the toolbar, then select the Fonts tab.
-
In the Uploaded Fonts list, select the delete button to remove a font.
-
Select Delete to confirm the action.
You cannot delete a font that is already in use. To delete the font, first replace it with another font in all variables or components where it is used.