WPF Tests in Test Studio
Test Studio recording feature supports WPF applications built with .Net 4.5+ or .Net Core 3.1, and .Net 5 and above. To initiate recording session against specific application, you need to list its executable file in the WPF test.
This article guides you through the WPF test configuration process.
- Configure WPF Test to Automate Specific App
- Choose the Application to Automate
- Record Application Window State
- Finish WPF Test Configuration
Tip
Check this video tutorial for recording an end-to-end WPF test scenario.
Configure WPF Test to Record Specific Application
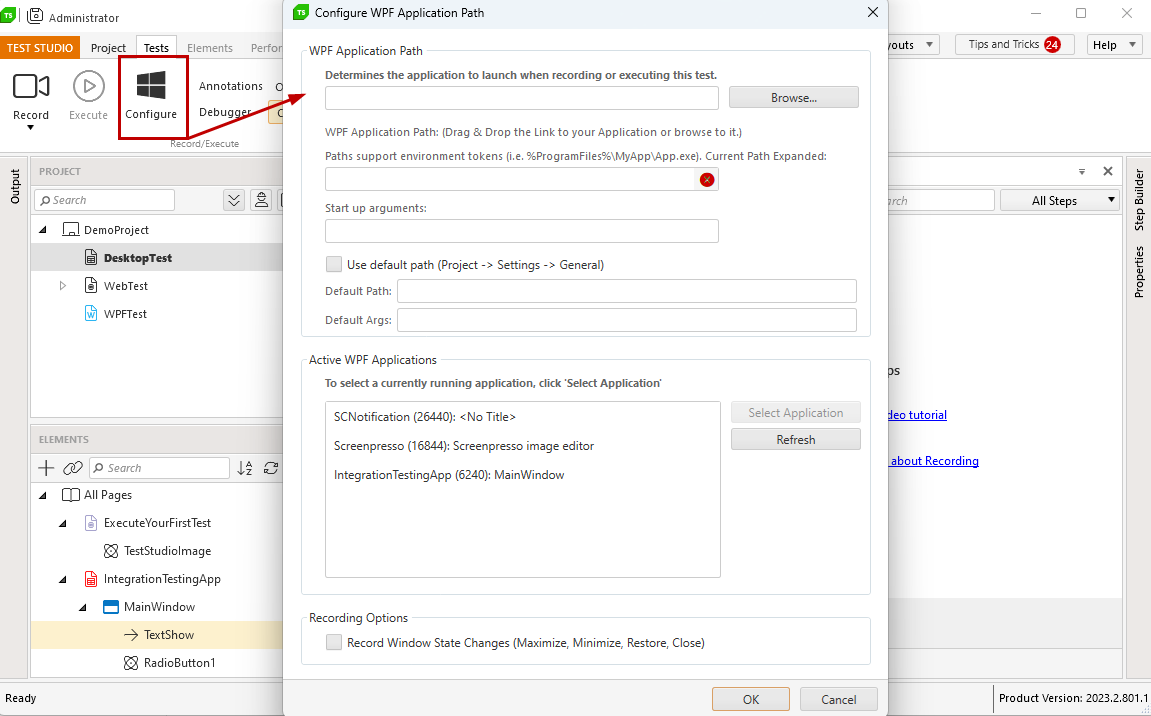
The configuration of the WPF test requires an executable file of a valid WPF app to be specified and, thus, used for recording and execution. When you open a WPF test in Test Studio, you can see the Configure button in the Test tools ribbon. Click the Configure button to open the WPF Config Wizard.
Tip
If you attempt to initiate a recording session in WPF test, before it is configured, the WPF Config Wizard pops up and lets you provide the necessary details.
Choose the Application to Automate
Test Studio provides different options to define the application to automate:
- Specify an executable file;
- Use a default path;
- Select application from the list of active apps;
- Define startup arguments and working directory
Configure Application Path in WPF Test
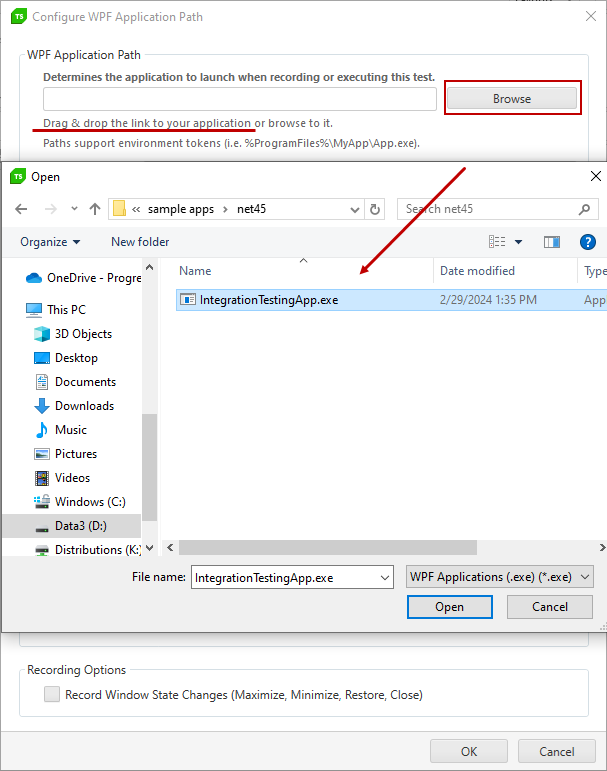
The WPF Application Path field accepts drag and drop of the application's shortcut icon; Or use the Browse button to locate the executable file manually in a File Explorer.
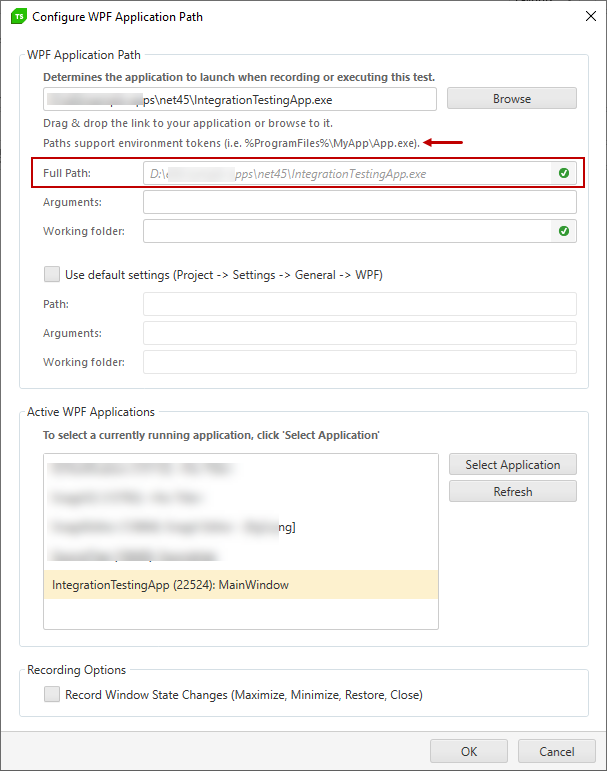
WPF Application Path field supports using environment tokens (such as %Program Files%\MyApp\App.exe). When using environment tokens, the Current Path Expanded field displays the full path to the executable file.
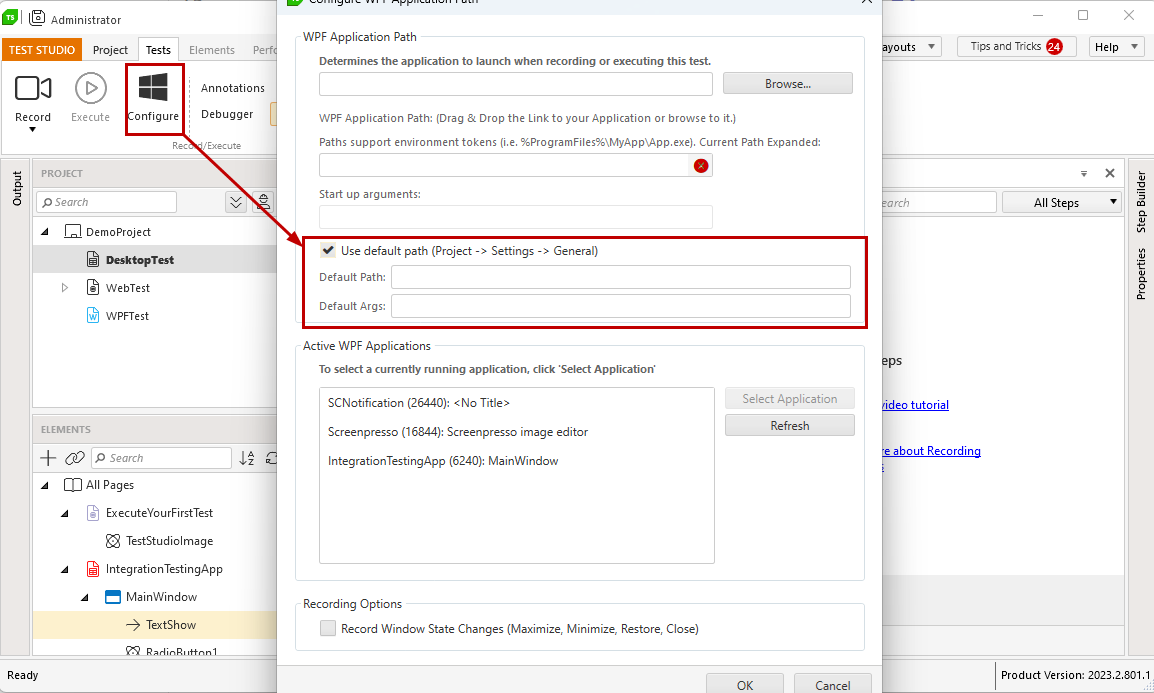
Set Default WPF Application Path
The automation process requires multiple tests to be created for a single application. In such case configuring each created test will be a tedious task. The solution offered by Test Studio is to set a default WPF app path on project level and use this for all WPF tests.
The option is available in Project Settings -> General and once a Default Path is set each new WPF test in the project is configured to use it.
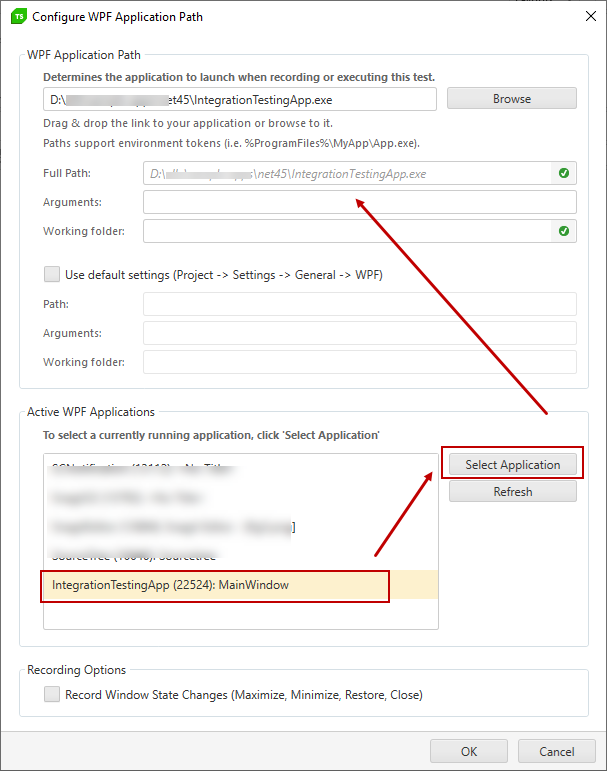
Select Running WPF Application
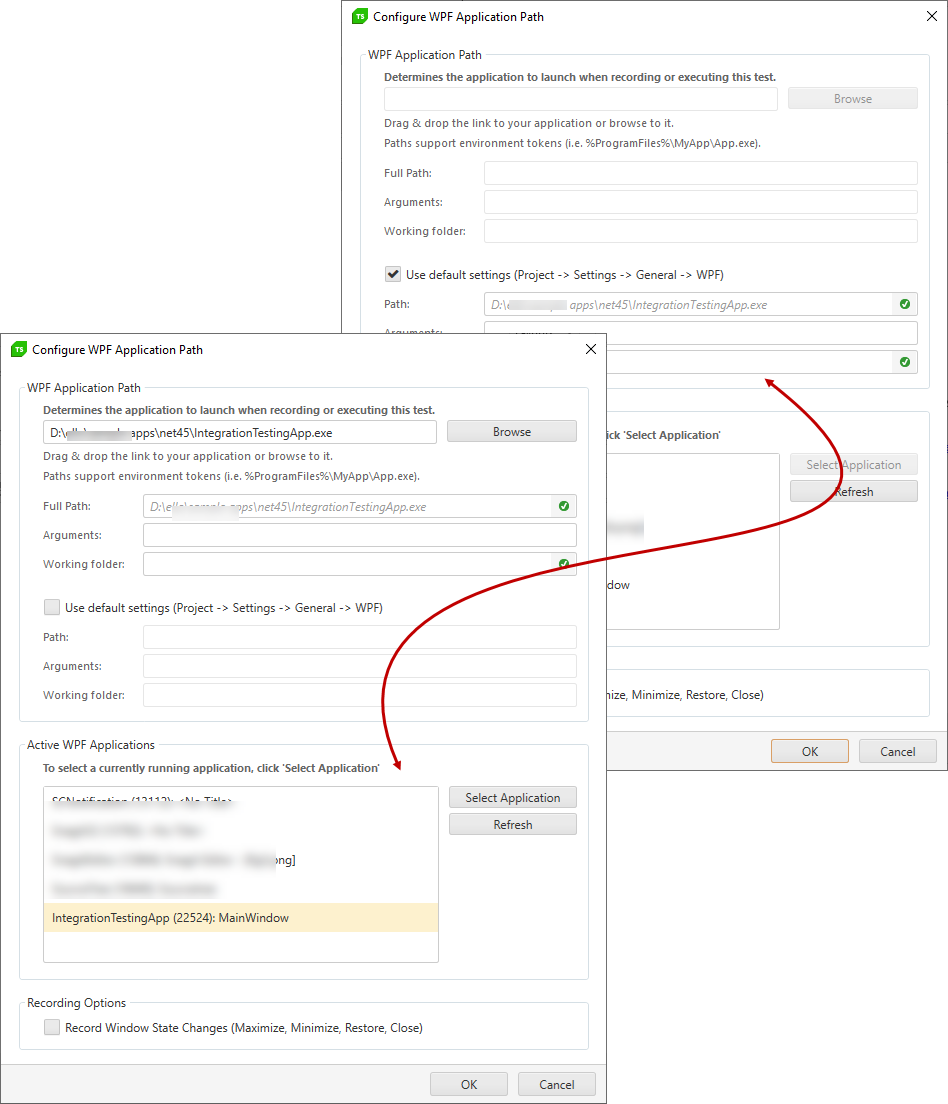
The Active WPF Applications list displays all currently running WPF apps detected by Test Studio. Click on the desired one and hit the Select Application button and the path to the executable file in the WPF Application Path field gets automatically populated.
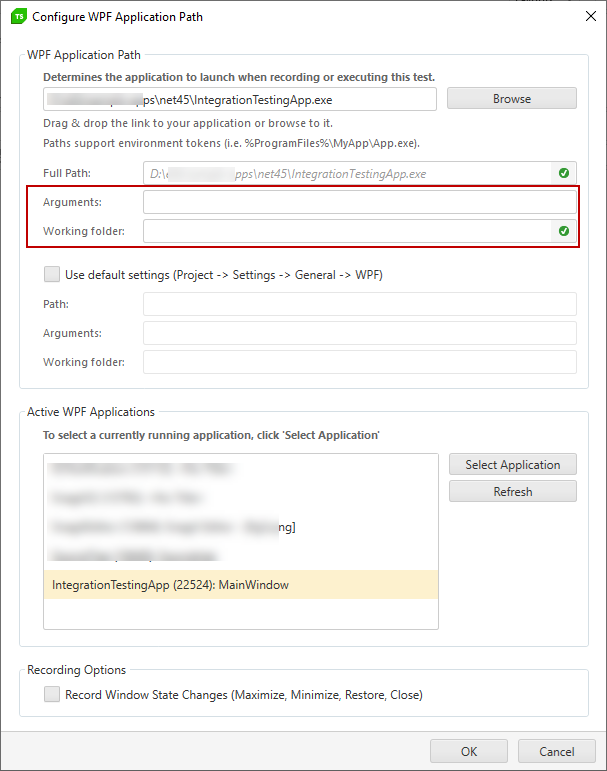
Startup Arguments and Working Folder for WPF Application
The configuration of a WPF application lets you set startup Arguments and a Working folder if these are required for the proper functioning of the tested WPF app.
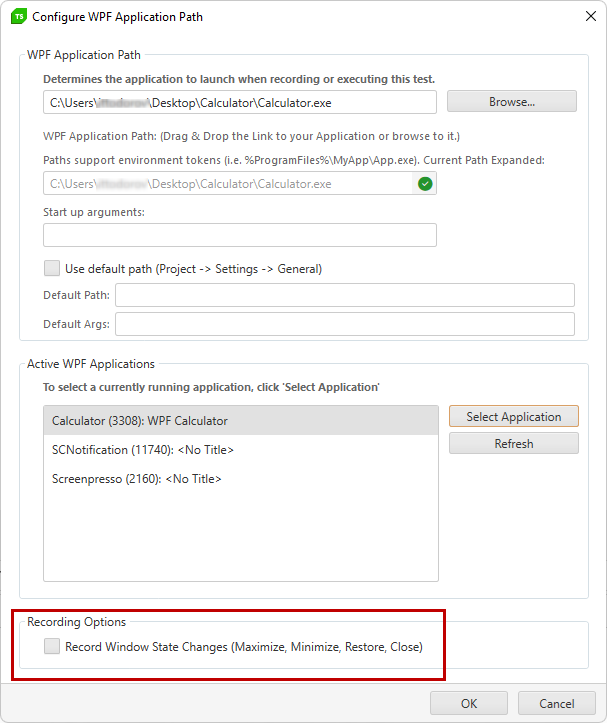
Record Application Window State
Test Studio lets you record the changes in the application window state - Minimize, Maximize, Restore and Close actions can be captured automatically while in the recording process. If the automation scenarios require to interact with the window state, enable the checkbox under the Recording Options section in the Config Wizard.
Note
Recording the changes in the application window state is a setting on project level. So, once you enable it for one WPF test in the project, it is applied for all existing and newly created WPF tests in the current project.
Finish WPF Test Configuration
Once you applied all necessary settings, confirm the configuration by pressing the OK button. Then, when you hit the Record button, the configured WPF application is launched and the Test Studio recorder gets attached to it, so you can proceed with recording the test scenario.
Tip
In any case, when you need to change the applied settings, hit the Configure button to access the wizard again.