Test Studio Tests and Azure DevOps Build Pipeline
You can integrate Test Studio tests for automated execution within Azure DevOps pipelines. This article outlines the key prerequisites and configuration steps you should consider before setting up your pipeline.
Environmental Prerequisites
The build machine may be either a physical or virtual system that hosts both the Azure DevOps agent and the Test Studio Runner. For minimum hardware and software requirements, see the Test Studio system requirements documentation.
Additional prerequisites:
- Azure DevOps account enabled to configure Agent pools, Microsoft-hosted agent VMs and pipelines: mandatory
- Azure DevOps Agent : mandatory
- Test Studio Run-time Edition (ArtOfTest.Runner.exe must be available - preferably latest version): mandatory
- Internet Browser (Chrome, Edge, Firefox - preferably latest versions) or WPF/desktop application: mandatory
Upload the Testing Project into a Source Control Repository
Executing the Test Studio automated tests as part of any CI pipeline requires the project to be deployed on the execution machine. The most convenient approach is to manage the project into a source control repository and use it to checkout the current latest version at the time of execution. The type of source control repository to use depends on your company policies and specifics.
Choose the Configuration to Setup
Azure DevOps provides two options to run pipelines - on a on-premise local machine (physical or virtual) and on a container hosted by Microsoft. Depending on the configuration you choose there are different initial adjustments of the setup.
Running pipeline with Test Studio automated tests on a local machine requires you to:
- create a new self-hosted agent in the AzDO project
- configure the self-hosted agent to always run n interactive mode
Running pipeline with Test Studio automated tests on a Microsoft hosted machine requires you to:
- upload Test Studio installer as artifact
-
check known limitations for using the MS-hosted agent machines
Important!
Microsoft-hosted agent VMs use no GUI session or UI, thus it can be used only for executing web tests!
Create a Self-Hosted Agent
Test Studio application is a Windows OS based and as such you can execute the automated tests only on a Windows machine. Thus, you need to use the AzDO self-hosted Windows agent to execute tests as part of a pipeline.
To create such agent, follow the steps listed below:
-
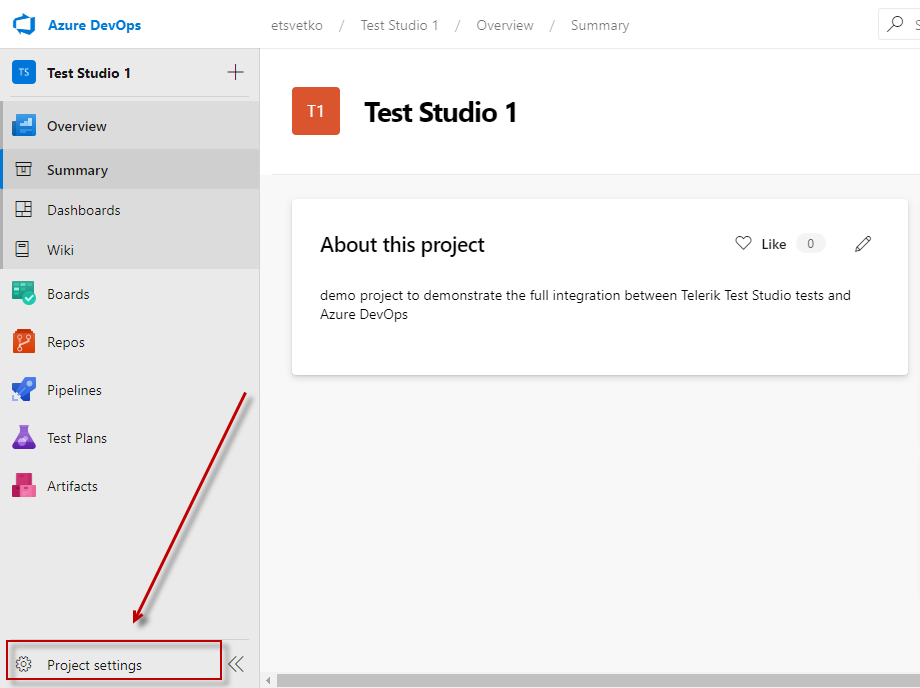
Open the Project settings of the current AzDO project.
-
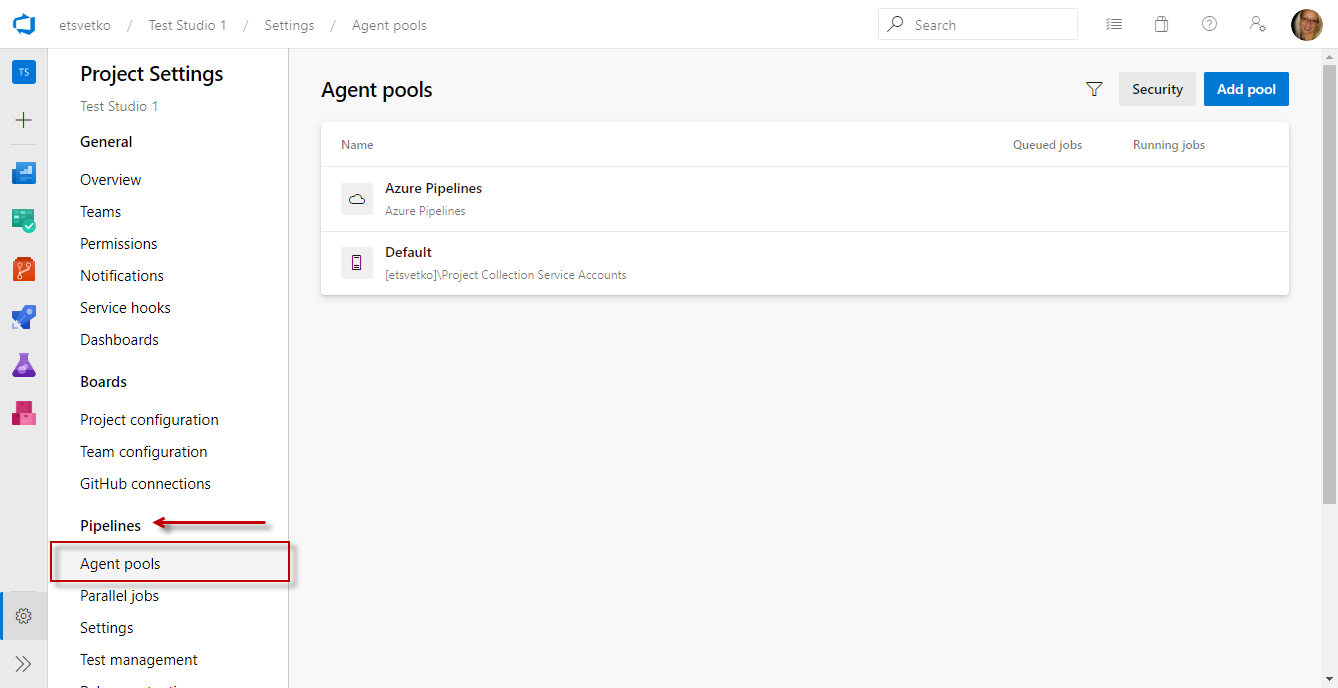
Click on Pipelines -> Agent Pools.
-
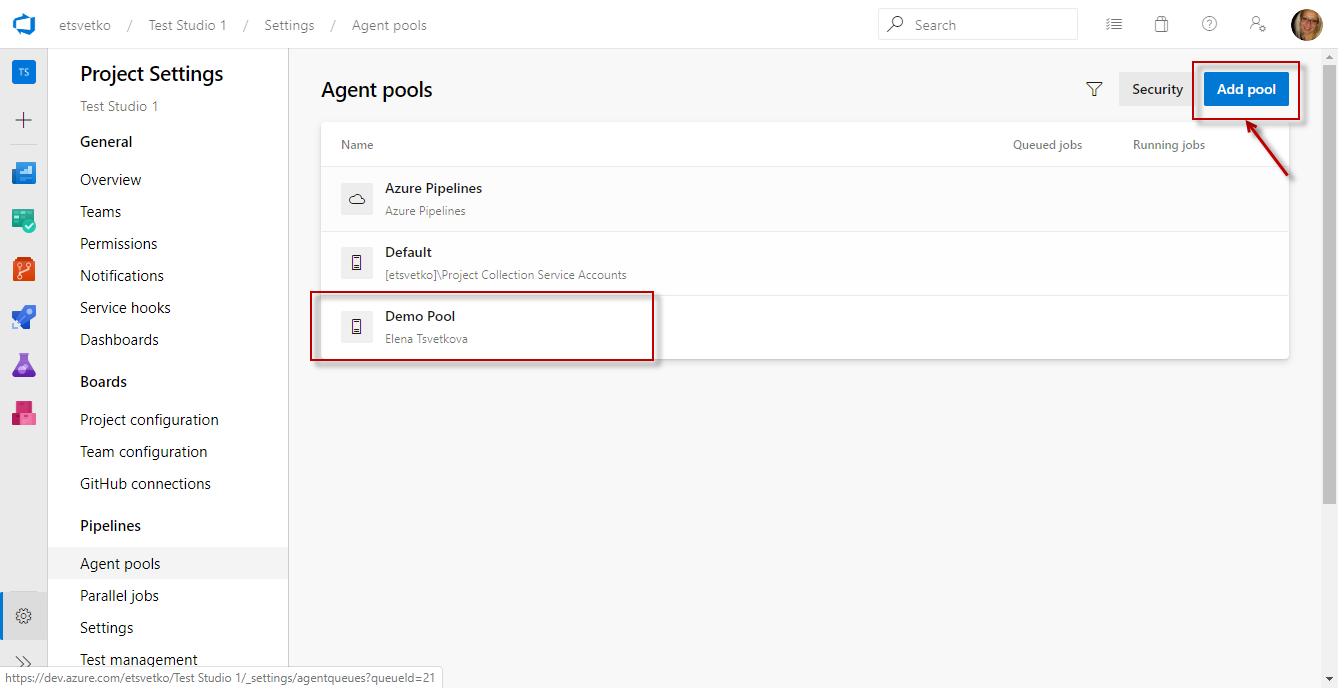
Add a new pool or open the default one.
-
Click New Agent,
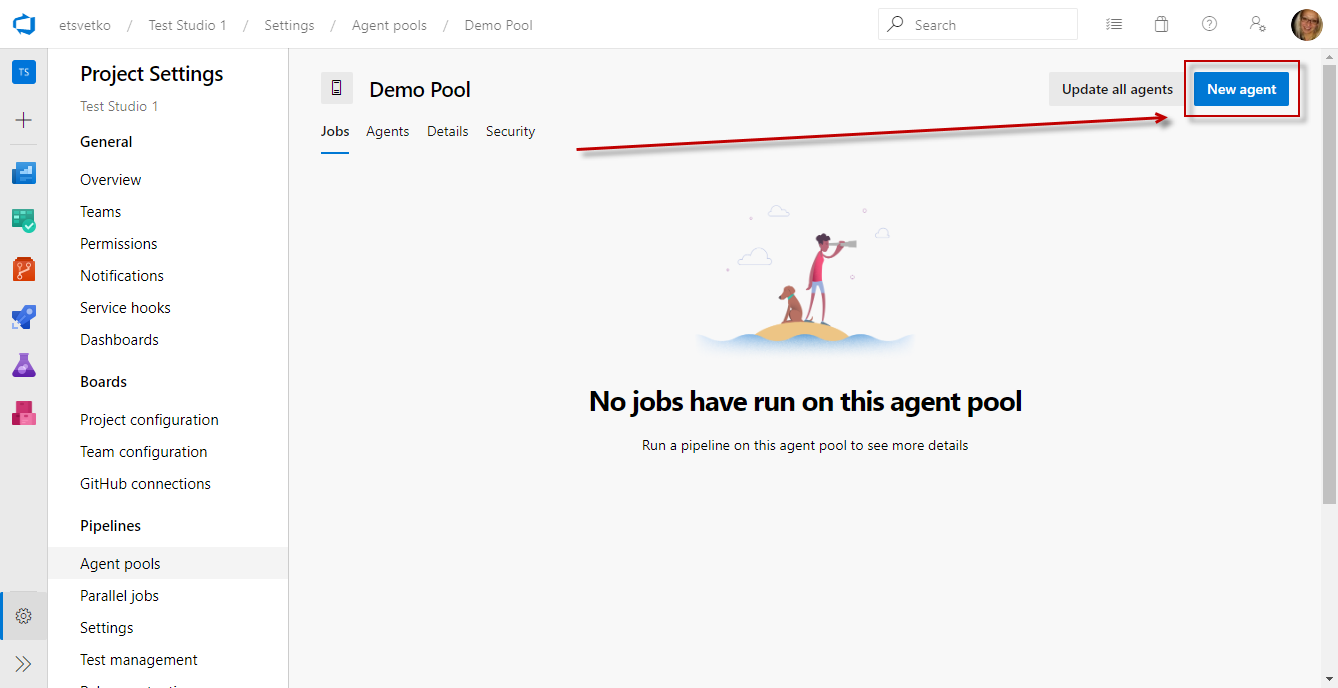
Download the Agent to the corresponding physical or virtual machine as per the installation requirements above.
-
Extract the Agent and run as Administrator.
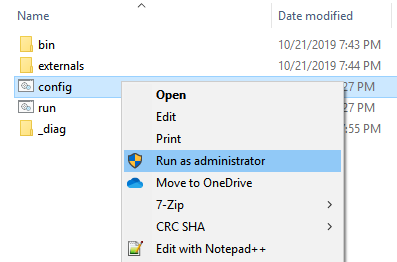
Note
To avoid any permissions issues make sure that the user configuring the Agent is part of the following Permission Groups in AzDO project: Build Administrators, Release Administrators, Project Administrators, ProjectName Team.
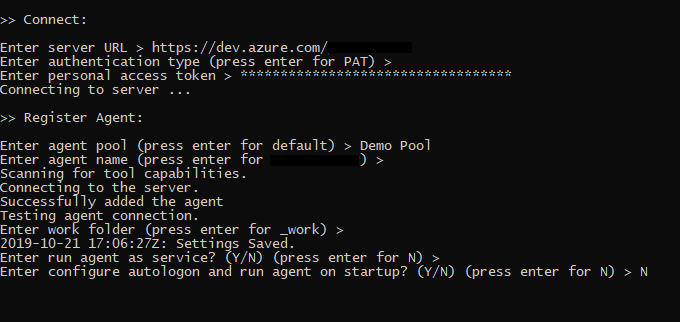
Configure the Self-Hosted Agent
Enter server URL: i.e. https://dev.azure.com/OrganizationName.
Create Personal Access Token (PAT) and save it.
Choose PAT for authentication type and paste yours.
Choose the Agent pool you created earlier.
Choose Agent name, the default name is the machine name on which it is hosted.
Choose a work folder or press enter for the default
_worksub-folder.Choose to run the Agent in Interactive mode - select
Nwhen asked to run agent as a service.-
Choose whether to configure autologon and run agent on startup - from Test Studio perspective this is optional and depends on the project demands.
-
Upon successful configuration the config console gets closed. Run the
run.cmdfile in console to trigger the Agent.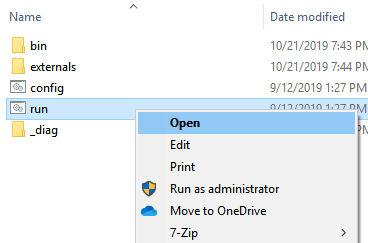
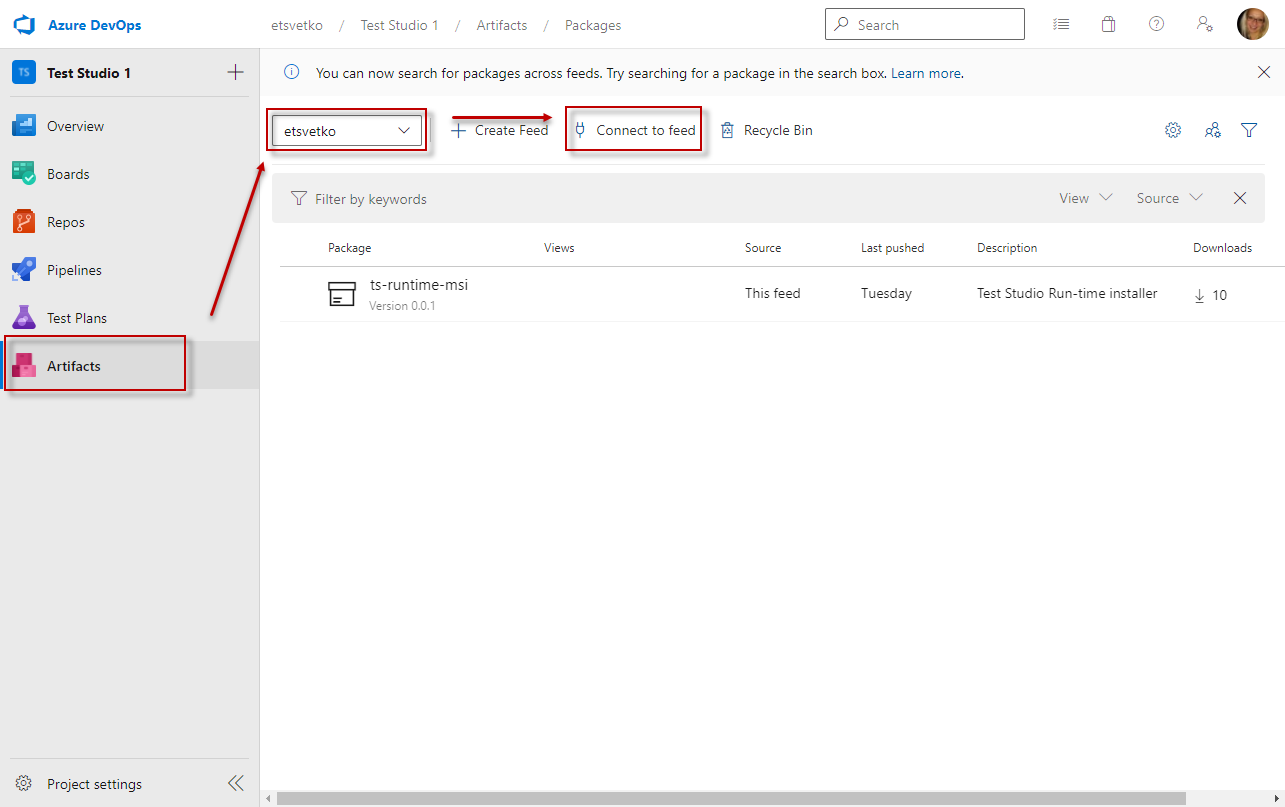
Add Test Studio Run-time Installer as Artifact in AzDO Project
Follow the below steps to upload the Test Studio Run-time installer as artifact in the AzDO project:
-
Open the Artifacts view in the Azure platform and choose the feed in which you want to add the Test Studio Run-time installer.
Tip!
You can download the Test Studio Run-time Edition *.msi installer file from your Telerik account here. -
Then select the Connect to feed option to add an artifact in the feed. If you need further information about Feeds in Azure DevOps, you can visit the Microsoft docs page on the topic.
-
Choose the Universal Packages option from the list of artifacts. The instructions how to publish a package are listed on the right side of the list. It is necessary to use the Azure CLI to login and publish the installer file - you can find example commands, which need to be adjusted for your project specifics. If you need further information about Publishing Universal Packages, you can refer to the Microsoft docs page on the topic.
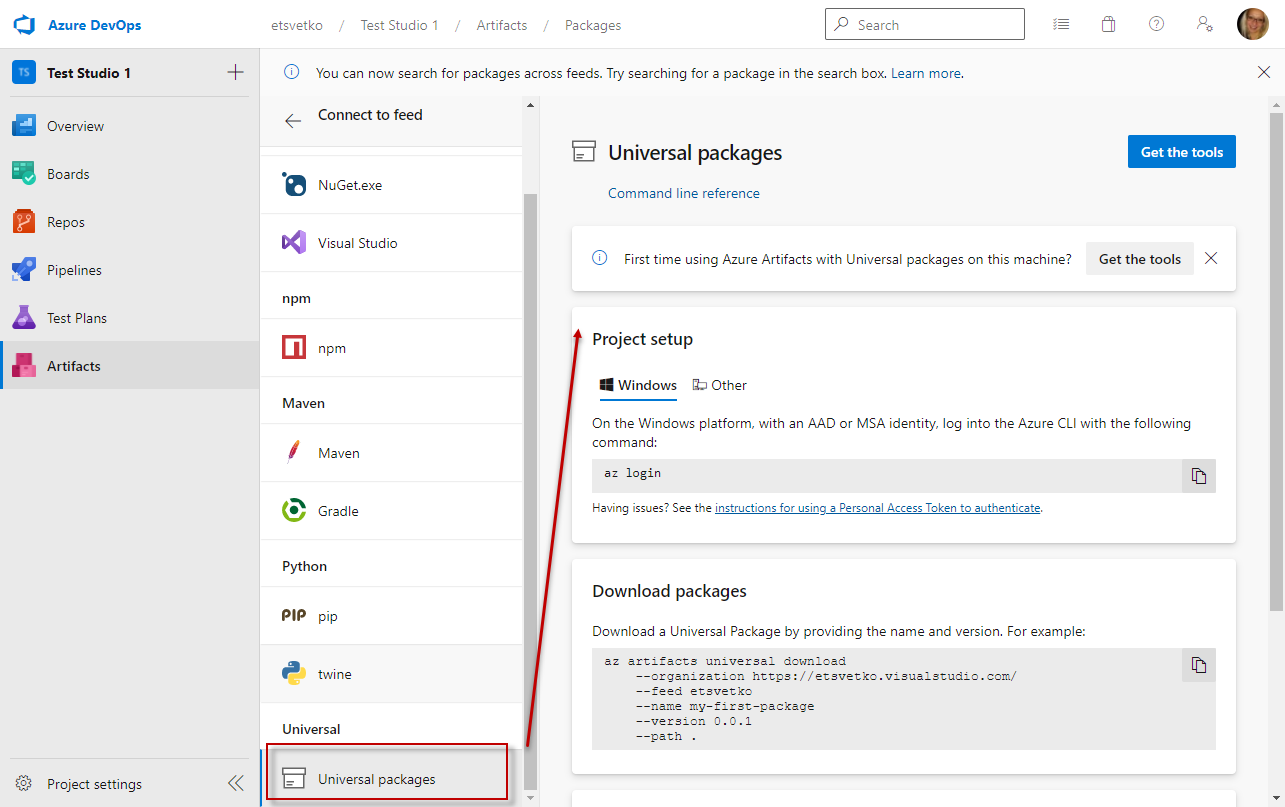
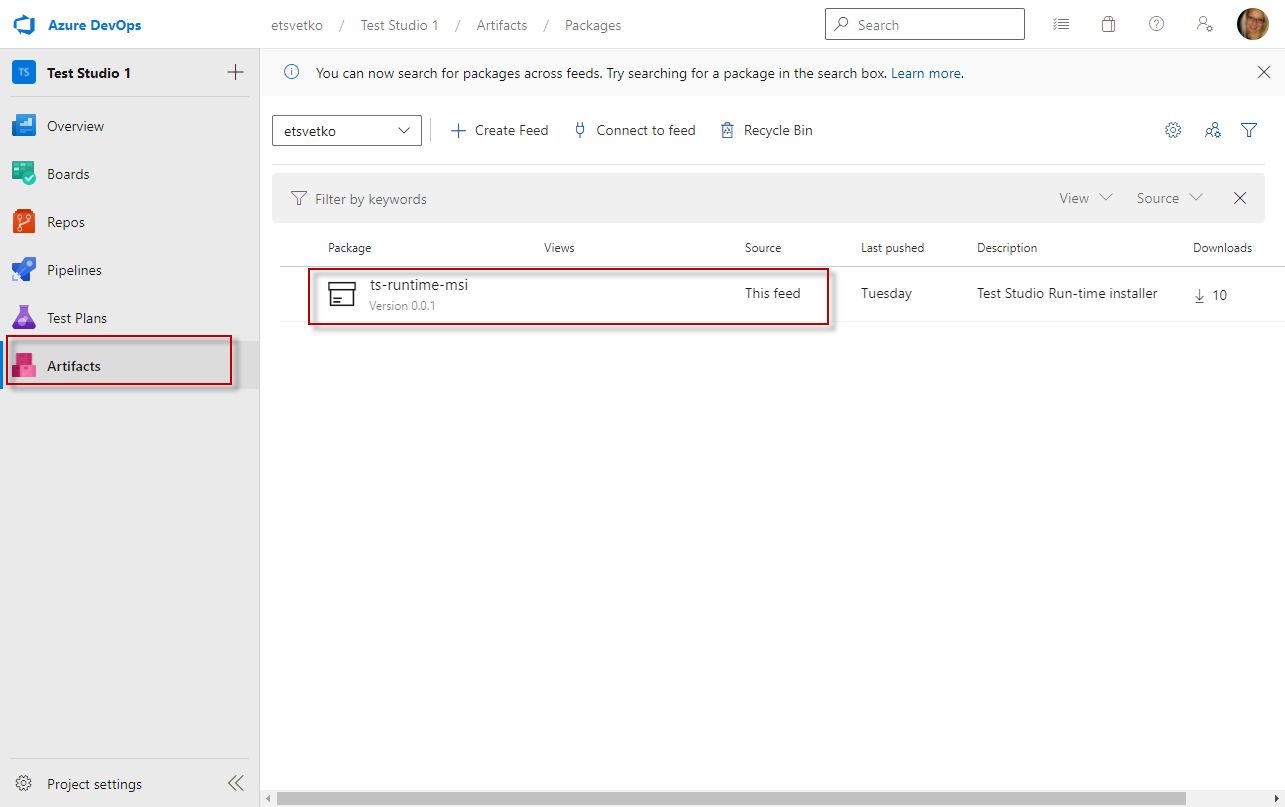
-
After the package is successfully uploaded, it is listed as an artifact and can be used in the Azure pipelines for that project.
Limitations in Using MS-Hosted Agent with Test Studio Tests
- Only web tests using Edge and Chrome browsers can be executed in a Microsoft-hosted agent.
- The images on failure are not available in the results generated from the test runs in Microsoft-hosted agent.
Continue to Setting Up a Pipeline
You can integrate the Test Studio automated tests execution in both classic and YAML type of pipelines in AzDO. Find reference for the different options and choose the one which suits your project needs: