Kendo UI for jQuery ScrollView Overview

The ScrollView displays a horizontal collection of content or image views with built-in navigation between them.

It can be scrolled through dragging, gestures, arrow click or page click or tap. Among the key features of the ScrollView are data-source binding, customizable template, built-in pager, adjustable bounce effects and scroll velocity.

Kendo UI for jQuery Kendoka image

The ScrollView is part of Kendo UI for jQuery, a professional grade UI library with 110+ components for building modern and feature-rich applications. To try it out sign up for a free 30-day trial.
Initializing the ScrollView

You can initialize the ScrollView either from HTML or from a data source with a template.

From HTML

  1. Add a <div> element which will be used to initialize the component.
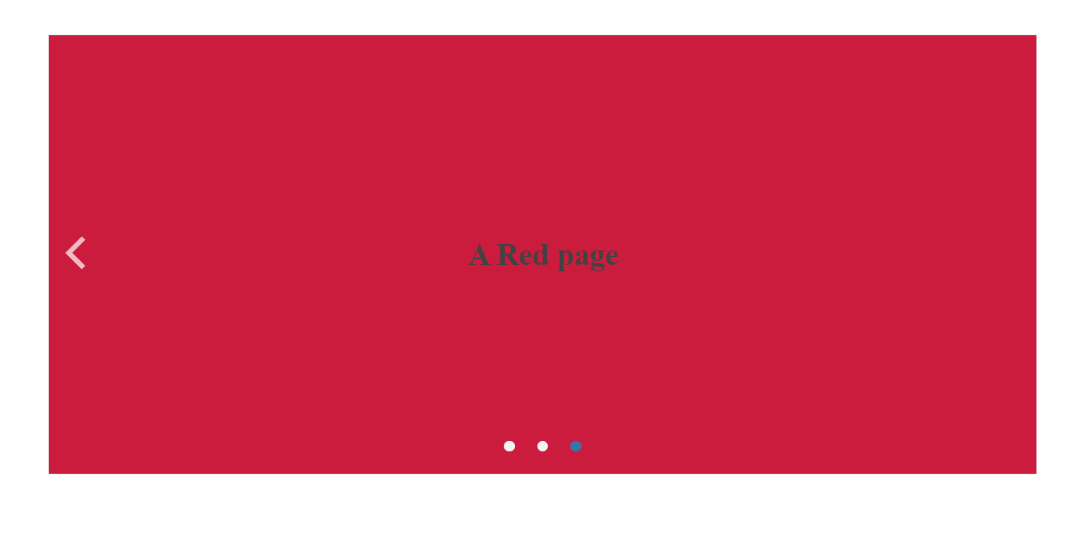
  2. Nest a <div data-role="page"></div> for each page and place any template inside the <div>.
    <div style="width:900px;">
        <div id="scrollView" style="height:400px;">
            <div class="white" data-role="page">
                <h1>A White page</h1>
            </div>
            <div class="green" data-role="page">
                <h1>A Green page</h1>
            </div>
            <div class="red" data-role="page">
                <h1>A Red page</h1>
            </div>
        </div>
    </div>
    <script>
        $("#scrollView").kendoScrollView({
            contentHeight: "100%"
        });
    </script>
    <style>
        .green, .red, .white {
            text-align: center;
        }

        .green {
            background-color: forestgreen;
        }

        .red {
            background-color:crimson;
        }

        h1 {
            margin-top: 20%;
        }
    </style>

From the Data Source

  1. Add a single <div> element.
  2. Provide a kendo.data.DataSource and a template.
  3. Make sure that the template matches the pageSize of the data source.

If serverPaging is enabled, the ScrollView will request the data in advance so it becomes available before it is required, thus improving user experience. The ScrollView uses virtualization when it is bound to a data source and it only has three pages at all times—the current, the previous, and the next.

    <div style="margin:auto; width:60%">
        <div id="scrollView" style="height: 500px; width:890px;"></div>
    </div>

    <script id="scrollview-template" type="text/x-kendo-template">
        <div class="template">
            <h1>
                <span>#:TitleOfCourtesy# #: FirstName# #: LastName# </span>
            </h1>
            <h3>Title: #: Title #</h3>
            <div class="notes"><em>#:Notes#</em></div>
            <div class="country">
                #: Country #
            </div>
        </div>
    </script>

    <script>
        var dataSource = new kendo.data.DataSource({
                type: "odata",
                transport: {
                    read: "https://demos.telerik.com/kendo-ui/service/Northwind.svc/Employees"
                },
                pageSize: 1
        });

        $("#scrollView").kendoScrollView({
            dataSource: dataSource,
            template: $("#scrollview-template").html(),
            contentHeight: "100%"
        });
    </script>
    <style>
        h1 {
            margin-top: 20%;
        }
        .template {
            text-align: center;
        }
        .notes {
            margin: 25px 70px 25px 70px;
        }
        .country {
            font-family: "Segoe UI", "Helvetica Neue", Arial, sans-serif;
            font-size: 50px;
            font-weight: bold;
            color: #898989;
        }
    </style>

See Also

In this article