New to Telerik UI for Xamarin? Download free 30-day trial

First Steps

This article will guide you through the basics of Telerik UI for Xamarin and how to start using the suite on Mac.

Once you have your first simple Xamarin control up and running, take a look at the Next Steps section to explore other control functionality.

For additional resources you can also review the Related Articles section on the right.

Download the Controls

When you have an active trial or developer license, you can download the following files:

  • Standalone installation
  • Assemblies for manual installation
  • NuGet packages
  • Old versions

If you are not a customer, you can download a free, fully functional trial and the same options will apply to you as well.

Make sure you have already read the System Requirements article before you proceed.

Follow the steps below in order to download the installation files:

  1. Log into your Telerik account and click on the Downloads tab.

    Figure 1a: Downloads tab

  2. Select Progress Telerik UI for Xamarin product title.

  3. Download the Installation .pkg and .mpack files.

    Figure 3a: Download installers

  4. Install Progress Telerik UI for Xamarin

    Since MacOS Catalina, downloaded installers and packages are quarantined. If you try to just open the pkg file, you may see a popup preventing you from installing it. The easiest solution is to

    1. Right-click on the .pkg file you downloaded in Step 3
    2. Select "Open With"
    3. Select "Installer" (see Fig 4a).
    Figure 4a: Open With -> Installer

    OpenWithInstaller

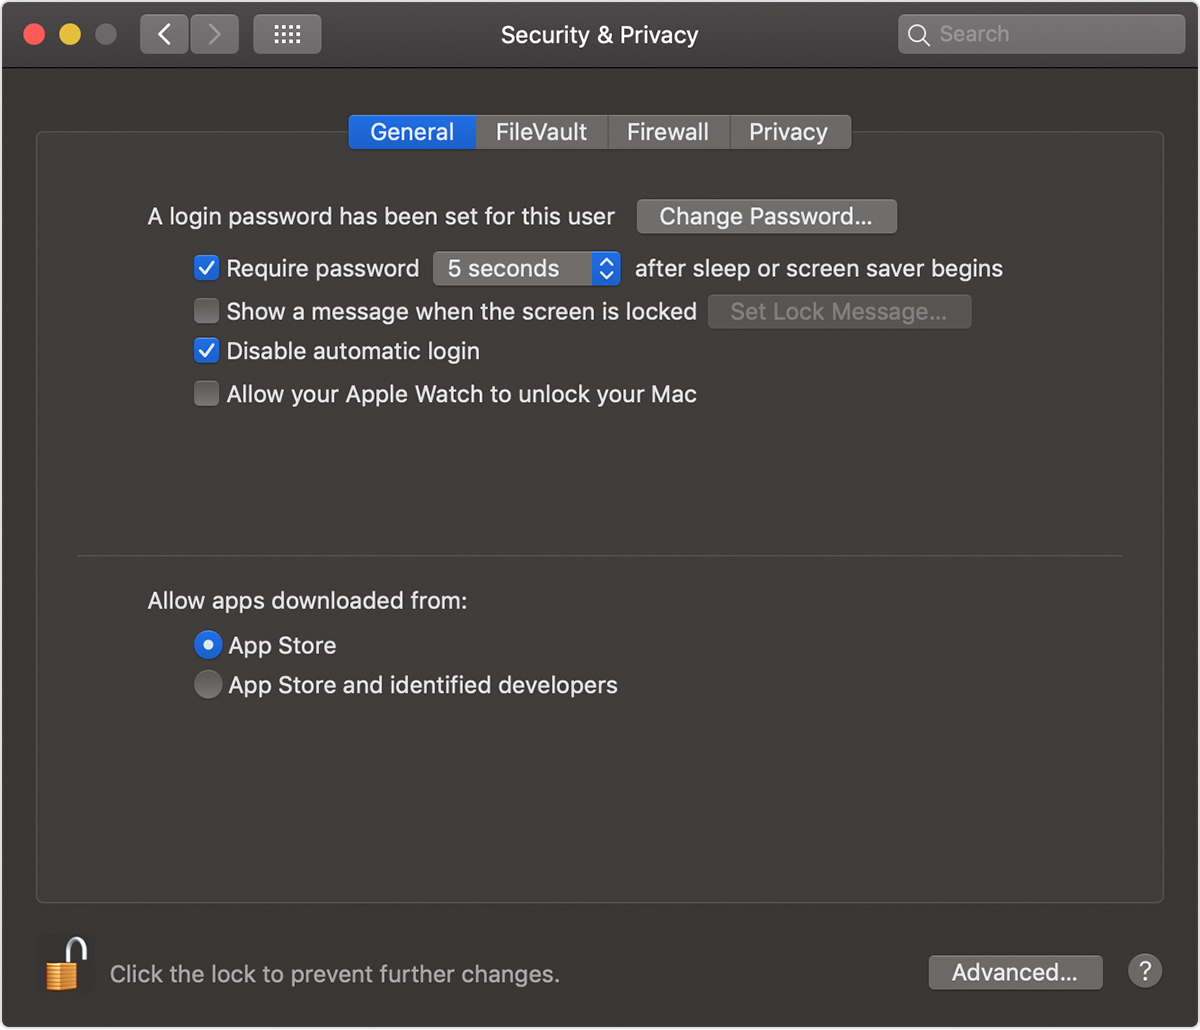
    For a more permanent solution, open the Mac OS Settings -> Security & Privacy settings panel and select Allow apps downloaded from App Store and Identified developers.

  5. Install Visual Studio for Mac Extensions

    Once you have finished the pkg installation, now it's time to install the Visual Studio Extensions with the mpack file.

    Open the Visual Studio Extension Manager and select the Install form file... option. Figure 5a shows how to access the Extension Manager.

    Figure 5a: Accessing Visual Studio Extensions

    Visual Studio Extensions

    Once you have accessed the Extension Manager, the following dialog will appear and you should look for the Install from file option.

    Figure 5b: Reaching the Extension Manager

    Visual Studio Extensions

    Navigate to the ProjectTemplateXamarin.mpack file, select it and click "Open" to complete the installation.

    Figure 5c: The ProjectTemplate location

    Visual Studio Extensions

    If the add-in is successfully added to Visual Studio, you should see it in the IDE extensions section.

    Figure 5d: Installation Successful

    Installed Extension

  6. Restart Visual Studio for Mac to complete the installation.

Create a Project with Telerik UI for Xamarin

  1. Now you can create a new project using the Telerik Project Template. Select which platform(s) your application targets and the wizard will automatically reference all required Telerik binaries and packages.

    Figure 1a: Create New Project Dialog

    Xamarin Studio Create new project

  2. Select the Telerik Forms App template which can be found in Other > Miscellaneous section.

    Figure 2a: Telerik Forms App template

    Xamarin Studio Create new project

Next Steps

Now that you have downloaded and installed Telerik UI for Xamarin, and created your first project its time to add the Telerik UI for Xamarin control. Below you can find guidance on getting started with that:

See Also

In this article