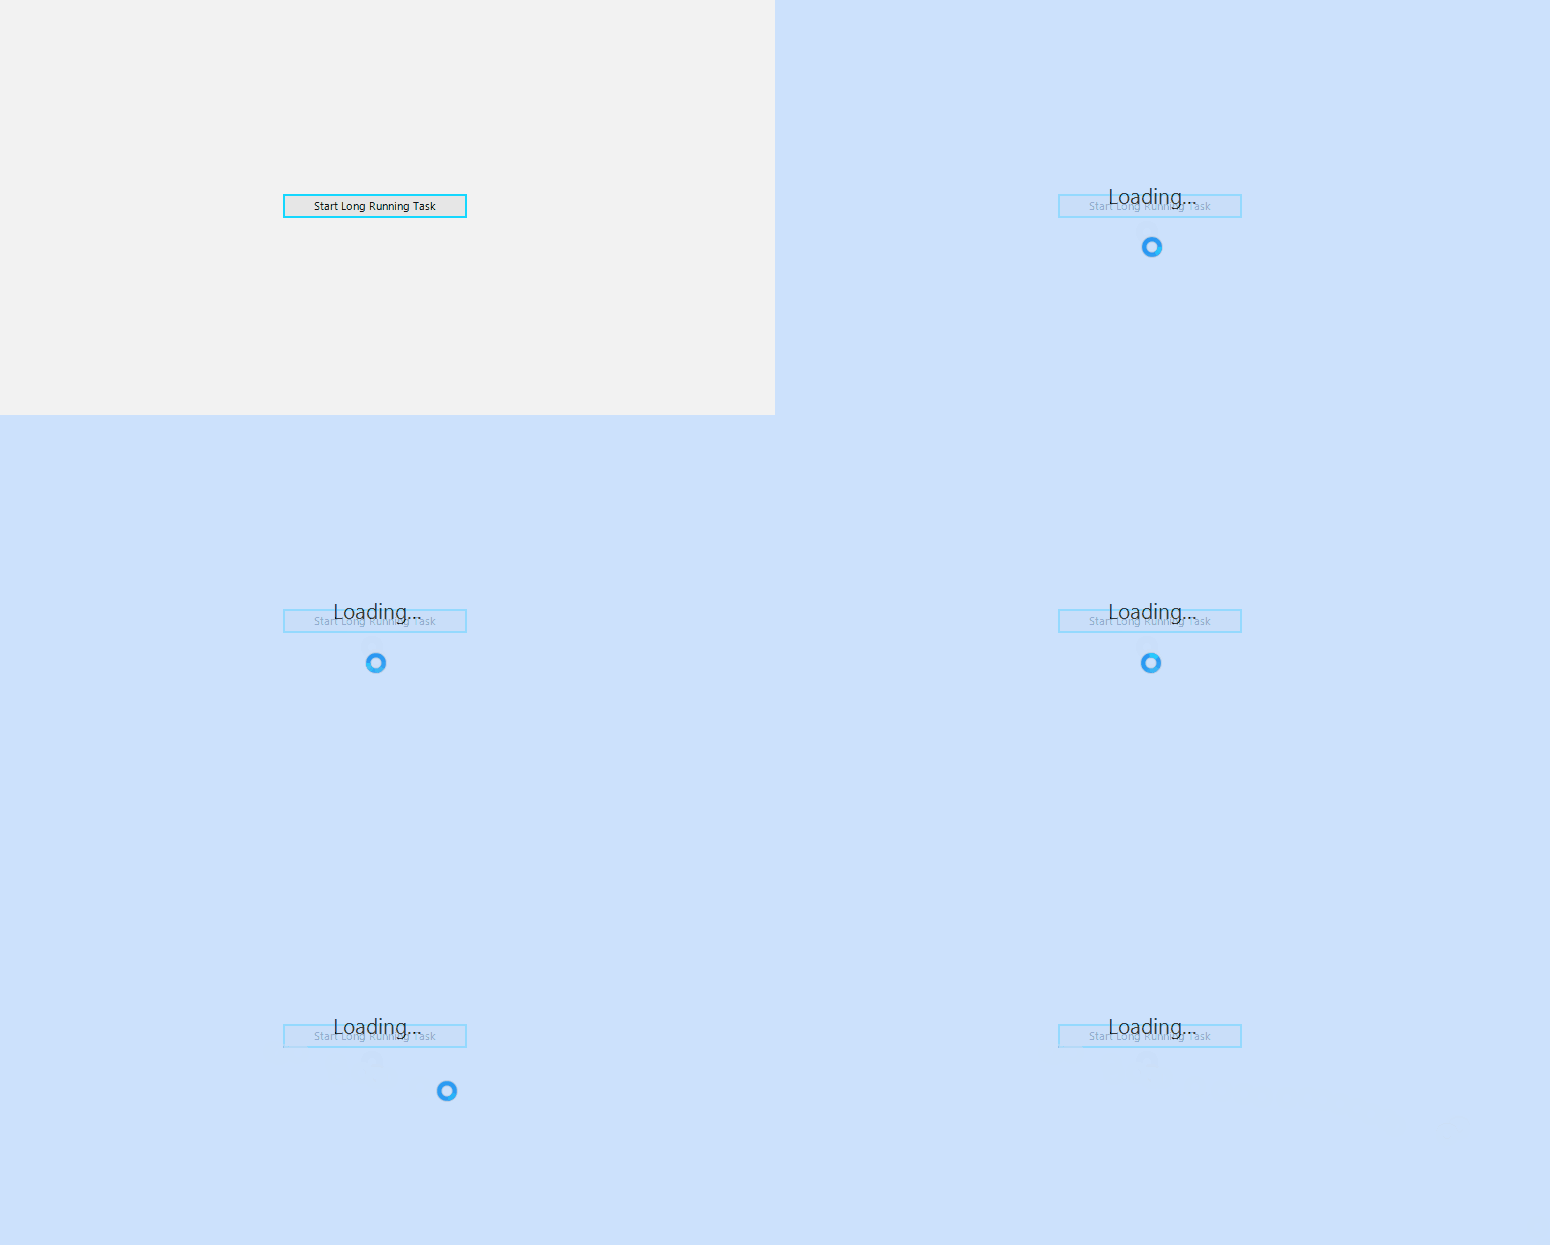
Custom Overlay Screen
This tutorial will walk you through how you can create a custom Overlay Screen.

1. To create a custom overlay screen, we can create our own form/class which derives from RadOverlayForm. Then, we can construct our new overlay form per our requirements. For the purpose of this example, we are going to add a label in the midding of the form. We can call the base class with a false parameter to remove the default RadWaitingBar control.
Custom RadOverlayForm
public class CustomOverlayForm : RadOverlayForm
{
    private RadLabel loadingLabel;
    public CustomOverlayForm() : base(false)
    {
        loadingLabel = new RadLabel();
        this.loadingLabel.Parent = this;
        this.loadingLabel.ForeColor = Color.Black;
        this.loadingLabel.Font = new Font(loadingLabel.Font.FontFamily, 16);
        this.loadingLabel.Text = "Loading...";
    }
    protected override void OnSizeChanged(EventArgs e)
    {
        base.OnSizeChanged(e);

        this.UpdateLoadingLabelLocation();
    }
    private void UpdateLoadingLabelLocation()
    {
        if (this.loadingLabel == null)
        {
            return;
        }

        var total = this.ClientSize;
        var wbSize = this.loadingLabel.Size;
        Point location = new Point();
        location.X = (total.Width - wbSize.Width) / 2;
        location.Y = (total.Height - wbSize.Height) / 2;
        this.loadingLabel.Location = location;
    }
}
Public Class CustomOverlayForm
    Inherits RadOverlayForm

    Private loadingLabel As RadLabel

    Public Sub New()
        MyBase.New(False)
        loadingLabel = New RadLabel()
        Me.loadingLabel.Parent = Me
        Me.loadingLabel.ForeColor = Color.Black
        Me.loadingLabel.Font = New Font(loadingLabel.Font.FontFamily, 16)
        Me.loadingLabel.Text = "Loading..."
    End Sub

    Protected Overrides Sub OnSizeChanged(ByVal e As EventArgs)
        MyBase.OnSizeChanged(e)
        Me.UpdateLoadingLabelLocation()
    End Sub

    Private Sub UpdateLoadingLabelLocation()
        If Me.loadingLabel Is Nothing Then
            Return
        End If

        Dim total = Me.ClientSize
        Dim wbSize = Me.loadingLabel.Size
        Dim location As Point = New Point()
        location.X = (total.Width - wbSize.Width) / 2
        location.Y = (total.Height - wbSize.Height) / 2
        Me.loadingLabel.Location = location
    End Sub
End Class
2. Next step is to apply our custom form by returning it in the CreateFrom of the OverlayScreen class.
Custom OverlayScreen
public class CustomOverlayScreen : OverlayScreen
{
    public override RadOverlayForm CreateFrom()
    {
        return new CustomOverlayForm();
    }
}
Public Class CustomOverlayScreen
    Inherits OverlayScreen

    Public Overrides Function CreateFrom() As RadOverlayForm
        Return New CustomOverlayForm()
    End Function
End Class
3. Our final step is to replace the default overlay screen with our custom one by setting the RadOverlayManager.OverlayInstance static property.
Override OverlayInstance
public void SetCustomOverlayScreen()
{
    RadOverlayManager.OverlayInstance = new CustomOverlayScreen();
}
Public Sub SetCustomOverlayScreen()
    RadOverlayManager.OverlayInstance = New CustomOverlayScreen()
End Sub