TileLayout Resize
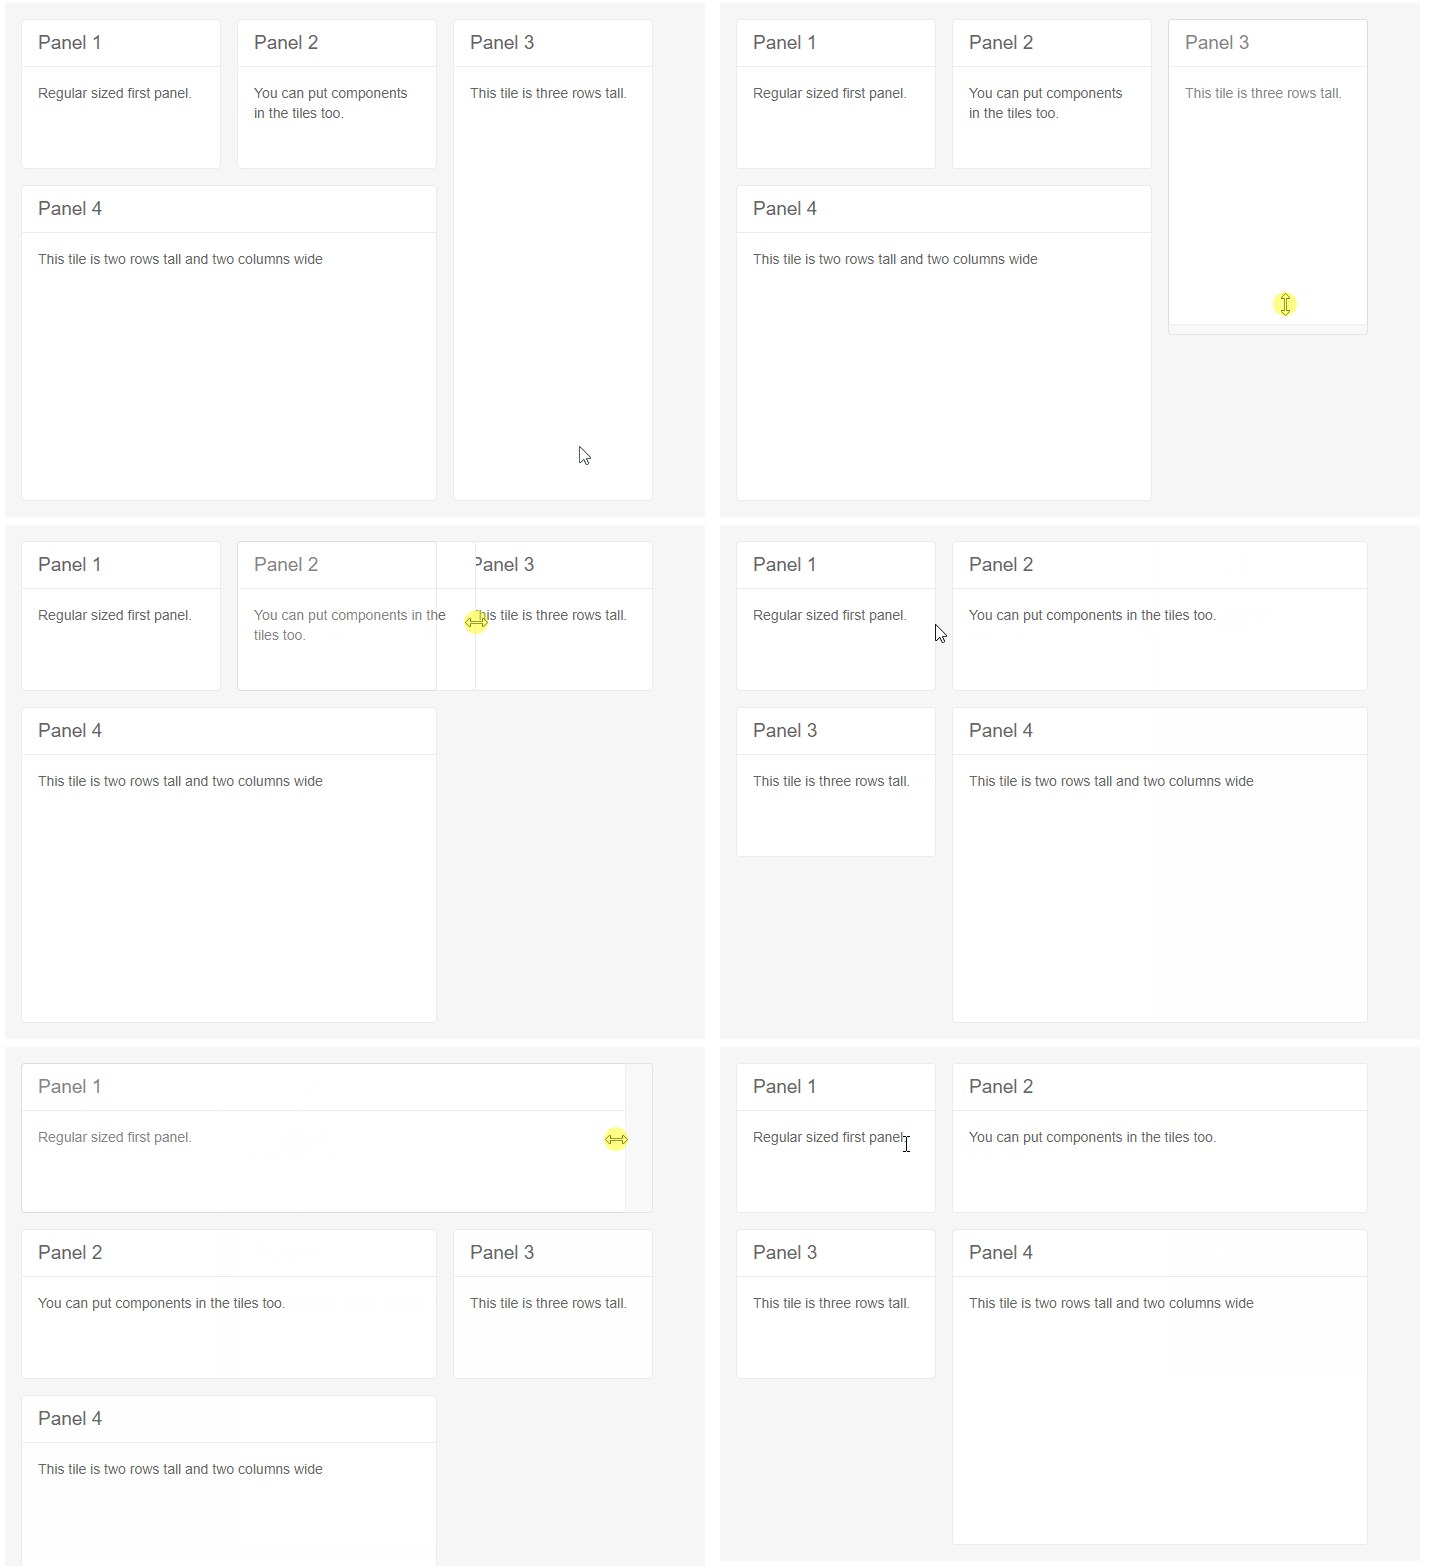
Resize tiles by dragging their bottom and right borders to change the dashboard to your liking.
To enable resizing:
Set the
Resizableparameter of the mainTelerikTileLayouttag totrue.Set the
RowHeightandColumnWidthparameters of theTelerikTileLayout. The provided values must be in absolute units—this allows for the layout to correctly calculate the position of each tile during resizing.
Resizing and reordering tiles makes them snap to the dimensions of the rows and columns of the main element, and their size determines how they render - they are rendered in the first available slot that accommodates their current size, and then the next tile is rendered in the next available slot. This means that large tiles can leave small gaps that will not be filled in by tiles that do not come immediately after them, even if they are sufficiently small to fit in those gaps, and that dragging a large tile into a slot where there is no room might not be possible. Whether a tile will move before another tile is determined by the mouse cursor position relative to the static tile, not by the overall dimensions and position of the dragged tile - if the mouse cursor is to the left of the vertical middle, the dragged tile will go before the static tile and if the mouse cursor is on the right of the vertical middle, the dragged tile will go after the static tile.
Resizing a tile fires the OnResize event.
Resizing tiles in the TileLayout
<TelerikTileLayout ColumnWidth="200px"
                   RowHeight="150px"
                   Width="700px"
                   Columns="3"
                   Resizable="true">
    <TileLayoutItems>
        <TileLayoutItem HeaderText="Panel 1">
            <Content>Regular sized first panel.</Content>
        </TileLayoutItem>
        <TileLayoutItem HeaderText="Panel 2">
            <Content>You can put components in the tiles too.</Content>
        </TileLayoutItem>
        <TileLayoutItem HeaderText="Panel 3" RowSpan="3">
            <Content>This tile is three rows tall.</Content>
        </TileLayoutItem>
        <TileLayoutItem HeaderText="Panel 4" RowSpan="2" ColSpan="2">
            <Content>This tile is two rows tall and two columns wide</Content>
        </TileLayoutItem>
    </TileLayoutItems>
</TelerikTileLayout>
