How to Use the Figma UI Kits with ThemeBuilder
Environment
| Product | ThemeBuilder | ThemeBuilder Plugin for Figma | Telerik & Kendo UI Kits for Figma |
| Product Version | Any | 07/08/2024 | Default/Material/Bootstrap 3.0 and Fluent 2.0 |
Description
I want to use the Figma UI Kits with ThemeBuilder to design and style my web application. How can I do this effectively?
Solution
To effectively utilize the Figma UI Kits when using ThemeBuilder, follow these steps:
Step 1: Customize the Components in the UI Kits
To make changes to the Figma UI Kits:
-
Open the Figma UI Kit based on your chosen theme in ThemeBuilder:
Customize the existing design tokens to scale any changes in the project. Alternatively, define your own design tokens for atomic customization.
Redefine where and how design tokens are applied throughout your design—instead of sticking to the default links, you can assign design tokens to specific components or elements according to your design needs.
While you have the freedom to break these links and customize the use of design tokens as you see fit, this may require additional effort to sync Figma with ThemeBuilder, as described in Step 3: Synchronize ThemeBuilder with Your Figma Customizations.
Step 2: Export Styles and Variables to ThemeBuilder
To export styles and variables to your ThemeBuilder project:
Open your design in Figma.
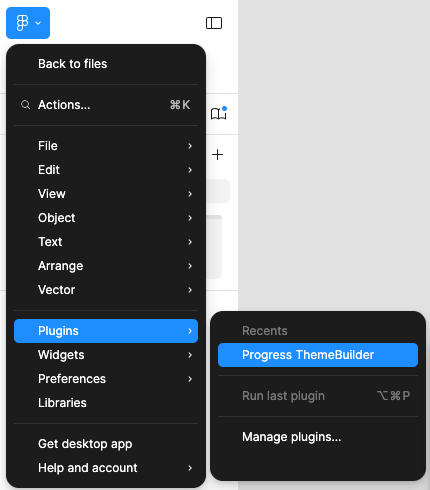
Go to the Main menu.
-
Hover over Plugins, then select Progress ThemeBuilder.
Log in with your Telerik account.
-
Select the desired export option.

Select the ThemeBuilder project you want to export to.
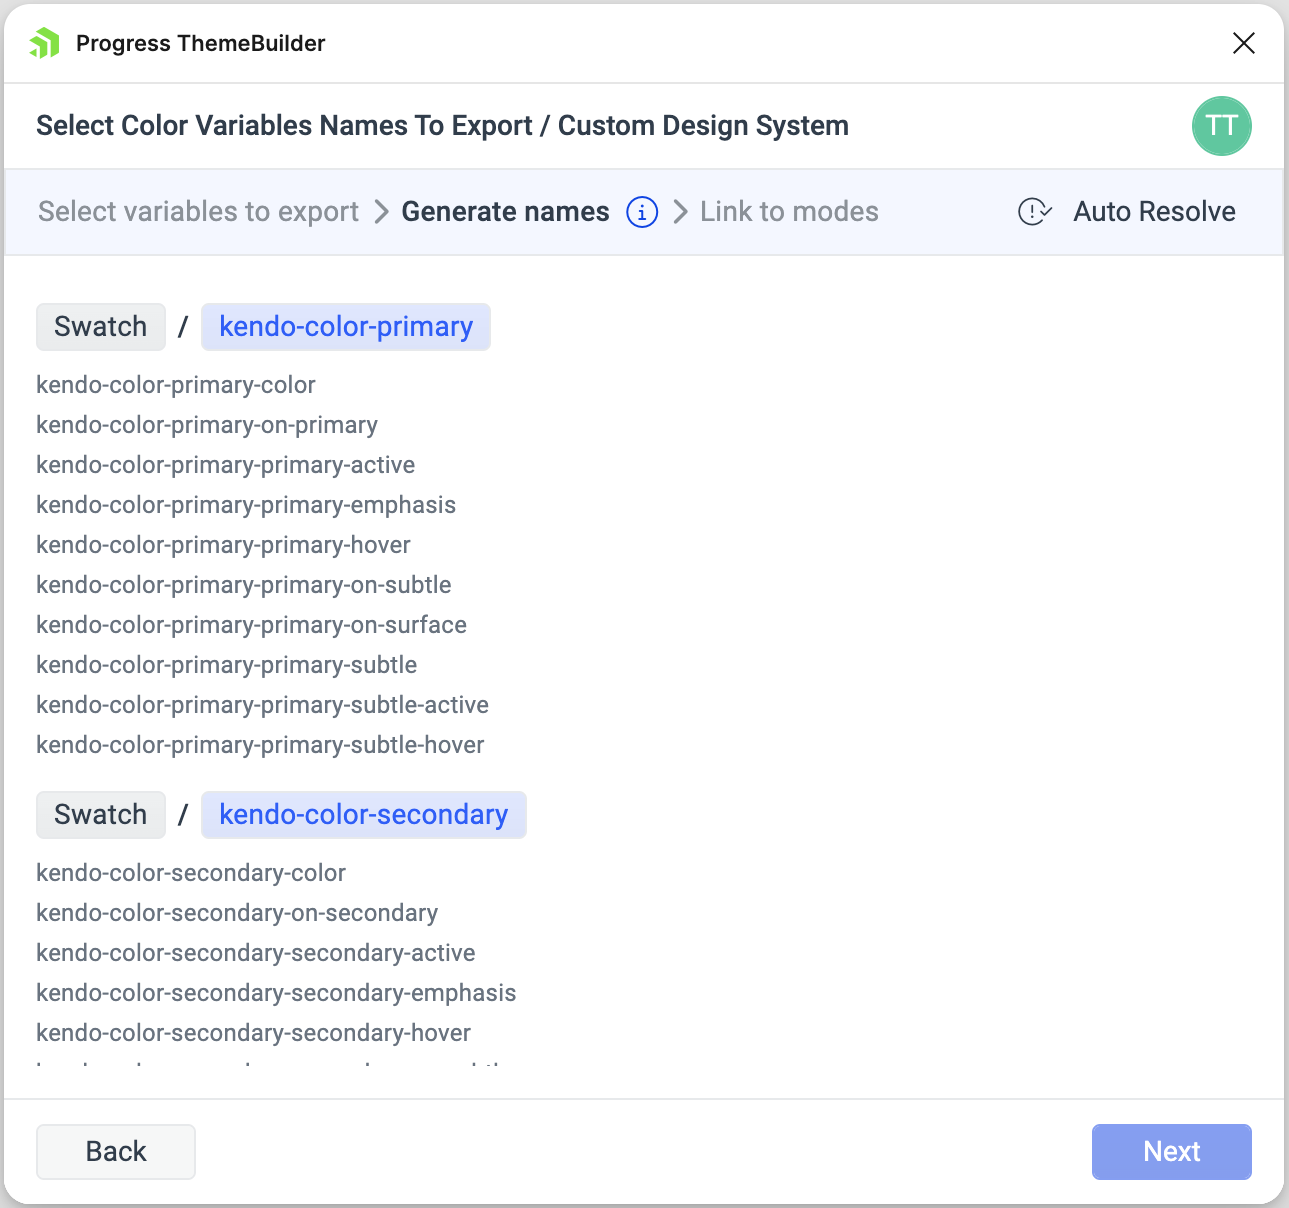
Select the variables/styles you want to export.
-
Generate names for the variables in ThemeBuilder.
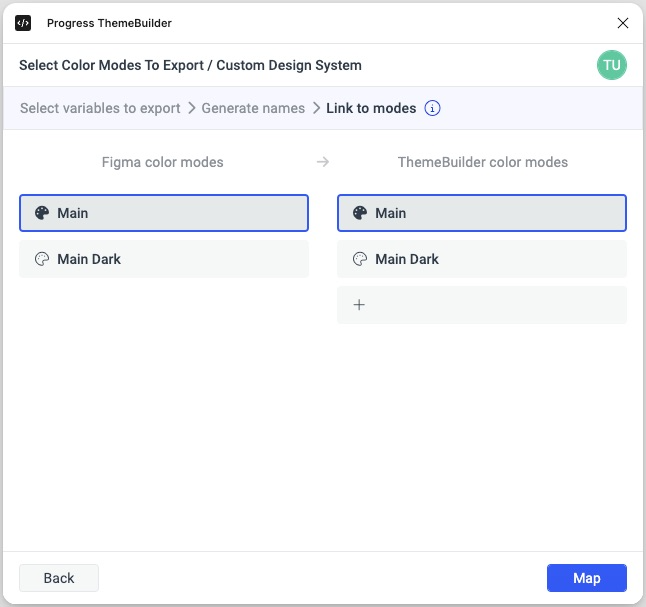
-
Map the variable modes from Figma and ThemeBuilder (applicable only for color variables).
Export the styles/variables to ThemeBuilder.
When you use the Figma UI Kits with the ThemeBuilder plugin, it may seem like the plugin effortlessly exports all components as they are to ThemeBuilder. Although it simplifies the styling process, the plugin requires additional effort on your side. For example, you must map the Kendo theme variables exported by the plugin to your own ThemeBuilder variables. Additionally, the plugin supports exports from any Figma project, not just the Figma UI Kits, which is one of the reasons why it does not automatically perform the mapping process during the export.
Currently, the Figma API does not allow plugins to access libraries in Figma projects. This means that the ThemeBuilder plugin cannot export styles and variables from the Figma UI Kits if they are used as libraries in another project.
Step 3: Synchronize ThemeBuilder with Your Figma Customizations
After you customize your design tokens in Figma, it's essential to ensure that these changes are accurately reflected in ThemeBuilder. When you do this, you guarantee that after you export the variables from Figma, the changes will automatically apply in ThemeBuilder as well, as both rely on the same variables used in the same places.
Follow these steps to sync ThemeBuilder with your Figma customizations:
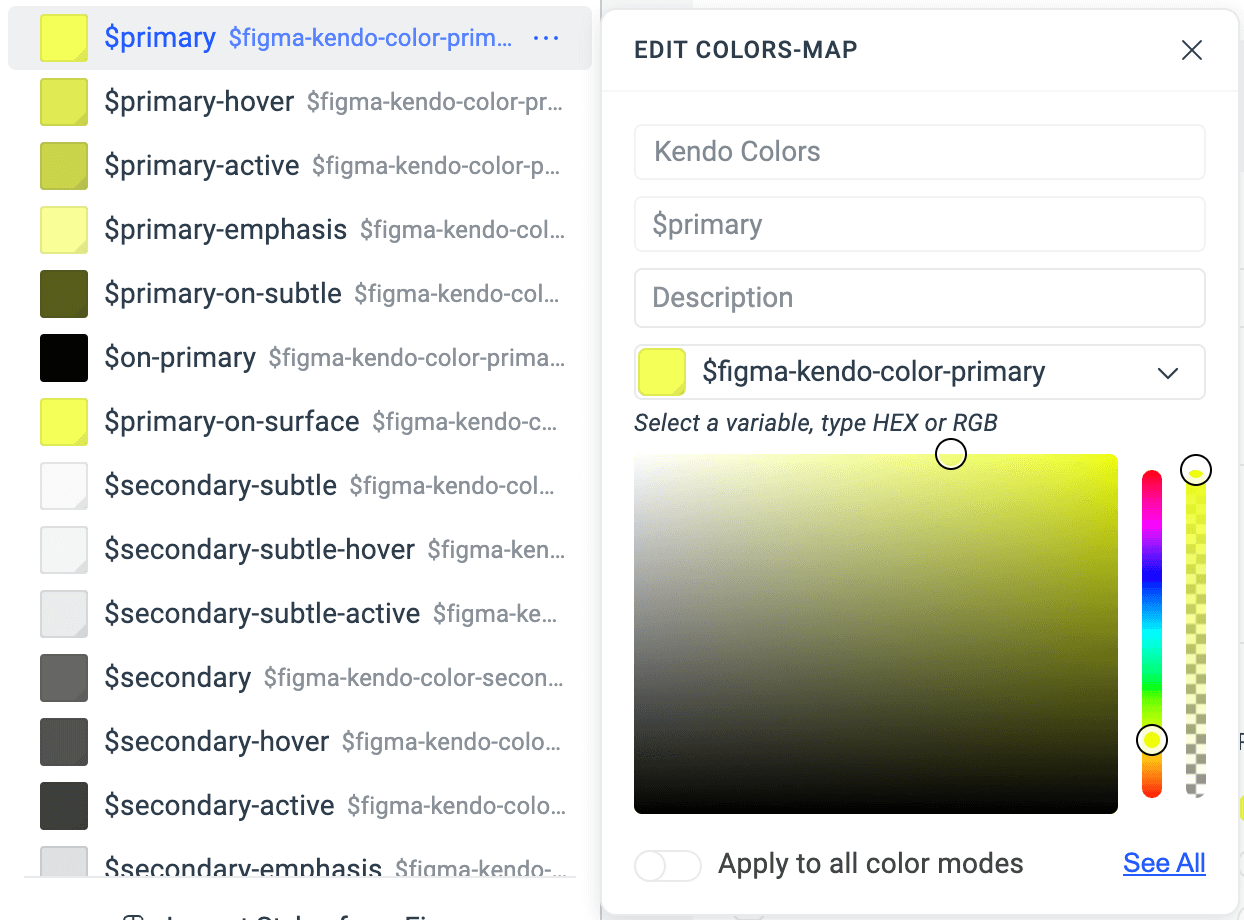
Go to the THEME STYLES pane on the left in ThemeBuilder.
-
Map the Figma variables to their corresponding ThemeBuilder variables (applicable only for Kendo theme variables present in both the Figma UI Kit and ThemeBuilder).
Apply customizations in ThemeBuilder through the Advanced Edit functionality to ensure that the variables are used to style the same places as in Figma.
Imported Figma variables are set as read-only to ensure consistent exporting as designers work on their project. This prevents issues that could arise if such modifications are allowed. For instance, if a developer makes changes to a variable through ThemeBuilder and the designer then unintentionally exports the same variable with a different value from Figma, the developer's modifications will be overwritten and lost.
Limitations
While you have the creative freedom to make extensive customizations in Figma, consider the practical limitations that developers might face when they translate these designs into code. Certain modifications can impact the component structure in ways that go beyond what ThemeBuilder or even the development process can handle without significant manual intervention. Specifically:
- Adding extra elements: Introducing new elements, such as icons or additional text fields, requires changes to the component’s HTML structure, which cannot be handled by ThemeBuilder's generated CSS/SASS alone.
- Replacing elements: Substituting one element with another, like changing a button to a dropdown, also requires changes to the HTML structure, which falls outside the scope of what ThemeBuilder can automate.
Be mindful that while these customizations may enhance your design, they could create challenges for developers during implementation, potentially requiring direct code modifications. Balancing creative design with practical implementation will help make the development process smoother.